
If you consider removing the popcorn texture from your ceiling, you may wonder what the next steps are in the process. One question you may have is whether or not you need to skim-coat the ceiling after removing the popcorn.
It is generally recommended to skim-coat a ceiling after removing popcorn texture, especially if the ceiling is heavily textured or has imperfections in the drywall.
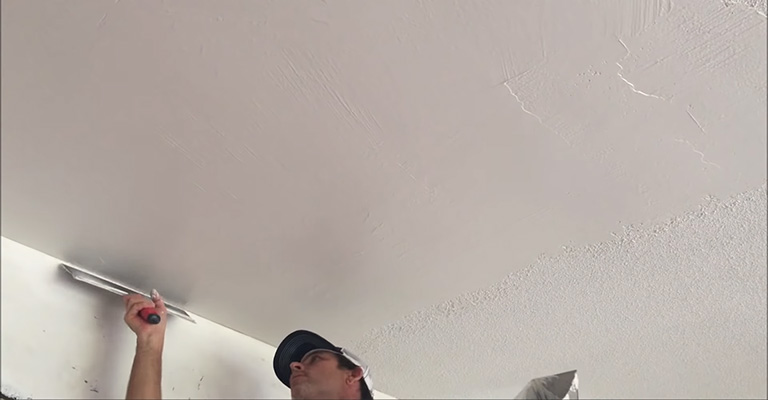
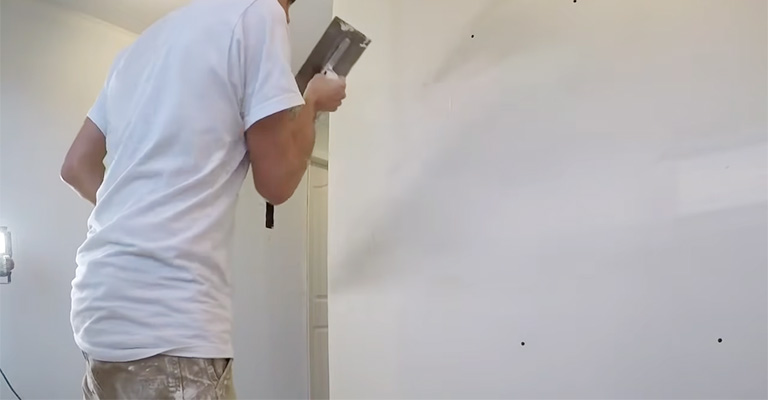
Skim coating involves applying a thin layer of joint compound to the ceiling to create a smooth surface. This can be done by hand with a drywall knife or with a unique skim coating tool.
If the ceiling is in good condition and the popcorn texture is not too heavy, it may not be necessary to skim coat. However, it is a good idea to prime and paint the ceiling after removing the popcorn texture to give the surface a fresh, finished look.
Do I Need To Skim Coat After Removing Popcorn Ceiling
You can scrape popcorn ceilings with a 4-inch utility knife or drywall knife to eliminate texture and create a smooth surface.
To make it smooth again, you’ll probably have to use a joint compound to smooth out imperfections, then sand it smooth before repainting.
Why Do It?
This is the method that is most commonly used to remove popcorn ceilings. You can scrape your ceiling by yourself, but it is messy and slow, and it is the most cost-effective.
Despite this, popcorn finishes and paints before 1979 often contained asbestos and lead, potentially toxic if inhaled. Buying a lead paint test and consulting an asbestos expert are recommended if you live in an older home.
Avoid scraping it if it tests positive. Even if your ceilings do not contain asbestos or lead paint, if they have been painted, scraping may prove difficult since the porous popcorn material will have become saturated with paint.
Alternatively, you may want to consider drywalling over them. To loosen up ceilings, many people spray them with water before scraping them.
As well as being a sloppy mess, the water will absorb into the ceiling, making it heavy, which could eventually cause it to expand and crack. You must scrape it dry, although it is more time-consuming.
Skim Coat On A New Design
This texture is still around, but it’s making a comeback. It’s also relatively easy for homeowners to accomplish.
These textured ceilings are usually found in older homes, pre-popcorn era, that requires prior cleaning and preparation.
In the next step, apply a bonding agent like a joint compound, and then apply a finishing combination with a trowel or knife.
Smooth ceilings aren’t suitable for old-house owners seeking to preserve the house’s history.
What To Do After Removing Popcorn Ceiling?
A popcorn ceiling doesn’t bother some people, and they don’t mind keeping it (some people think it’s great at hiding imperfections), but others want to modernize and eliminate it entirely.
Can you tell me if you’ve already taken the initiative to get rid of the popcorn? Your next step may be unclear if that’s the case.
You may want to paint it and make it look brand new. Having successfully removed your popcorn ceiling, here are some things you should do afterward.
After Scraping
The real fun begins once the popcorn texture on your ceiling has been removed by scraping it off and wiping it down. Finished with refinishing the ceiling, you can go ahead and start painting.
Before beginning, this process, make sure you’ve scraped the ceiling and wiped the area down for at least 24 hours. As a result of this limited period, the ceiling and surrounding areas can dry after the removal process has been completed completely.
As soon as the paint has dried, you can move on. So what’s next? Here are a few simple steps to help you save time and money when it comes to updating your ceiling.
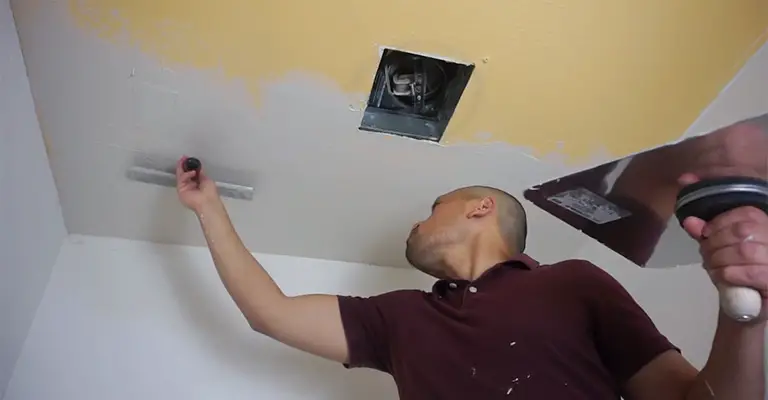
Check And Repair Your Drywall If You Need To
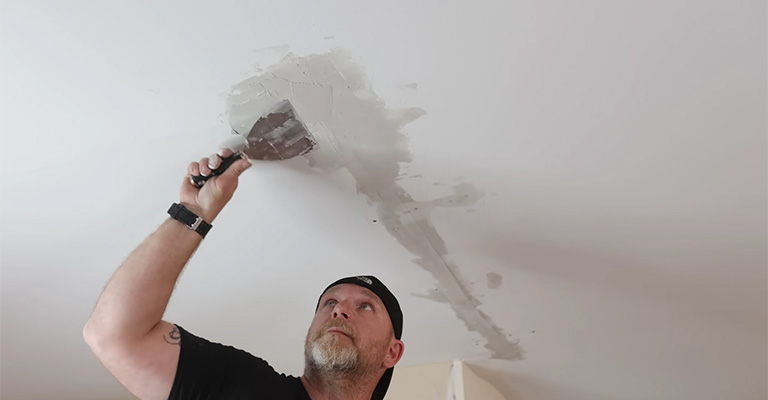
It is not uncommon for popcorn ceilings to damage the drywall underneath when scraped away. The following steps can be used to fix any damage to the drywall that may have resulted from this process before you proceed with the rest of the refinishing:
1. Use joint compound to fill problem areas
You can fill small holes or blemishes with a putty knife and drywall compound. Make it smooth by applying the mixture in a nice skim coat. If you do this, you’ll be able to skip any extra sanding.
2. Let the compound dry, and then sand
If the compound hasn’t dried for at least four hours, you can sand it smooth to make painting easier. Wearing protective gear during sanding, like a face mask and safety goggles, is always a good idea.
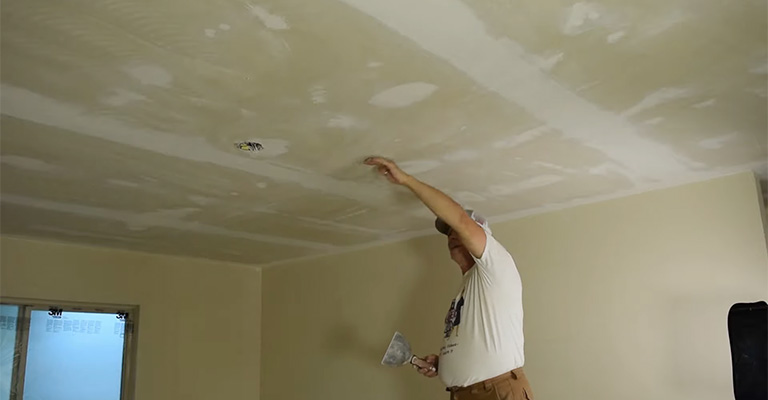
Protect The Drywall
To ensure that the drywall stays protected and in good condition, we must apply a new texture. The following steps will help you achieve your goal:
1. Make sure the walls are protected
In particular, you need to do this if you plan on using a pump sprayer. During this process, ensure your walls are kept dry by taping drop cloths onto them.
2. Suit up once more
This step is optional, but it never hurts to protect yourself too much by wearing safety goggles and a face mask.
You can even just put on a pair of work gloves if you want to avoid blisters. It is now possible for you to choose from a few different options.
Using a trowel and working in small areas simultaneously will help you smoothly apply the compound to the ceiling. However, you can also use a pump sprayer to do the job much faster and more quickly.
If you choose to do it yourself:
You can use a trowel to scrape thin compound layers along the ceiling. Work in small areas. By using your trowel and compound, you can cover the entire ceiling.
If you choose to use a sprayer:
Using a pump sprayer, you can get the job done faster and easier and leave a smoother finish. You can attach your sprayer’s air compressor to its spray gun and load it up with the compound.
Ensure your walls are covered with drop cloths before starting the project. Adjust the pressure slightly and spray the ceiling from at least four feet away using a sprayer.
Be sure you are not missing any ceiling areas by taking frequent breaks as you cross them. Once you’ve finished applying the compound, you’re ready for the next step.
Get Your Ceiling Primed and Painted
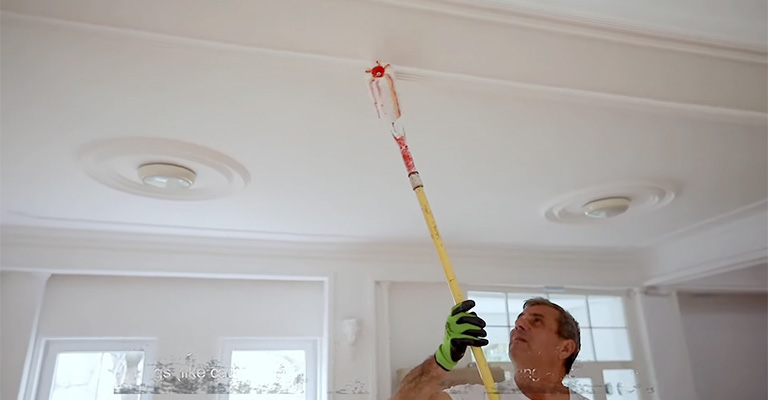
You must let the compound cure for at least 24 hours before applying primer after you have completed the compounding process. You can follow these easy steps for painting once you’ve completed that step:
1. Once again, ensure your walls and floors are protected
As you prepare to paint, you’ll want to protect your walls and floors from the consequences of paint dripping. Ensure that your drop cloths are placed again.
2. Using a paintbrush or sprayer, paint your ceiling
In the same way, you loaded up the compound sprayer, you can load up the paint sprayer with paint, or you can use a bucket and brush to apply the paint by hand.
If you decide to use a different method, work in small sections simultaneously, just as you did with the compound. Don’t forget to take a break every little while to ensure you don’t miss anything.
How Much Does it Cost to Remove Popcorn Ceiling?
When removing popcorn ceilings, you should leave it to a licensed professional to ensure safety.
You should always consult a professional before starting a project in case there’s asbestos in the ceiling. There is an average cost of $1,707 for removing popcorn ceilings in the country.
What Will I Find In The Popcorn Ceiling Removal Quote?
The popcorn ceiling removal quote includes masking for the floors and walls. In the case of a furnished home, you will need to pay a little more.
After the popcorn removal, the ceiling is usually repaired by hitting the nails, peeling tape, knicks, skimming the joints, scrapes, and replacing screws.
In addition, ceiling refinishing is included, with prices varying depending on the finish applied to the drywall. Whenever you get a quote for popcorn ceiling removal, expect to see clean-up and disposal included.
Should I Always Prime The Ceiling Before Painting?
It is always a good idea to prime the ceiling before painting. A simple way of ensuring that the paint adheres properly is to do this.
Consider stain block primer for old ceilings so that old stains on the ceiling aren’t as noticeable.
Final Words
In conclusion, skimming a ceiling after removing popcorn is not always necessary. If the ceiling is in good condition and there are no dents or unevenness, then you may not need to skim coat.
However, skimming the ceiling can help create a smooth, even surface if the ceiling is damaged or uneven. It is important to assess the condition of the ceiling before deciding whether or not to skim coat after removing the popcorn texture.


