
It’s just as important to start your day with a good shower as with a good cup of coffee. How would you feel if you discovered that your shower handle was unwilling to budge no matter what you tried?
We have the information you need to remove Delta shower handles for those who have Delta shower faucets in their bathrooms. Imagine this.
A set screw isn’t attached to the handle of my single-handle bathroom faucet. So, what do I do if I want to remove the handle? This is a common question, and the solution is very simple.
Push-Fit handles, available on some Delta bathroom faucets with a single handle, eliminate the need to secure the handle with a set screw.
These handles can be removed by aligning them with the spout and pulling them straight away from the faucet body.
Pull upward with your top handle. Pull off to the side if your handle is on the side. Tools are not required for this task but may require some force.
Tools may cause damage if used improperly. For example, align the hole in the handle base with the valve stem in the faucet and push down on it to replace the handle.
What Is the Best Way to Remove a Stuck Delta Shower Faucet Handle?
Are you having trouble removing your Delta shower handle? There’s nothing to worry about! This is a fairly common occurrence. However, in the case of an old, rusted faucet, removing it could be difficult.
Here, we will talk about how to remove Delta shower handles that remained unaffected by your initial attempts. To remove a stuck shower handle, you will need the following tools:
Screwdriver
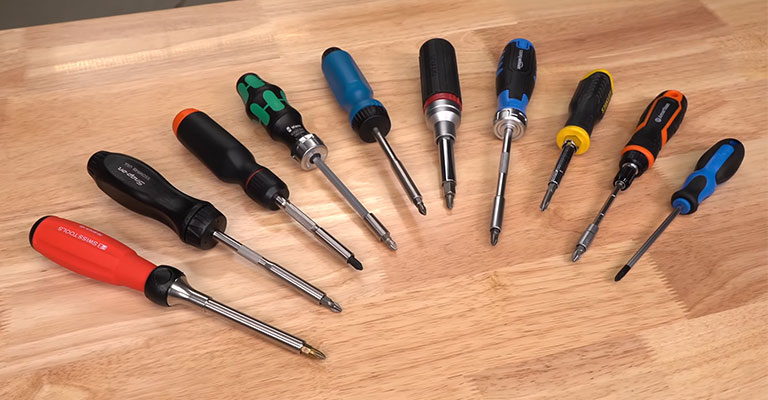
You will need two types of screwdrivers to remove: a Delta shower faucet handle-a slotted screwdriver, and a flathead screwdriver.
A shower handle may contain a variety of screws, so you should have both at hand, just in case. In addition, the screwdriver you choose should have a screw holder as a bonus feature.
Hammer
The handle of the valve can be removed with the help of a hammer. You don’t need to go for something super powerful to serve this purpose.
In almost any toolbox, you can find a classic mid-range hammer. It should be comfortable to handle.
Lubricant
Corroded faucets may be extremely difficult to remove, as we discussed earlier. It can be much easier to complete this process using a lubricant.
Our recommendation is to use lubricant sprays, which are easier to apply. In addition to removing rust, lubricant loosens screws.
Faucet Puller
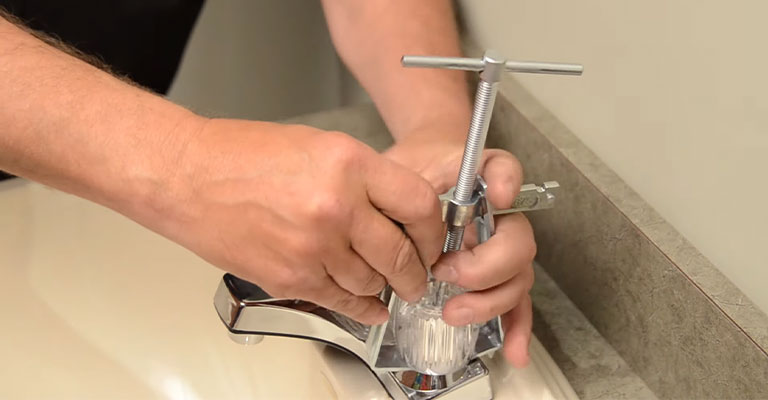
Since the faucet puller won’t be helpful in other plumbing situations, we recommend using it as a last resort.
Without a specialized tool, it should be possible to remove a shower handle. The handle can be forced out of a faucet with a faucet puller in most extreme scenarios.
Plastic Bag and Vinegar
You can remove Delta shower handles with everyday household items like plastic bags and vinegar.
Are you wondering how to remove Delta shower handle knobs using plastic bags and vinegar? In the next few paragraphs, we’ll reveal the secret. Keep reading to find out more.
How Do I Remove the Delta Monitor Shower Handle?
Since Delta Faucet first entered the bathroom fitting market, more than a half-century has passed. Even though Delta products are of exceptional quality, you may encounter some maintenance issues.
This article aims to explain the removal, replacement, and repair of Delta monitor shower handles in detail.
1. Gather The Tools You Need
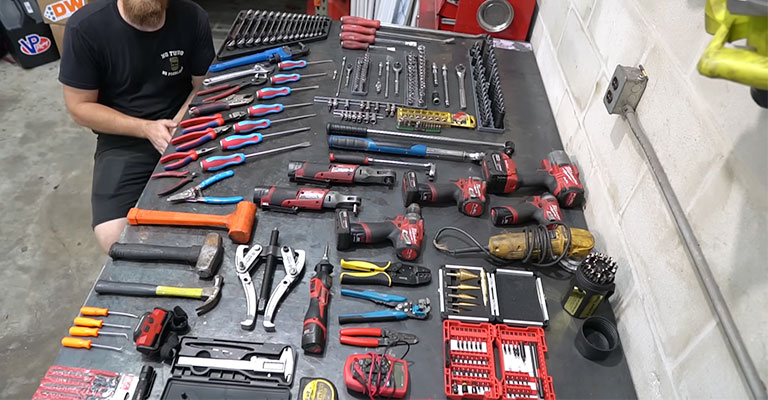
Make sure you have the tools necessary for removing the Delta shower handle. The following items are essential:
Allen Wrench
To remove the Delta Monitor shower handle, you will need an Allen Wrench of the appropriate size. The handle on such Delta shower faucets can be detached using this tool.
Putty
The leak can be stopped using putty if the faucet has been accidentally damaged. However, you will also need it when installing a new O-ring.
Kit For Replacing A Faucet
All the tools needed to detach and attach a faucet will be included in a faucet replacement kit.
Pliers With Channel Locks
Channel-lock pliers have an angled head design that makes them ideal for accessing tricky spots. A piece of equipment like this would be very useful during multiple stages of a faucet replacement.
2. Disconnect The Water Supply
Before removing the shower handle, shut off the house’s main water supply. Your bathroom will likely flood if you fail to do so.
3. Remove The Handle From The Set Screw Lever
Get the handle of the set screw lever out of your way by deploying the Allen Wrench. First, the bottom cap of the shaft needs to be removed.
Then, turn your attention to the temperature control handle. You should also remove it. Once the screws are removed, be sure to take them out carefully.
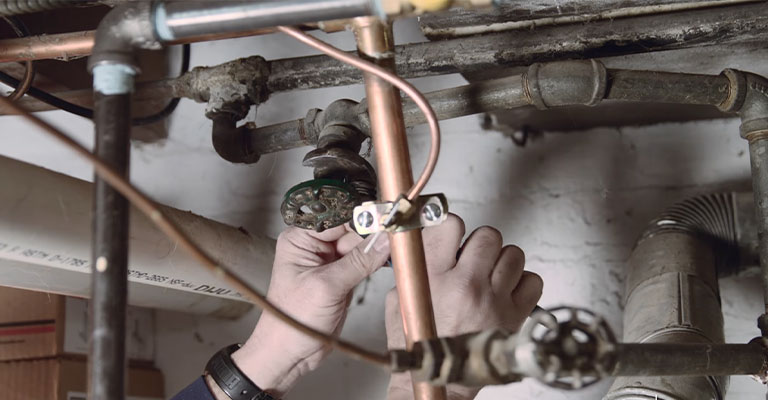
4. Pull Down The O-Ring, The Bonnet, And The Orderly Covering
Having a mineral deposit and rust on the bonnet could make removing it challenging.
The channel-lock pliers allow you to pull the bonnet effortlessly by applying a firm bite. Remember always to keep the stop plug in the same place.
5. The Cartridge Needs To Be Removed
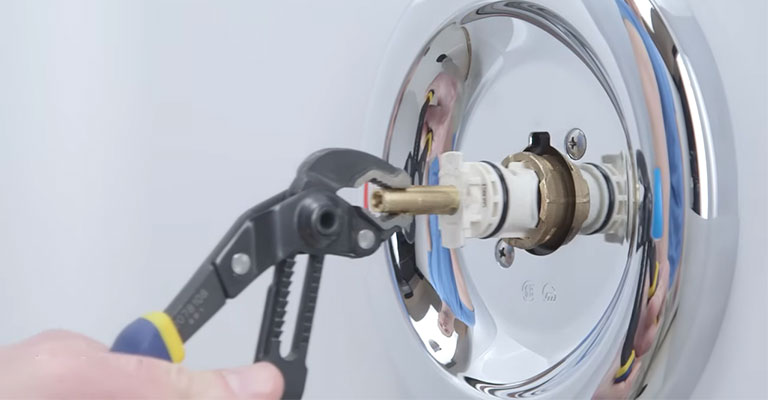
Take the cartridge off the faucet head by pulling it out. Then, using channel-lock pliers, you can exert more force on the cartridge if it gets jammed.
6. Replace The O-Rings With New Ones
Fit the new O-rings to the backside of the new cartridge with putty. Make sure that there is sufficient pressure to fit the cartridge into the faucet head before inserting it.
7. Assemble The Faucet Again
Once you have assembled the parts you had taken apart, reassemble the faucet. After the parts have been removed, they will be reconstructed in the order they were removed.
First, the orderly covers go on, then the bonnet, the temperature control knob, and finally, the handle. Make sure the screws are tightened after you have reorganized all components.
How To Remove a Stuck Shower Handle Screw?
The following steps will help you remove a stuck shower handle screw.
1. Locate The Screws
Identify the screws on the faucet handle by closely inspecting it. The brand logo on a valve may help if you can’t find any.
On the back of the valve, there should be screws. To locate the screws, raise the valve and use Phillip’s screwdriver, also known as a flathead screwdriver.
2. Apply Lubricant If Necessary
Use your screwdriver to remove the screws. Spray some lubricant over the screws if you encounter too much resistance.
You should be able to penetrate the layer of rust and dust with the lubricant spray. This would result in a more fluid movement of the screws.
3. Use A Hammer To Tap Gently
You should be able to remove the handle quite easily after applying lubricant. Nonetheless, if the handle continues to be resilient, you may want to tap it lightly with a hammer. Keeping the handle safe from permanent damage requires dampening the hammer’s blow with a cloth.
4. Handle Pullers Are Useful For Pulling Handles
It is ideal to have already removed the handle. The handle puller is the only option left once all other options have been exhausted.
Read the accompanying user manual carefully before purchasing a handle puller. A stuck shower handle can be easily removed this way.
5. Make Sure The Handle Is Covered With Vinegar
Pour vinegar into a plastic bag. Let it sit for six/seven hours after tying it with the handle. In addition to removing sediment buildup and rust, vinegar prevents them from forming. This makes it easier to maneuver the handle.
Tips For Removing Delta Shower Handles
If you are having trouble removing the Delta shower handles, here are some tips to help.
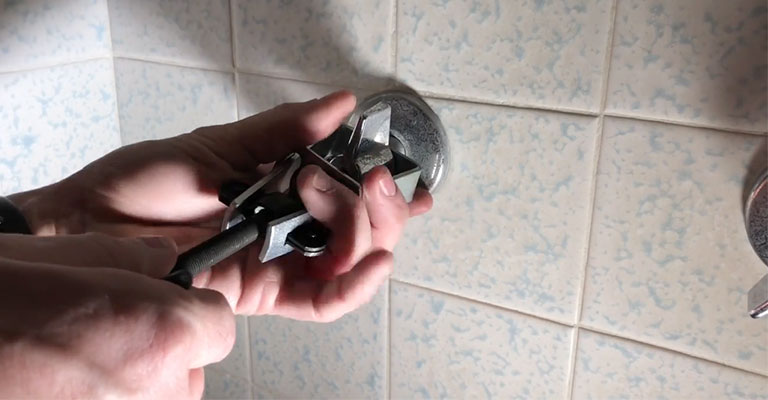
Handles With Threaded Bonnets
Taking hold of the handle with a steady grip, move the bonnet in an anticlockwise direction. When the valve is disassembled, there will be a break between the handle and the bonnet. If there is a pivot ring, loosen it if there is one.
The next thing you need to do is to remove the faceplate. Using a flathead screwdriver, unscrew the screws and grab the retainer by holding it with your hand.
Try rotating the entire retainer counterclockwise if you cannot see any screws. You should be able to remove it easily.
Setscrew Handles
We have only shown you how to remove Delta shower handles with no set screws until this article. We will take this opportunity in this section to expand our discussion of delta handles to include handles with a setscrew design.
As a first step, you will need to loosen the set screw on the handle so it can be removed from the valve, and the adapter can also be removed.
In addition to removing the sleeve from the valve, once you have undone the set screw, you can also remove the nut.
In the next step, unscrew the pair of screws holding the faceplate, removing the faceplate itself.
The adapter pins will need to be detached from the handle occasionally, just like the handles we previously discussed, with the help of a flathead screwdriver. By doing so, you can remove the adapter from the valve.
Handles With Plug Buttons
If you have a Delta shower faucet handle that is secured by a plug button, how do you remove it?
To remove the button, plug from the outer side of the valve stem, you will first need to use a flathead screwdriver to pry it out from the outer side.
As soon as the screw has been unfastened, remove the adapter and handle from the valve’s stem by unfastening screw. In some cases, the cover may have to be turned anticlockwise to get it to open.
Once you have removed the screws that are holding the faceplate to the bathroom wall, the next step that needs to be done is to loosen the two screws holding the faceplate to the wall.
As another possible scenario, it would be necessary to use the flathead screwdriver again to remove the adapter pin if you use this method.
Finally, remove the screws from the valve so that the adapter can be released from the valve. Again, your chosen method should be based on what is most appropriate for you.
Handles With Visible Screws
Some Delta shower handles have the screws visible on the surface rather than hidden beneath the faceplate, as in other Delta shower handles. It is easy to remove the system due to this design attribute, as you can imagine.
First, unscrew the handle screw in the middle of the handle so you can get at the handle, handle, and sleeve that surrounds the valve stem.
Then you will need to take out the pair of screws that hold the handle to the faceplate and remove them.
After that, the faceplate should be disconnected from the escutcheon as well. You might have to draw the adapter pinout using a flathead screwdriver if you want to remove the Delta shower handle.
So that you can free the handle from the valve, you need to unfasten the adapter from it and remove it from the valve.
Handle Screws That Hide Beneath The Faceplate
There are several different situations that need to be considered when discussing how to remove Delta shower handles. When the handle is attached to the wall, the screws that hold the handle to the wall can be found behind the faceplate.
If that is the case, the handle screws will be hidden underneath the handle so that you won’t see them at first glance. The first thing you need to do is undo the faceplate.
While taking the handle out of the wall, it stays attached to the faceplate even after taking it out.
The screws that are supposed to connect the handle to the faceplate can be found on the backside of the faceplate. The handle can be removed by unscrewing them, and the screws can be removed.
Removing the Delta shower faucet handle might seem a bit complicated initially, but it won’t be much of an issue in the long run. Within minutes, you will be able to complete the task.
Here are some other helpful tips that you might find useful:
As an alternative to washing down the drain while removing the handle from the faucet, you can put a bucket under it so that the screws will fall into it as you remove the handle.
Ensure the water supply is turned off before removing the Delta faucet handle or any other Delta shower handle with a set screw.
The Bottom Line
The purpose of this article is to explain how to remove the Delta shower handle, and it should be a fun and easy read for you.
To master Delta shower faucet handle replacement, you only need to follow the instructions in this guideline.
Therefore, it is recommended that the next time your Delta shower handle acts up, you try to solve the problem yourself before calling a plumber to come and fix it.


