
Are you tired of looking at that bathroom’s old, worn-out shower handle? Want to upgrade to a sleek, modern design but don’t know how to remove the handle without screws?
Look no further! In this article, we’ll be taking you step by step through the process of removing your shower handle without the need for screws, making it easy for anyone to complete this DIY project.
So, grab your tools, and let’s get started on giving your bathroom the makeover it deserves!
How Do Shower Handles Work?
Valves are found in shower handles. Upon twisting or pulling, they will turn on the water and control the flow. Alternatively, the valve can be twisted the opposite way and pushed, which stops the water flow.
There may be only one handle controlling hot and cold water, meaning only one valve exists. The valves on some showers are at least two, so they have two handles.
It doesn’t matter what type of shower you have; you will have these valves. In other words, these valves will also be found on standalone showers and tub/shower combinations.
There is also usually a device that helps control the water temperature in newer showers. It means that there will never be scalding water.
This feature is not available for older homes and bathtubs, so the maximum temperature of the water must be adjusted by twisting.
The device allows you to control the temperature of the water, which is very convenient when you have children or animals at home so that no one gets burned by a scalding shower.
Different Types Of Shower Handles
Knobs, levers, and crosses are the three commonly used shower handles. These are some of the different styles you can choose from:
Cross Handles
The cross-like shape that gives cross handles their name. In their functioning, they are similar to knobs. In contrast, you have an X instead of a globe or circular shape.
An arthritis patient or someone with poor hand-eye coordination may find these knobs useful.
Cross handles are usually easier to grasp since they are shaped like a cross. In addition to their vintage feel, they are a great choice if you’re looking for a retro look.
Lever Handles
Nothing is more straightforward than a lever handle, a bar-shaped handle on a pivot. You will typically have an on/off option and a hot/cold option, just like knob handles.
There are a variety of lever handle designs, much like knob handles. Various finishes, colors, and textures are available to meet the needs of any bathroom decor style.
Knob Handles
It is reminiscent of knob handles you might find on doors. These handles are usually circular and rotate in a circular motion to turn a on and off a shower.
As well as jewel and globe knob handles, you can also find oval, square, and globe knob handles.
It is usually not necessary to grip a knob tightly when turning it. You may need to hold a tight grip when opening and closing the water valve in a shower.
Tools And Materials Required To Remove Shower Handle Without Screw
When removing a shower faucet handle without screws, you won’t even need any tools, but here are some items you should keep on hand, just in case.
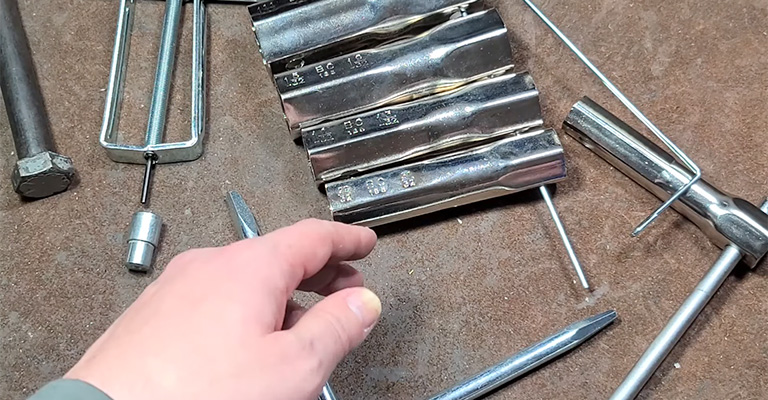
- Pliers
- A Flat Screwdriver
- Old Cloth
- Rust & Corrosion Cleaner
- An Allen Wrench
It’s always good to keep an Allen wrench around just in case since it’s only needed for lever handles. Otherwise, all you’ll need is a flathead screwdriver. In addition, Allen wrenches are easier to use when removing hex screws.
Most of the time, you won’t need a rust or corrosion cleaner, but it’s a good idea to keep one on hand. As you won’t take a shower out all that often, you’ll probably want to clean the handle each time.
How To Take Off A Shower Handle That Has No Screws?
A shower handle can be found in many shapes and sizes. Therefore, all of them suggested different methods that could work. As a result, we have put together three options for you.
This guide explains all three methods in detail so you can start immediately. Therefore, pay attention. So here it is:
Method 1: When the Handle Has a Button or Cap
Firstly, we will discuss methods for shower handles with buttons or caps. A lot of nooks and crannies are easy to locate in these. We won’t need to spend too much time on this. What’s the first step? Let’s begin.
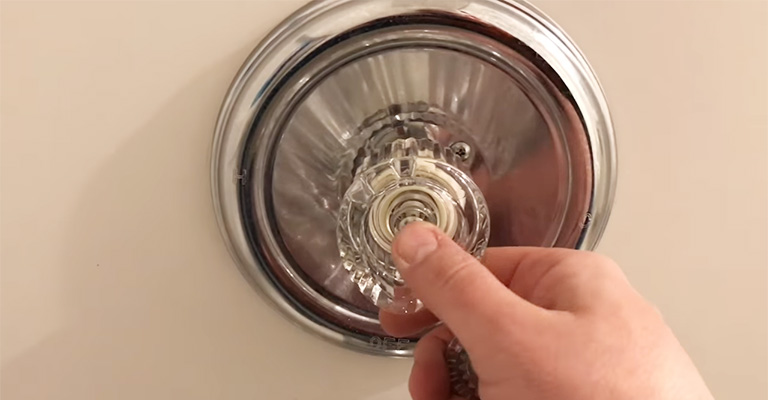
Step 1: Look For the Cap or Button
The first thing you need to do is locate the cap or button on the shower handle. You can identify it by looking around the handle.
It was usually possible to see the edge of the button or cap. The button is usually placed at the handle’s top or on the handle’s side.
So, take your time and find one once you find one. Once you do, we can start working on the rest. If you are unable to locate one, try methods 2 or 3.
Once you have completed this step, move on to popping the cap.
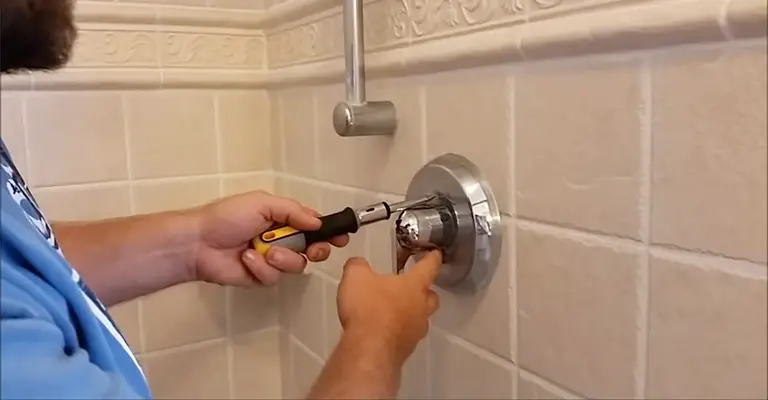
Step 2: Use a Screwdriver to Pop it Off
Now that you have a screwdriver, you’ll need to get started. You must use a flathead to make it work. It’s chop-chop time!
Then, using a screwdriver, slowly work it into the gap between the cap or button until it pops off. The next step is to be gentle throughout the entire process.
There are many handles on these items that are very delicate. This kind of work puts them at great risk of damage, so it’s very easy to damage them. It would be best if you were a little careful when handling this item.
Once you have completed this step, move on to the next step.
Step 3: Decide on Water Supply
Whether or not you will turn off the water supply is now up to you. The situation will determine your decision, so this is very important.
If you’re replacing the cartridge and the handle at the same time, this step is necessary. When you open things, you’ll be drenched.
That would not be fun for any of us, would it? Hence, it is important to keep this in mind. Other than that, it is totally up to you to decide.
Start your next step on the list after you’ve taken care of this.
Step 4: Remove the Screw Inside
Now that the screw is out, it’s time to remove the shower handle. Here’s where an Allen Wrench might come in handy.
Are you wondering why the Allen Wrench is needed?
Probably a set screw is embedded inside the handle. For this reason, choosing the right size is important. It is recommended that you purchase the entire set.
That way, you will always be prepared for anything coming your way. You can now remove the screw by using the Allen Wrench on the handle.
Make sure the drain is covered before you begin. The last step in our list should be followed once you have completed this.
Step 5: Pull Off the Handle
We can pull the handle off now that the screw has been removed. Alternatively, you can use a pair of pliers or a faucet handle puller.
After you’ve put everything together, start by pulling the handle off with the pliers. I’ll give you a tip, cover the base with a towel so it doesn’t get scratched.
When the handle is pulled a few times, it should come off. Once that’s done, your task is complete. Having completed this method, you are now ready to move on.
We’ll now go over a small tip that you can use.
A Fine Tip
The handle may have some mineral deposits on it. There’s no need to worry. With a little lemon juice and white vinegar, you can easily get rid of it.
In that case, what should you do if your handle does not have a button or cap? Let’s explain how you plan on removing that. Here are the two methods you can use to get your answer.
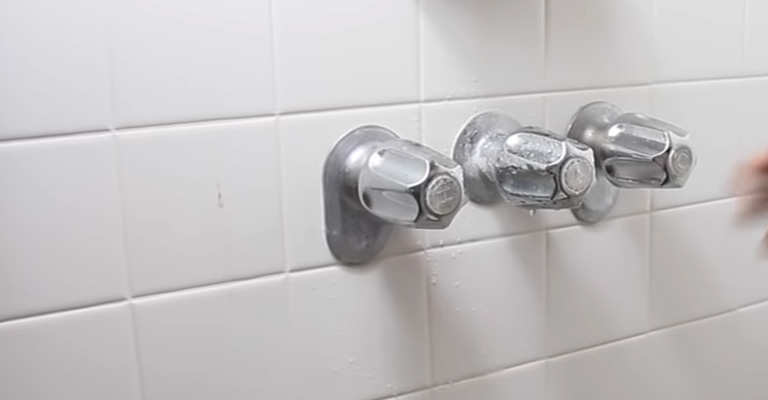
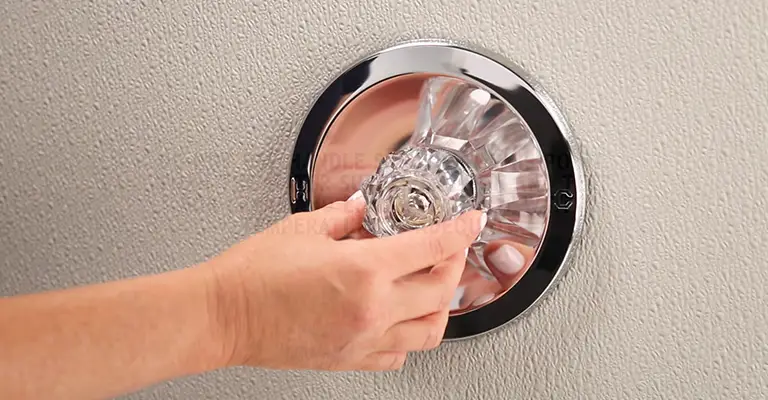
Method 2: When It’s A Double Faucet Handle
This method can be used if your shower handle is a double faucet one. The process consists of four simple steps. By following them, you will be able to achieve your goal. So here it is:
Step 1: Take Safety Measures
The water supply should be turned off for this one for safety’s sake. This is a safety precaution to avoid getting soaked in the process.
Step 2: Work with the Base
The handle can now be removed by working with the base. To reverse the direction of the base, hold the handle and slowly rotate it counterclockwise.
Twisting will eventually remove the handle, and that’s it. In case you want to remove the cartridge, you will need to perform the following steps. You don’t have to do them if you don’t want to.
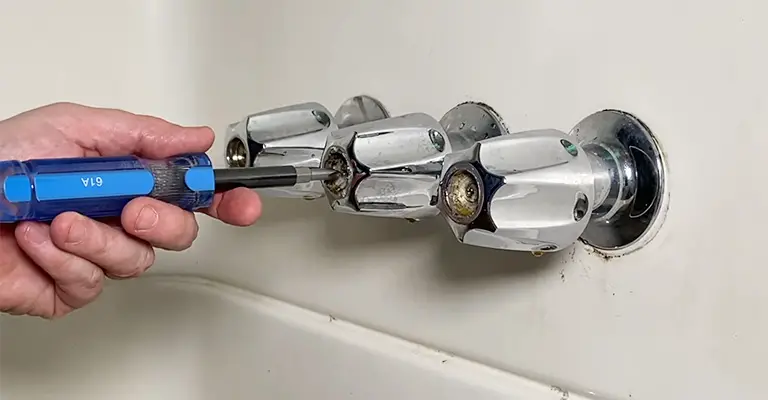
Step 3: Remove the Centerpiece Screw
Now that the centerpiece is removed grab your Phillips head screwdriver and start removing it. It is necessary to loosen the screw and remove it to move the centerpiece and expose the cartridge.
Step 4: Remove the Cartridge
After the cartridge has been opened and exposed, use needle nose pliers to close it. After that, remove the white cartridge using the pliers.
All right, that’s it. It was that simple and quick. Alternatively, you can try the next method if this one doesn’t work.
Method 3: When the It’s A Low Arc Lever Style Handle
In this case, you will need a low arc lever-style shower handle. If you want to remove them quickly, you can follow these two steps:
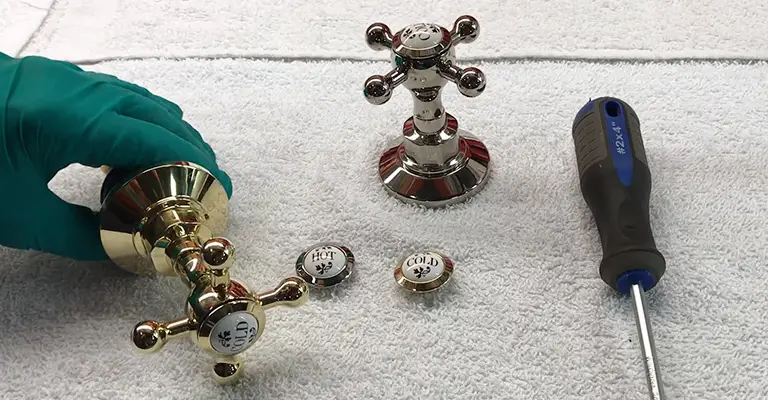
Step 1: Remove the Hot/Cold Button
You’ll need to locate the hot/cold button on the handle. Put a flathead screwdriver in your hand and pull it off once you find it.
Once you have completed that step, move on to the next one.
Step 2: Remove Allen Key
When you pop off the hot/cold button, you’ll find an Allen Key behind the button instead of a screw. To remove it, you will need an Allen Wrench.
It will now be easy to remove the handle. Likewise, this method comes to an end.
Why Should I Remove The Shower Handle?
Generally, you won’t have to remove your shower handles, but problems such as leaks or dirty filters may require you to do so. After reading this, you might wonder how to remove a shower handle without screws.
It turns out to be not that difficult at all. It’s just a matter of popping out the cap or button with a flat screwdriver, turning off the water supply, and removing the screws.
If you follow these steps, you should be able to remove the shower handle easily. Because some shower handles are designed differently, this might not work for all of them.
Most people call a plumber to remove the shower handle since they don’t need to do it themselves. However, there are several reasons why you might do so.
Leaks And Damaged Filters
When you have a clogged filter, you will need to remove the shower head, and finding or fixing a leak will be difficult without removing the shower head.
For Changing The Faucet Cartridge
As your faucet cartridge controls the flow of water, it will naturally wear out over time or become faulty, which will cause leakage or inconsistent water flow.
For this reason, you will often need to open the shower handle to replace the faucet cartridge.
Faulty Or Broken Shower Handle
You are most likely to remove your shower head for this reason. Your shower handle will usually need to be repaired or replaced if it is faulty or broken. In light of this, we don’t recommend removing the shower handle yourself.
Cleaning Your Shower Handle
As a final step, you should open up your shower handle and clean any mineral deposits that may have built up.
Professional Help
If all else fails and that shower handle just won’t come off, it may be time to call for assistance.
You can call a professional if you have trouble removing the handle, the screws won’t come out, or the handle won’t twist. You might spend a lot of money hiring a plumber, but you will probably save time in the long run.
Final Words
Rather than trying to remove the handles yourself and dealing with hidden screws or knobs without screws, you can let a plumber handle it.
If you have tried everything listed above but still can’t get the problem to move, a plumber might be needed to assist you.
I recommend trying to remove the handle before calling a professional if you haven’t done so yet.
The plumber should be contacted if it does not twist off easily and you do not want to try anything else. However, I recommend you try it yourself before making the final decision.


