
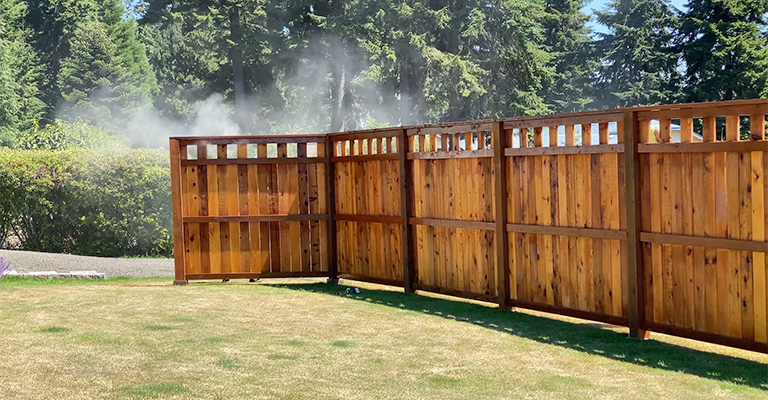
Re-staining it is a great option if you’re looking to give your backyard a fresh new look or simply want to protect your fence from the elements.
Not only does it add a beautiful new color to your fence, but it also helps to protect the wood from rot, decay, and insect damage.
This guide will walk you through the process step-by-step, giving you all the information you need to know to restain your fence like a pro.
So, whether you’re a seasoned DIYer or a first-time fence stainer, let’s get started and give your fence a brand-new look.
How To Restain A Fence? | Step By Step
Besides altering the appearance of your fence by darkening the wood, stains also extend its lifespan. Oil-based stains penetrate the wood to protect it from the ravages of sunlight, wind, and moisture.
Eventually, however, the exterior finish of the wood will begin to deteriorate, and it will need to be restained. To make sure the wood becomes protected for a long time, clean the fence before applying the fresh stain over the existing stain.
If there are any cracks in the wood fence, you should use wood glue before applying the stain.
Things You Will Need
- Goggles
- Paintbrush
- Oil-based stain
- Medium-nap paint roller
- Wood sealer
- Rubber gloves
- Pressure washer with 25- or 40-degree tip
Step 1
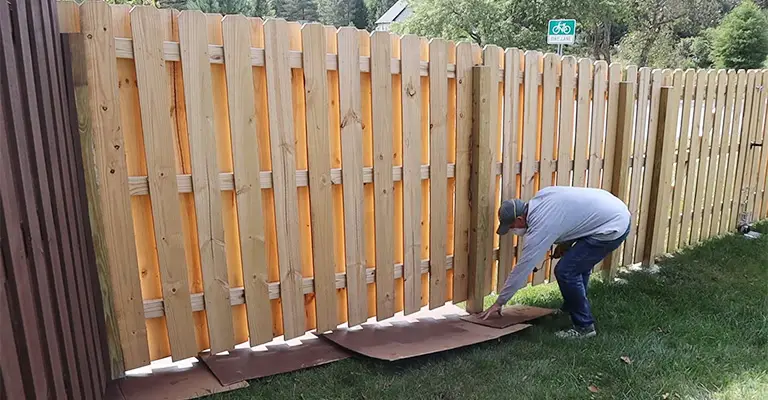
Protect your eyes with goggles and rubber gloves. Utilize a pressure washer that contains a 25- or 40-degree tip for pressure washing wood fences. Ensure the wooden fence is cleaned from 8 to 18 inches away by standing eight to 18 inches away.
A 1,500-to-2,000 psi washer is recommended for washing the fence from top to bottom. The fence could be damaged if you use a stronger force.
Step 2
It is recommended that the fence is allowed to dry for 24 to 48 hours. It’s best to wait a minimum of 48 hours if it’s rainy or damp.
Make sure you wear goggles as you apply the first coat of oil-based wood stain with a paintbrush or medium-nap roller. You can use the roller to cover the bulk of the fence and a small paintbrush for any trimming or edge pieces.
Step 3
It is recommended that the first coat of paint is allowed to penetrate the wood for one hour. You may need to apply a second and even a third coat if you are unsatisfied with the fence’s color.
It is important to allow at least an hour between applications of stain to enable it to penetrate the wood.
Step 4
You will need to wait 72 hours for the final coat of oil-based stain to dry. Apply a light coat of wood sealant to the newly stained wood fence.
The “wash coat,” or wood sealer, provides a glossy, finished look by sealing the wood’s pores. When applying a sealant with a paintbrush, be quick because it dries quickly.
Different Ways To Change The Color Of A Stained Fence
In addition to eco-friendly finishing products, there are several ways to alter the color of a stained fence.
If you want color ideas, look at your natural surroundings and neighborhood. Then consider whether you wish to make a big style statement or blend in quietly.
1. Restaining A Fence
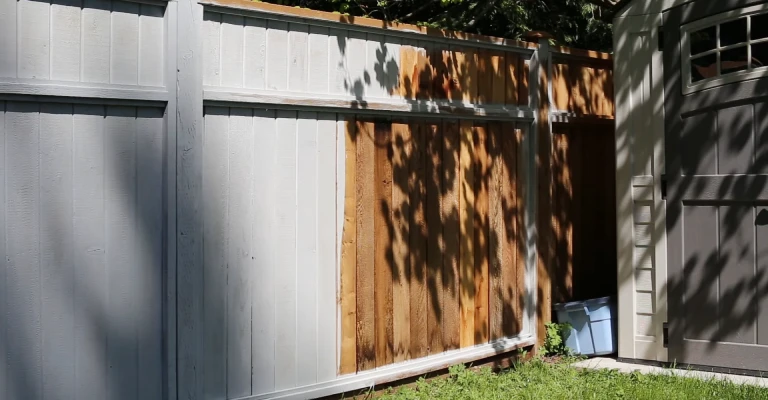
If you choose a darker shade or a solid finish, you can easily change the color of a stained fence.
The stains are available in a wide selection of colors, including browns, grays, greens, black and vivid blues, just to name a few that could cover a pale shade quite well.
As a result of the stain’s transparency and the existing color below, you won’t get the exact color result, but you can get close with a few more coats.
When choosing an opaque or solid stain, you improve your color-changing efforts. Preparation before applying either stain requires light sanding.
Apply generous amounts of stain to a 1-foot section of fencing at a time and wipe off immediately to prevent uneven finishes. Work on a mild, dry, overcast day for extended drying.
2. Eco-Friendly Options
Most people are concerned about the environment today, but avoiding all the volatile organic compounds, VOCs, and toxic chemicals in paints and stains are hard. Despite this, earth-friendly exterior finishing products are becoming more readily available.
For example, water-based acrylics and latex can be used instead of oil-based paints that are high in volatile organic compounds, and you can use zinc oxide as a fungicide instead of high-VOC oil paints.
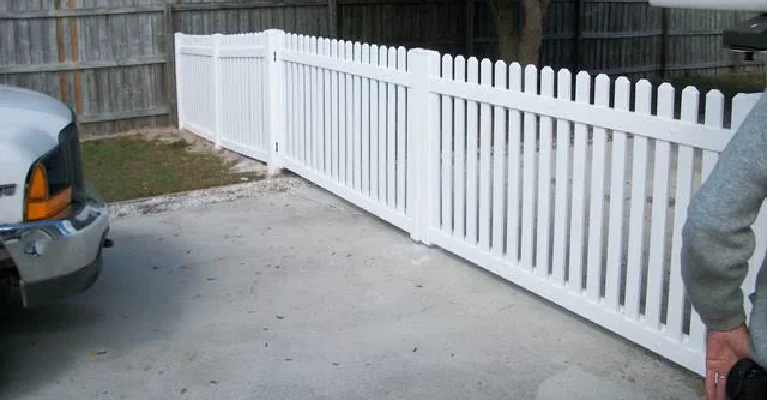
3. White Wash
When you pressure wash and sand off the old finish, you’ll have fresh, bare wood to white wash. This will give you a milky, translucent white stain that allows the wood’s natural grain to show through.
If you wish to apply a white wash like a staining product, apply a generous amount and immediately wipe off any excess.
4. Natural
You can still see the natural wood of your fence, such as pine or cedar, underneath the stain. It is likely that some of the stains will have been absorbed into the grain or porous surface of the wood.
Remove the finish to the bare, original color for a new, fresh look that is earthy and natural. In cases of weathered stain and lumber, the color will come off much more accessible.
If the faded stain and decaying wood are visible on the surface, hire a pressure washer or rent one from a rental shop.
When finishing the project, use 80-grit sandpaper if there is still some stain color visible or the surface appears rough.
5. Paint
Painting over stain is possible even though stain cannot be applied over paint. There are countless colors available with paint. Your house, neighborhood, or natural surroundings might spark a colorful idea.
Determine whether you would like your fence to stand out or blend in with the scenery. A rusty brown fence offers an excellent middle-ground color if your home’s body is neutral, but its door is bright red.
A watery blue or sand hue can be used for a beach wedding, regardless of whether you are near a coastline or a semi-desert landscape.
You can choose from a variety of colors, from subtle silver to fiery scarlet, if your neighbors have an assortment of fencing materials in various colors.
After cleaning the fence, apply a few coats of paint to every nook and cranny before removing any loose dirt or weathered stain.
How Often Should I Restain A Fence?
There is usually a difference depending on where you live and what stain you use. As a general rule of thumb, it is a good idea to restrain a wooden fence every third to fifth year.
Make sure the wood is in good shape. If your fence is dried out or is not repelling water as it should, it might be time to restrain it.
Final Words
To maintain a fresh appearance, your wood needs a protective finish, regardless of whether you remove the stain or apply a new stain. It needs protection from the sun’s harsh rays and seasonal downpours to avoid fading and rotting.
Make sure your fence is weatherproofed and give it a couple of coats of clear weatherproofing, as directed on the label. You can apply a fresh coat of paint every couple of years to a painted fence.


