
In the world of painting, achieving a flawless finish with oil-based paints has long been revered for its durability and beauty.
Traditionally, painters have relied on brushes and rollers to apply these paints, investing time and effort into achieving the desired results.
However, with the advent of modern technology, airless sprayers have emerged as a game-changing tool, revolutionizing the painting industry.
But here arises an intriguing question: Can you spray oil-based paint with an airless sprayer?
Ideally, sprayers should be filled with paint that flows easily and evenly through the hose and out the nozzle without clogging.
If you want to use a sprayer, you will need to know how to thin paint. Sprayers work best with paints that have a lower viscosity, or consistency.
Paints or stains that are oil-based can be sprayed with airless paint sprayers. For an airless sprayer, you shouldn’t need to thin the paint.
Oil-based paint can be sprayed with HVLP paint sprayers. Paints with thicker consistency, such as water-based latex, can clog sprayers.
Before using latex paint in an HVLP gun, add half a cup of water for every gallon of latex paint, and stir thoroughly to thin its consistency. Oil-based enamel, acrylic, and latex paints can be sprayed with pneumatic paint sprayers.
To learn more about how to select paint for the sprayer you are going to use and how to thin it, consult the manufacturer’s instructions.
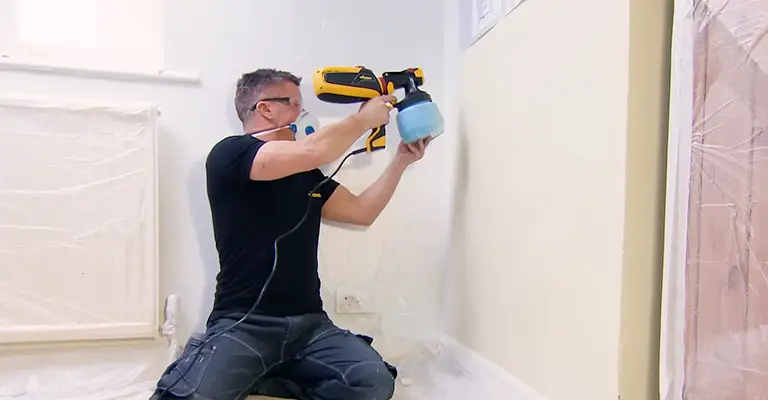
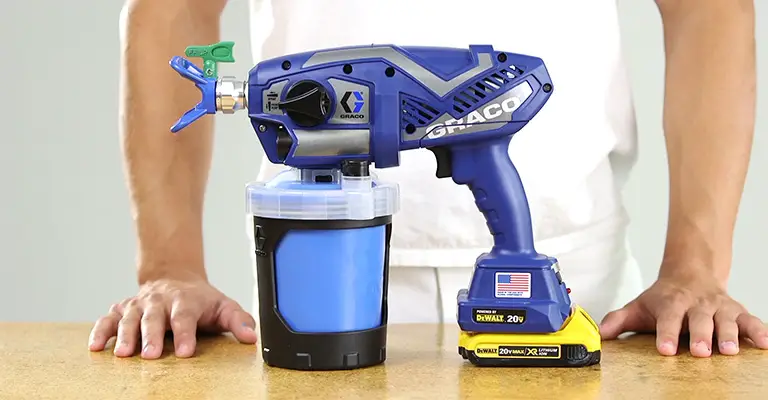
Using Oil Based Paint With An Airless Sprayer
Airless sprayers have gained significant popularity due to their ability to produce high-pressure sprays that atomize paint, resulting in a fine mist that evenly coats surfaces.
This method offers several advantages, including increased efficiency, faster application times, and a smooth, professional finish.
Painters and contractors alike have embraced airless sprayers for their ability to tackle large projects swiftly and effortlessly.
Historically, airless sprayers have predominantly been associated with water-based paints, primarily due to their lower viscosity compared to oil-based paints.
However, advancements in spray tip technology, equipment design, and the formulation of oil-based paints have made it increasingly feasible to use airless sprayers for oil-based applications.
One of the key considerations when spraying oil-based paint with an airless sprayer is the paint’s viscosity.
Since oil-based paints tend to have a higher viscosity, they may require thinning with an appropriate solvent or thinner to achieve optimal sprayability.
Proper thinning helps ensure that the paint flows smoothly through the sprayer without clogging or producing uneven coatings.
Furthermore, selecting the right spray tip size and pressure setting is crucial for achieving desirable results.
Different oil-based paints may have varying consistencies, so it is essential to consult the paint manufacturer’s guidelines and perform tests before embarking on a larger project.
These tests allow painters to fine-tune their spray settings and ensure the desired coverage, atomization, and overall finish.
How To Thin Oil-Based Paint For Spraying?
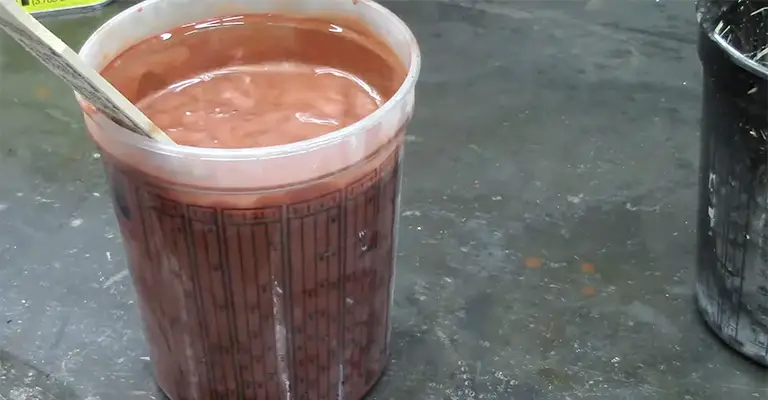
Thin oil-based paints with turpentine, white spirit, or paint thinners before spraying them. Oil-based paints should have a 3/1 ratio. It means three parts paint and one part thinner.
There is a wide variety of oil-based paints available, and not all of them can be thinned and sprayed with an air sprayer. Be sure to read the instructions when you choose your paint.
The manufacturer will likely indicate whether the paint can be sprayed, as well as the best paint ratio.
I hope that this look at how to thin paint ready to spray has been helpful. It is important to take into account that different sprayers require different paint thicknesses.
Non-diluted paint can be sprayed with some professional spray guns. Most hobbyist paint sprayers cannot. Before painting, always spray a test piece if you are unsure.
How to Switch Between Oil Based & Water Based Coatings in Airless Sprayers?
Many people ask us if and how they can switch between oil-based and water-based paints with paint equipment, whether it’s an airless sprayer, pressure pot, or something else entirely.
If you understand how to do so properly, you can switch between oil and water-based paints and coatings within a single job. Pumps can get clogged with chunks if they are not properly switched between oil- and water-based coatings.
That can make cleaning them out a pain. You can ensure your airless sprayer functions smoothly after switching from oil to water-based coatings by following the steps outlined below.
Step 1 – Flush The Pump With The Water
Using water will help you clean the pump first, then the pump and hose, if you are currently using an oil-based coating.
The pick-up tube of the airless pump should be inserted in a container of water and the dump valve tube should be directed into a clean container. Once that is done, make sure the prime/spray control on the airless pump is turned on.
Once the oil-based material is forced through the pump, run it until only water remains on the output. This will flush out the pump’s fluid section.
Step 2 – Flush The Airless Hose And Spray Gun With Water
Once the pump section has been cleaned, switch the prime/spray valve to spray and spray until water comes out of the airless spray gun, this will verify that all oil-based materials have been removed.
Then, attach your airless sprayer’s pick-up tube to the water-based coating and set the spray/prime valve to prime until the new coating has primed your fluid section.
Hold the trigger until your airless paint sprayer begins spraying the new material when you set the spray / prime switch to spray.
Switching From Water Based To Oil Based
To flush the pump if you are switching from water-based products to oil based, you will need to use the appropriate solvent for your oil-based product.
With the airless sprayer pick up tube in the solvent and the dump valve tube in a clean bucket, you will first flush the pump using the prime/ spray valve.
In order to determine whether an airless hose and airless spray gun have been completely cleaned of water-based products, turn the spray/prime valve to spray and observe a brief break in your spray pattern.
You can prime the fluid section of the airless sprayer after flushing the fluid section and the hose with the compatible solvent of your new material.
If you want to do this, put the dump tube into a bucket filled with oil-based material or a clean bucket and wait until the new material comes out.
Spray the new oil-based material until your airless spray gun sprays the new fluid section after it has been primed.
An Explanation And Summary In A Few Words
If you want to switch from oil to water or water to oil, you will need to flush the airless pump fluid section by using the dump valve tube and placing the pick-up tube in the cleaner that will be used with the new material.
With the cleaner, flush the line and airless spray gun after flushing the pump. After flushing the pump and line with the cleaner of the new material, you will spray prime the pump and line with the new paint or coating.
Your airless paint sprayer will never have problems with cross contamination if you follow these steps.


