
Connecting a dishwasher to a garbage disposal without an air gap is a task that often arises in kitchen installations.
While it may seem daunting at first, the process is relatively straightforward and can be accomplished with a few simple steps.
If you’re scratching your head wondering how to make this happen, worry not! We’ve got you covered with a comprehensive guide. Let’s get those dishwashing chores streamlined and efficient.
Understanding the Drain Line
The first key component is the dishwasher’s drain line. Typically, it comes with an end that can be adjusted to accommodate different setups.
If you had an air gap on the countertop, you’d cut off a portion to fit the smaller connection. However, our goal here is to connect directly to the garbage disposal, bypassing the need for an air gap on the counter.
The Decision to Skip the Air Gap
As for the decision to forgo the air gap on the countertop, opting for a more streamlined approach, this is a common choice nowadays, and experienced countertop installers and plumbers vouch for it.
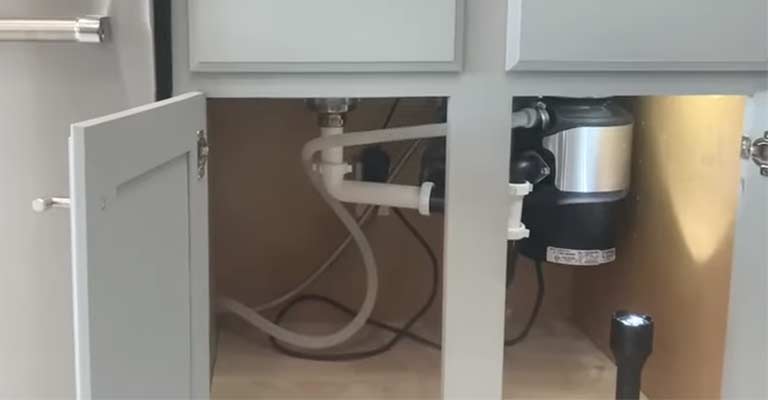
Instead of a visible air gap, we’ll create a loop within the cabinet space, ensuring the dishwasher drain line sits higher than the garbage disposal outlet.
Connecting to the Garbage Disposal
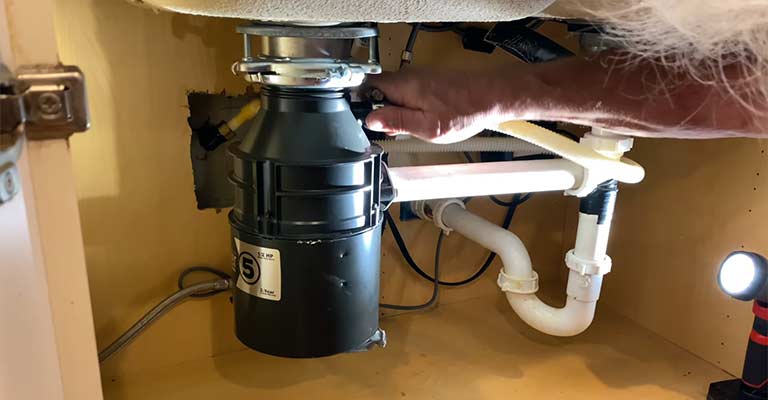
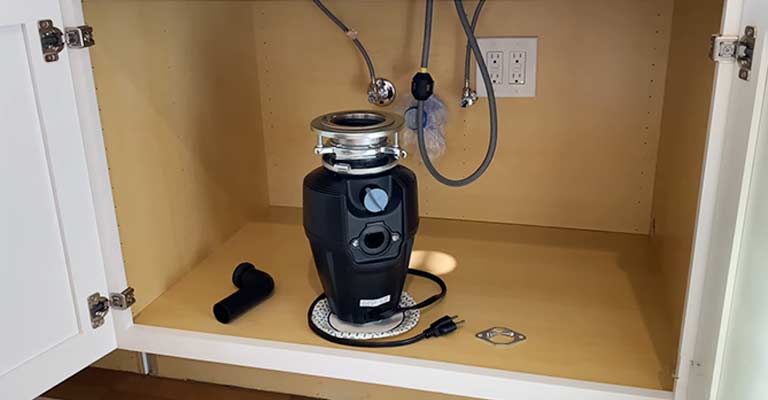
Now, let’s get hands-on. If you have a brand new garbage disposal, remember not to knock out the cap inside where the dishwasher drain connects. This cap is crucial for preventing leaks.
Only knock it out if your dishwasher is in use. I am emphasizing the importance of checking and following the garbage disposal’s installation manual for such details.
Creating a Loop for an Air Gap Effect
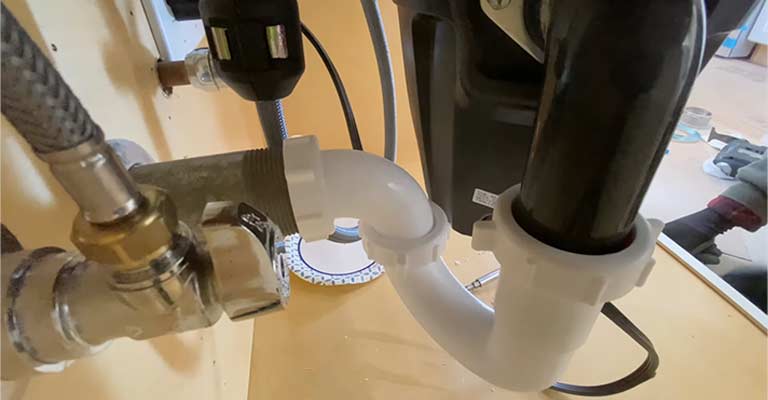
To mimic the air gap effect without an actual air gap, create a loop with the dishwasher drain line within the cabinet space.
This loop should be positioned higher than the garbage disposal outlet. By doing this, you allow for natural air intake during drainage, preventing the risk of water backup.
Adjustments and Final Checks
Before finalizing the connection, ensure that the dishwasher’s wheels are in good condition, especially since modern models often have plastic wheels.
Additionally, remember to remove any packaging materials from the dishwasher, and check for any specific instructions in the user manual.
Connecting a Dishwasher to a Garbage Disposal Without an Air Gap
Follow these step-by-step instructions to ensure a smooth and efficient connection in your kitchen.
Materials Needed:
Dishwasher Connector Kit:
This kit typically includes a hose, clamps, and adapters necessary for connecting the dishwasher to the garbage disposal.
Adjustable Wrench:
For tightening and securing connections.
Screwdriver:
To secure hose clamps and other components.
Plumber’s Tape:
Optional but recommended for creating a secure seal.
Step 1: Turn Off Power
Before beginning any installation, ensure the power to the dishwasher and garbage disposal is turned off. Safety should always be the top priority.
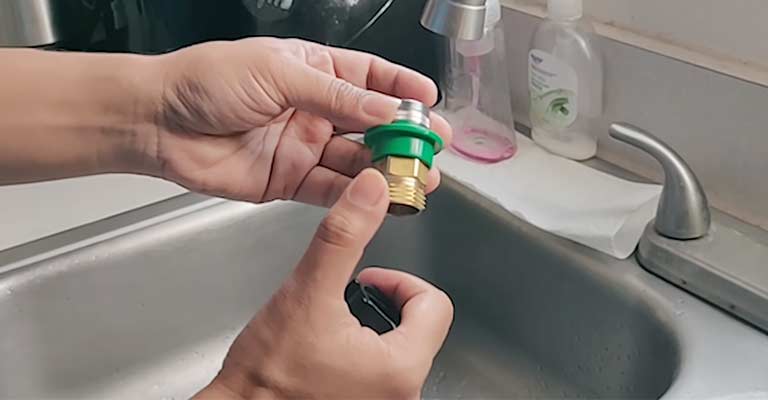
Step 2: Prepare the Garbage Disposal

Remove the Knockout Plug:
Check the garbage disposal unit for a knockout plug where the dishwasher hose will connect. Use a screwdriver to remove the plug if it’s present.
Apply Plumber’s Tape:
If provided, wrap plumber’s tape around the threads of the garbage disposal connection to create a secure seal.
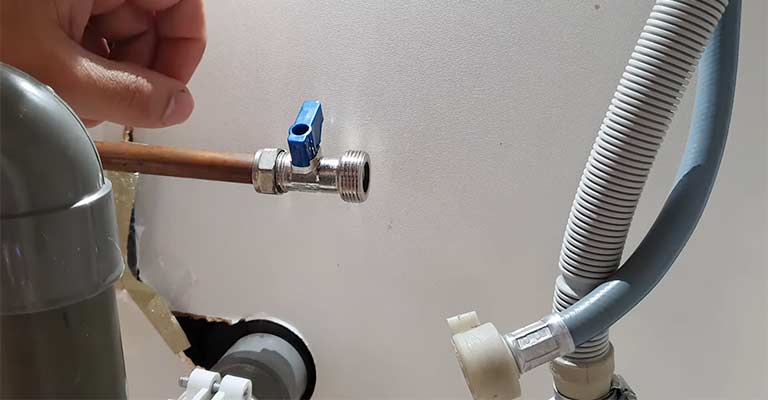
Step 3: Connect the Hose
Attach Hose to Dishwasher:
Connect one end of the dishwasher hose to the dishwasher’s water pump outlet. Use a clamp to secure it in place.
Connect Hose to Garbage Disposal:
Attach the other end of the hose to the connection on the garbage disposal unit. Again, use a clamp to ensure a tight seal.
Step 4: Secure Connections
Tighten with Adjustable Wrench:
Use an adjustable wrench to tighten the connections on both ends of the hose. This ensures a secure and leak-free installation.
Double-Check for Leaks:
Turn on the water supply briefly and check for any leaks. If leaks are present, tighten the connections further.
Step 5: Test the System
Turn On Power:
Restore power to the dishwasher and garbage disposal.
Run a Test Cycle:
Run a short test cycle on the dishwasher to ensure proper drainage into the garbage disposal.
Step 6: Final Checks
Inspect for Leaks:
Once the test cycle is complete, inspect the connections for any signs of leaks. Address any issues promptly.
Secure Loose Components:
Double-check that all clamps, screws, and connections are securely tightened.
Conclusion
And there you have it – a straightforward guide to connecting your dishwasher to the garbage disposal without the need for an air gap. By following these steps, you’ll have your dishwasher working seamlessly in no time.
Local codes do not always require air gaps. A looped drain hose must be attached under the counter if one is not used.
This hose clamps onto a pipe stub that is teed out of a special tail piece that attaches to the sink drain. It is possible to install an air gap in the counter top if one is desired or required. As described above, the hose attaches to the drain.
Remember, it’s always a good idea to consult your appliance manuals and, when in doubt, seek professional advice. Happy dishwashing!


