
The difficulty of moving large, heavy slabs of stone can be a major pain for tile or granite installers.
That’s why wooden frames are a perfect way to transport granite. You will learn how to build a wooden frame to transport granite using simple tools and materials in this blog post. Let’s start.
Summary:
It is necessary to create a wooden frame for the safe and efficient transportation of granite. It is designed to be sturdy, strong, and easy to assemble and disassemble while supporting a heavy load.
Why You Need a Wooden Frame to Transport Granite
Granite is a very heavy material, as we mentioned earlier. The weight of a granite slab can exceed 1,000 pounds.
Often, slabs are moved by forklift or other heavy equipment, but not all installers have such equipment.
Wooden frames are ideal for this purpose. It is relatively easy to build a wooden frame for moving granite slabs, making the process safer and more convenient.
A forklift would cost a lot more than this. You may also want to build a wooden frame for granite transportation to ensure that it is protected.
Flatbed trucks or pickup trucks are the most common ways to transport granite. While in transit, there is a risk of slabs shifting and becoming damaged.
It is important for the slabs to be held securely in place by a wooden frame in order to avoid damage.
Last but not least, a wooden frame can be easily disassembled and stored compared to a forklift or other heavy machinery.
Granite is only transported occasionally, so investing in expensive equipment you’ll only use periodically doesn’t make sense. When not in use, wooden frames can be easily disassembled and stored.
Materials And Tools Required
Here are the tools and materials you will need to build a wooden frame for transporting granite:
- 4 – 2x4s (8 feet long)
- 2 – 4x4s (8 feet long)
- 1 – 2×6 (8 feet long)
- 1 – a piece of plywood (4 feet x 8 feet)
- Construction adhesive
- Nails or screws
- Saw
- Measuring tape
- Level
Step-by-Step Instructions for Building a Wooden Granite Transport Frame
Here is an easy-to-follow guide for building a wooden granite transport frame:
1. Measure the Dimensions
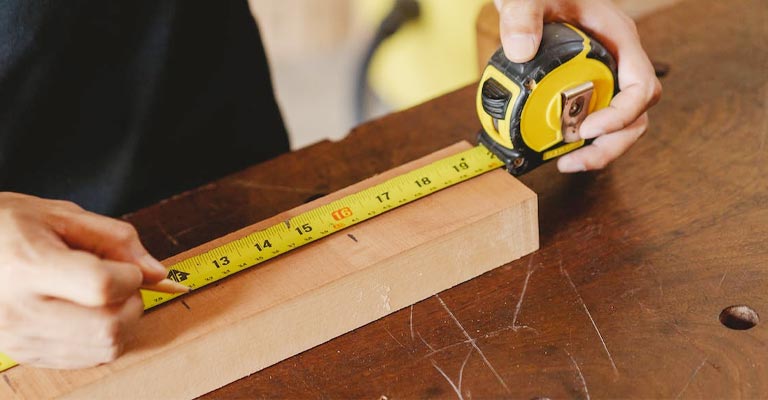
Taking measurements of the granite slab is the first step. The length and width of the slab are important to know. Since the frame will be built around these dimensions, we need to know these dimensions in advance.
Take measurements of the granite with a tape measure. The length should be measured first, followed by the width. Make sure you measure the granite’s longest and widest points if it is not a perfect rectangle.
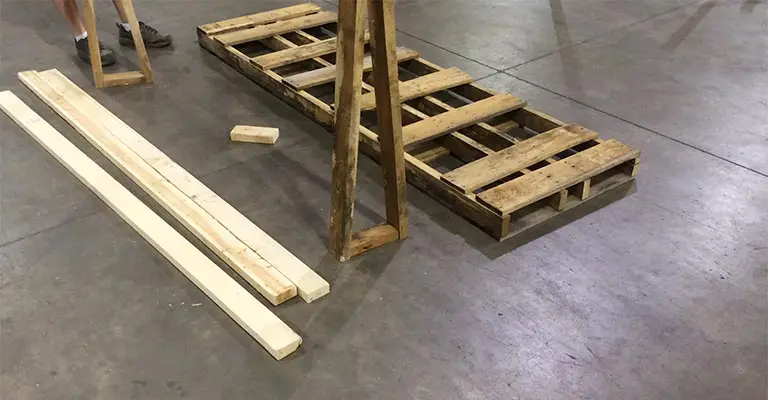
2. Choose the Right Lumber

Select the lumber for the frame after you have measured the granite. In order for the granite to be supported, the lumber should be strong enough.
Make sure that the lumber you use for the frame is long enough. For this project, 2x4s or 4x4s are the best lumber to use. 6x6s can also be used if these lumber pieces are not available.
3. Cut The Lumber To Size
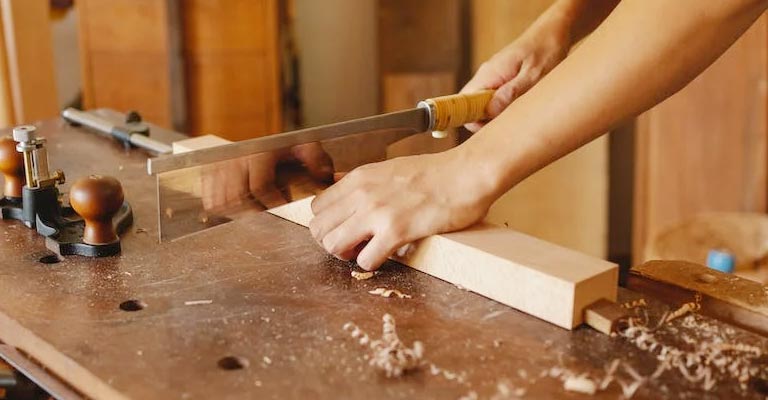
It is necessary to cut the lumber to size once you’ve selected it. Using a saw is the easiest way to do this. Measure the lumber’s length first. A saw can then be used to cut the lumber to the desired length.
If you want to avoid any mistakes, make sure to measure twice and cut once. The lumberyard can also cut the lumber for you if you don’t have a saw.
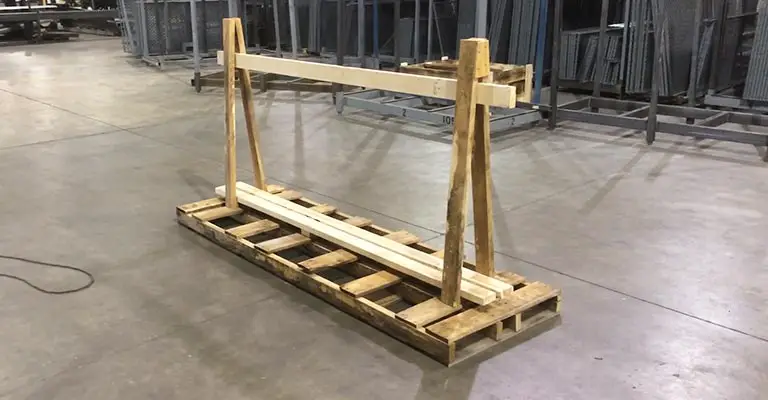
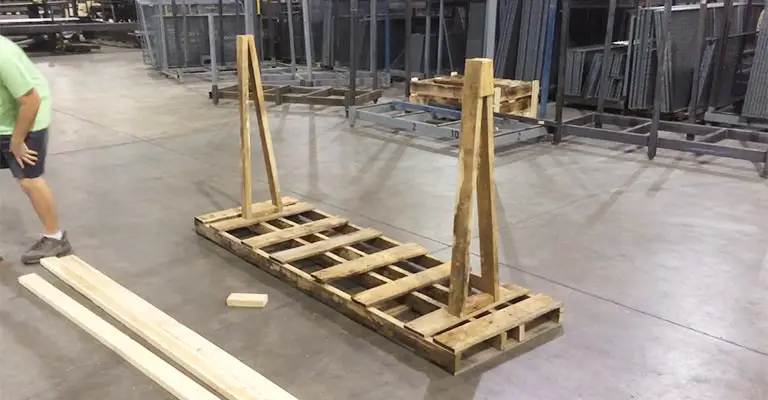
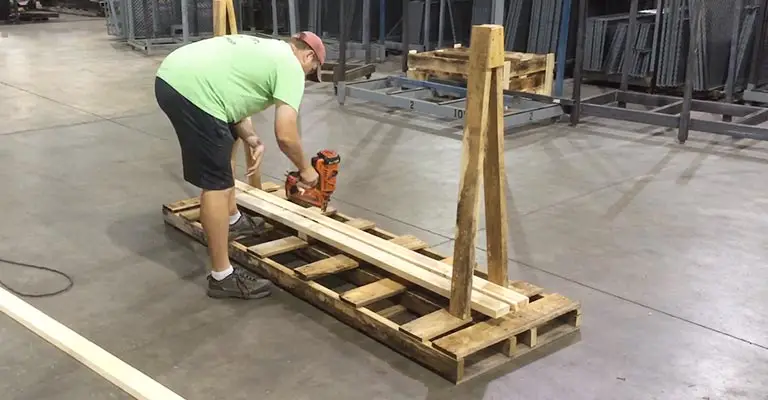
4. Assemble The Frame
Once the lumber has been cut, assemble the frame. Attach the ends of two pieces of lumber together.
The process can be completed by screwing, nailing, or even bolting. Check that the corners are flush and that the frame is square.
The first step is to join the two pieces of lumber in the middle. Once the frame is complete, attach the remaining two pieces of lumber.
Make sure you use long screws, so they pass through the lumber and into the granite if you are using screws.
5. Attach The Sides
As soon as the frame is assembled, the sides need to be attached. This can be accomplished by measuring the granite slab’s width first. Attach two pieces of lumber to the frame using screws or nails at this width.
You will use these for the sides of your frame. Countersink screws so they do not protrude or scratch the granite if you are using them.
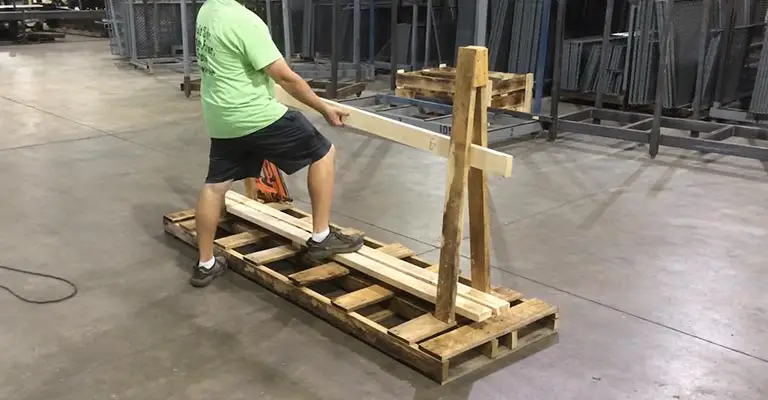
6. Attach The Top
The top will need to be attached after the sides have been attached. Attach a piece of lumber with screws to the frame the same width as the granite slab.
Before attaching the lumber, make sure it is level. In the event that it’s not level, the granite won’t be level when it is placed on the frame.
8. Add Braces
After assembling the frame, braces will need to be added. By using the braces, the frame will be able to support the granite’s weight and prevent it from tipping over.
Measuring the distance between the two sides of the frame is the first step to adding braces.
Four pieces of 2×4 lumber should be cut to this length and screwed to the frame. Place the braces evenly along the frame’s sides so that they are parallel.
9. Attach The Wheels
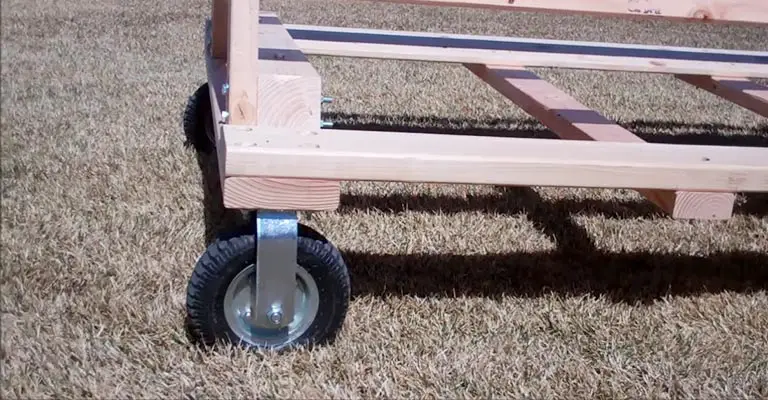
The wheels will need to be attached after the braces have been added. Moving the granite and frame will be easier with the wheels. In most hardware stores, you can find wheels. The first step to attaching the wheels is to drill holes into the frame.
Bolts should fit through the holes. The bolts should then be inserted through the holes and washers and nuts should be added. Secure the wheels by tightening the nuts.
Wheel locks can be installed on the frame if they are not included with the wheels. The frame will be prevented from rolling away with wheels with locks.
10. Test The Frame

You will need to test the frame after adding the wheels. Make sure the granite slab is level before placing it on the frame. Wheels can be adjusted if they aren’t level.
Try moving the frame once the granite has been leveled. Adding more braces will prevent it from tipping over. You’re done if it doesn’t tip over! The granite slab can now be easily moved.
How Do You Transport a Piece of Granite?
In some cases, transporting granite can be a challenging process, depending on its size and weight. Cranes, forklifts, or a mover’s dolly are generally recommended for moving large stones, such as granite.
Whenever you handle granite, wear appropriate safety equipment such as gloves, goggles, back braces, and safety boots.
In addition, slings or straps must be rated for the weight of the stone being transported in order to prevent the stone from slipping.
What is the Best Glue for Wood to Granite?
Wood and granite are best bonded with epoxy. It has the strongest bond and longest lasting hold of any adhesive, including super glue and construction adhesive.
When two surfaces are mixed together, epoxy bonds by creating a chemical reaction between them. As a result, the bond will be extremely strong and durable for many years to come.
Furthermore, epoxy can also be used to adhere wood to granite or any other stone surface since it can fill in cracks or crevices between them.
The material adheres to a stone surface without slipping or becoming loose over time, making it a great choice for attaching thicker materials like countertops or mantels.
Epoxy dries quickly and causes no mess or fuss after application.
Is it Worth It to Build a Wooden Frame to Transport Granite?
Depending on the situation, the answer will vary. Building a frame may be worth your time if you need to move a large granite piece frequently.
You might find it cheaper to hire someone to move the granite piece if you only need to move it occasionally.
Cost and convenience will ultimately determine the decision. Building a frame may be worth your time and money if you have the time and resources.
If you are unable to move the granite yourself, you may want to consider hiring someone to assist you.
Tips On How to Build a Wooden a Frame to Transport Granite
A tarp or another heavy-duty material should be used to cover the frame to keep it clean and dry.
To protect the granite from damage, place padding inside the frame on all sides.
To prevent movement during transport, nail or screw the frame together securely.
You should use sturdy, high-quality wood for the frame to prevent it from breaking.
The frame should be large enough to accommodate the granite piece.
Warnings
The granite piece should not be moved by yourself. Make sure there are at least two people who can help with lifting and carrying.
Make sure the granite is not bumped or dropped while in the frame. Cracks or chips could result from this.
Granite should not be left outside in the frame for extended periods of time. Weather conditions may damage it.
When not in use, keep the granite frame in a dry, safe place.
How Much Does It Cost to Build a Wooden A Frame?
Based on the frame’s size and the type of lumber used, the cost of building a wooden frame will vary. It costs around $100 on average, however.
The wheels and granite slab are not included in this price. There will be a lower cost if you already own a granite slab.
Final Words
That’s it, then! This guide explains how to build and transport granite using a wooden frame.
You can ensure the safe arrival of your granite piece by following these simple steps. The frame you build can last for many years with a little time and effort.


