
Welcome to our DIY electrical guide! If you’ve ever found yourself struggling with a dimmer switch that just doesn’t suit your lighting needs, you’re in the right place.
We understand how frustrating it can be when you simply want a regular on/off switch to control your lights without any fancy dimming features.
Fear not, because in this step-by-step tutorial, we’ll walk you through the process of changing a dimmer switch to a regular switch. It’s a straightforward task that requires just a few basic tools and a little bit of know-how.
So, if you’re ready to shed some light on this subject and get that dimmer switch swapped out, let’s get started on the journey to a simpler, fuss-free lighting solution!
Can I Replace A Dimmer Switch With A Standard Switch?
Absolutely, you can replace a dimmer switch with a standard switch! It’s a common and straightforward task that can be accomplished with basic electrical knowledge and some simple tools. Here’s a general outline of the steps to follow:
Safety First
Before doing any electrical work, always turn off the power to the circuit at the breaker box to prevent any accidents.
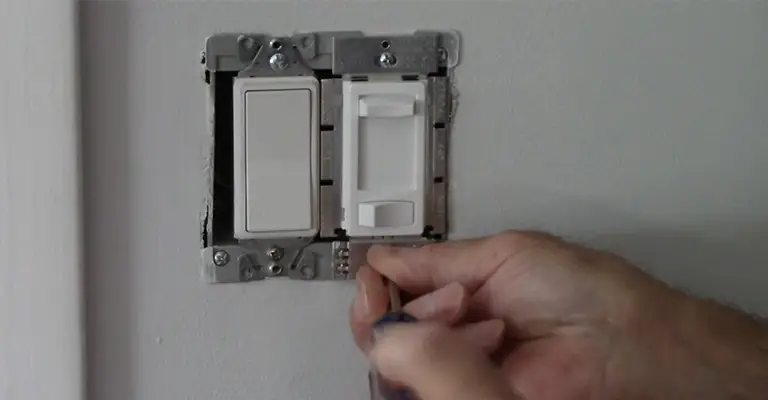
1. Remove the Dimmer Switch
Take off the faceplate covering the dimmer switch and unscrew it from the electrical box. Carefully pull out the dimmer switch from the box.
2. Inspect the Wiring
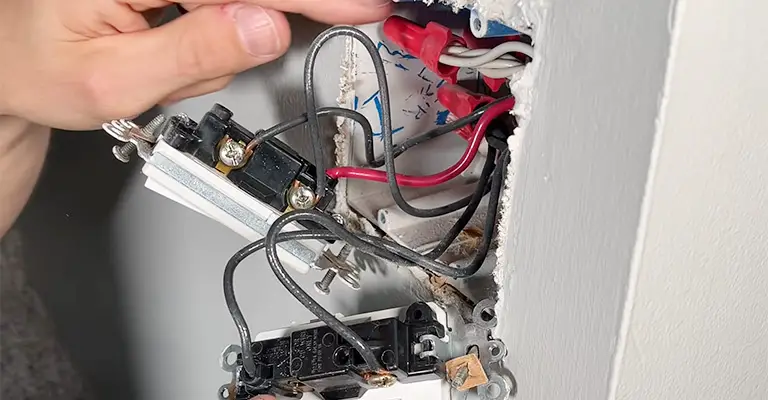
Take a close look at the wires connected to the dimmer switch. Typically, there will be two or three wires: a black (hot) wire, a white (neutral) wire, and a green or bare (ground) wire. Make sure the wires are in good condition and not damaged.
3. Disconnect the Dimmer Switch Wires
Loosen the terminal screws on the dimmer switch and gently remove the wires. You might need to use a screwdriver to release the wires, depending on the type of connection.
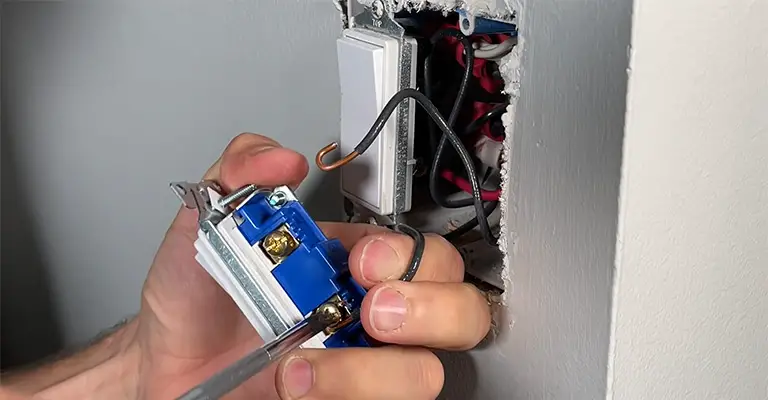
4. Connect the Wires to the Standard Switch
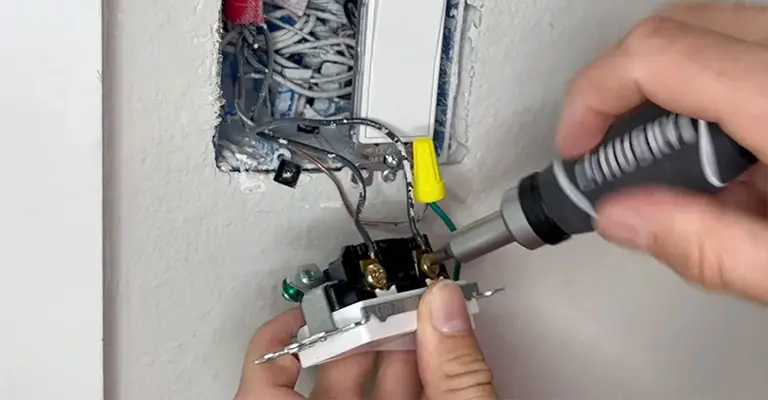
Take your new standard switch and connect the wires to it in the same configuration they were connected to the dimmer switch.
The black wire goes to the “hot” or “common” terminal, the white wire to the “neutral” terminal (if available), and the green or bare wire to the “ground” terminal.
5. Secure the Switch
Once the wires are connected, carefully push the wires and the switch back into the electrical box. Use screws to secure the switch to the box.
6. Attach the Faceplate
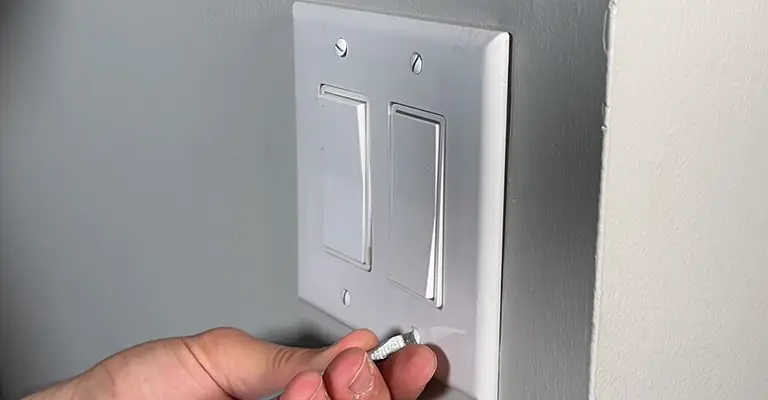
Finally, put the faceplate back on and tighten the screws to hold it in place.
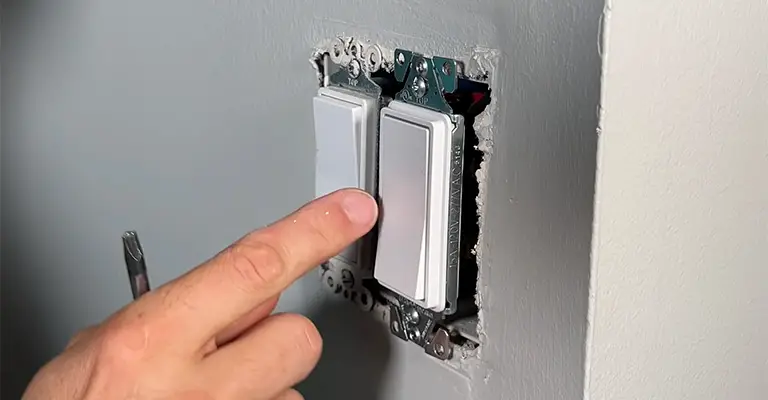
7. Restore Power and Test
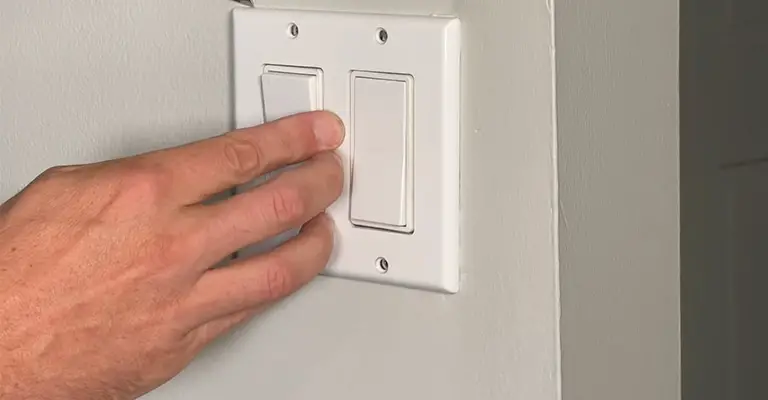
Go back to the breaker box and turn the power back on for the circuit. Test the new switch to ensure it’s working correctly and that the lights turn on and off as expected.
Remember, if you’re ever unsure about performing any electrical work, it’s always best to consult a licensed electrician to ensure your safety and to get the job done right.
But if you’re comfortable with basic electrical tasks, replacing a dimmer switch with a standard switch should be well within your capabilities.
How Do You Remove A Dimmer Switch?
To remove a dimmer switch, follow these steps:
1. Turn Off the Power
Before you begin, turn off the power to the circuit at the breaker box to avoid any electrical accidents.
2. Remove the Faceplate
Take off the faceplate covering the dimmer switch by unscrewing it. Some faceplates may have a screw in the center, while others have screws at the top and bottom. Use a screwdriver to loosen and remove the screws.
3. Check for More Screws
In some cases, there might be screws securing the dimmer switch to the electrical box. Check around the edges of the switch for any additional screws and remove them if present.
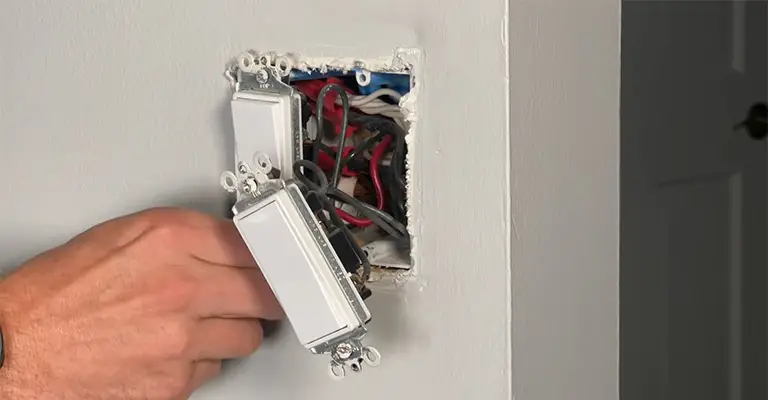
4. Gently Pull Out the Switch
Once all screws are removed, gently pull the dimmer switch out of the electrical box. Be careful not to yank on the wires, as they are still connected to the switch.
5. Examine the Wiring
With the dimmer switch removed, inspect the wires connected to it. Take note of how they are connected to the switch so that you can rewire the new switch correctly.
6. Disconnect the Wires
Loosen the terminal screws holding the wires in place on the dimmer switch. Depending on the type of switch, you might need to use a screwdriver to release the wires. Carefully disconnect the wires from the switch.
7. Label the Wires (Optional)
If you’re not immediately replacing the dimmer switch with a standard switch, it’s a good idea to label the wires to avoid confusion later. You can use tape or labels to mark which wire goes where.
With the dimmer switch removed and the wires disconnected, you can now proceed with installing a standard switch, if desired.
Remember to follow safety precautions, and if you’re unsure about any part of the process, consult a licensed electrician to ensure a safe and proper removal of the dimmer switch.
Do I Need An Electrician To Replace A Dimmer Switch?
Whether or not you need an electrician to replace a dimmer switch depends on your comfort level and experience with electrical work.
Replacing a dimmer switch is considered a relatively simple electrical task, and many homeowners with basic DIY skills can handle it without professional help.
If you have experience with electrical work, know how to turn off power at the breaker box, and understand how to safely handle electrical connections, you may feel confident in replacing a dimmer switch yourself.
Just follow the steps outlined in the previous response to ensure a safe and successful replacement.
However, if you’re uncertain about electrical work, lack experience, or feel uncomfortable working with electricity, it’s best to hire a licensed electrician.
Electricians have the knowledge and expertise to handle electrical tasks safely and efficiently. They can ensure that the replacement is done correctly, reducing the risk of accidents and electrical issues in the future.
Final Words
Remember, electrical work can be dangerous if not done properly, and improper installations can lead to electrical shocks, fires, or damage to your electrical system.
Your safety and the safety of your household should always be a top priority, so if you have any doubts, it’s wise to seek professional help from a qualified electrician.
They can get the job done safely, giving you peace of mind and ensuring a reliable electrical installation.


