
Concrete is a durable and versatile building material used in various construction projects.
However, even with its strength, sometimes gaps or voids can develop in concrete surfaces due to various reasons such as settling, cracks, or improper installation.
If you’re faced with a 2-inch gap in a concrete surface, it’s essential to address it promptly to prevent further deterioration and ensure the longevity of the structure.
How To Fill A 2 Inch Gap In Concrete?
In this guide, we’ll walk you through the steps to effectively fill a 2-inch gap in concrete.
Materials You’ll Need
Concrete Mix: Choose a high-quality concrete mix that matches the composition and color of the existing concrete. You can find pre-mixed bags at most hardware stores.
Water: Clean water is essential for mixing the concrete to the right consistency.
Trowel: A trowel will help you apply and smooth the concrete mix.
Bucket and Mixing Tools: A bucket for mixing the concrete and tools like a shovel or mixing paddle.
Protective Gear: Wear gloves, safety glasses, and a dust mask to protect yourself during the process.
Bonding Agent (Optional): A bonding agent can improve the adhesion between the existing concrete and the new mix.
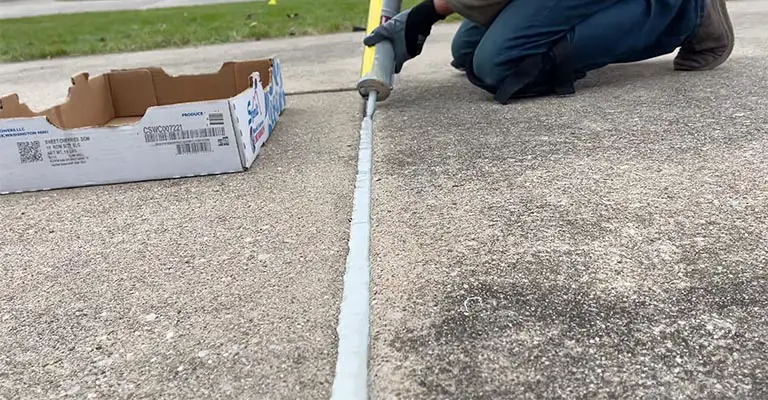
1. Prepare the Gap
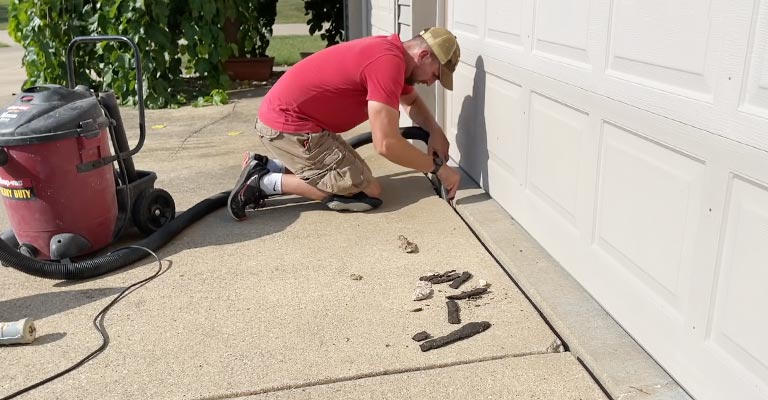
Before you start, clean the gap thoroughly to remove any loose debris, dirt, or dust. Use a wire brush or a vacuum to ensure the surface is clean and free from any contaminants.
2. Apply Bonding Agent (Optional):

If you’re concerned about adhesion, apply a bonding agent to the edges of the gap. Follow the manufacturer’s instructions for application and drying time.
3. Mix the Concrete:
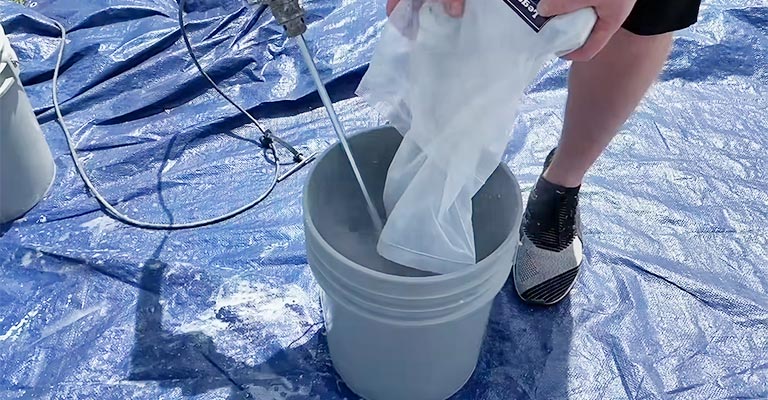
Follow the instructions on the concrete mix bag to create the right consistency. Typically, you’ll need to add water gradually while mixing until you achieve a smooth, workable mixture.
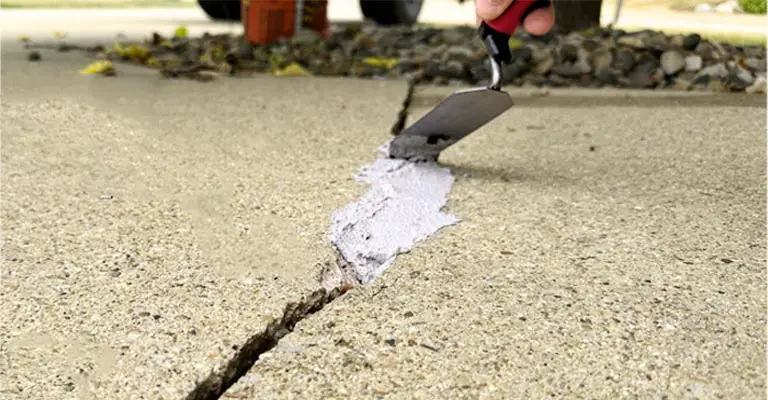
4. Fill the Gap:
Using a trowel, carefully fill the 2-inch gap with the mixed concrete. Start from one end and work your way to the other, ensuring that the gap is completely filled.
5. Pack the Concrete:
Press down on the freshly poured concrete with the trowel to eliminate any air pockets and ensure a compact fill. You can also tap the edges of the gap gently with a mallet to encourage the concrete to settle.
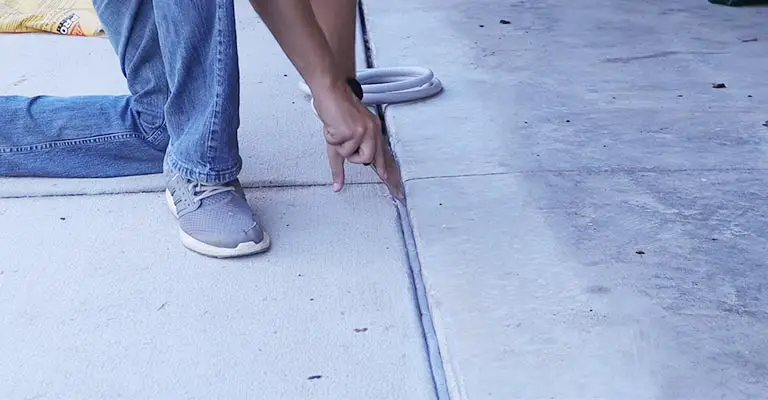
6. Smooth the Surface:
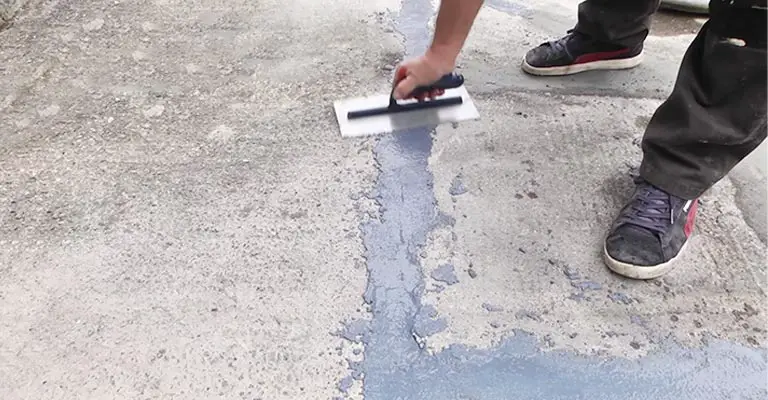
Once the gap is filled, use the trowel to smooth the surface of the new concrete. Blend the edges with the surrounding concrete to create a seamless finish.
7. Cure the Concrete:
Cover the freshly filled gap with plastic sheeting to slow down the drying process and prevent cracks from forming. Leave it covered for at least 24 to 48 hours. For a more controlled curing, consider misting the concrete with water periodically.
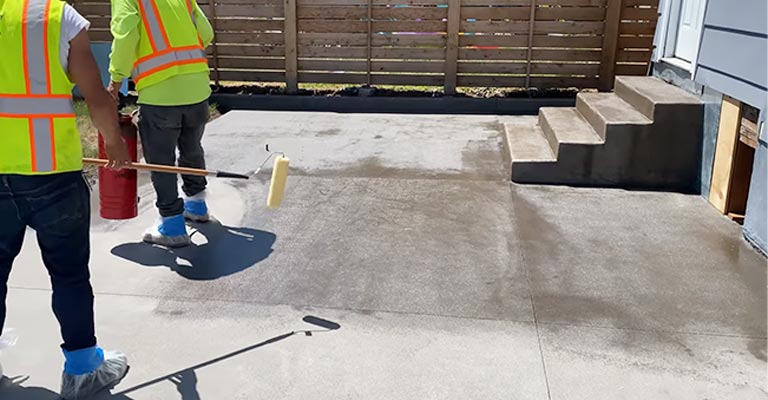
8. Final Finishing:
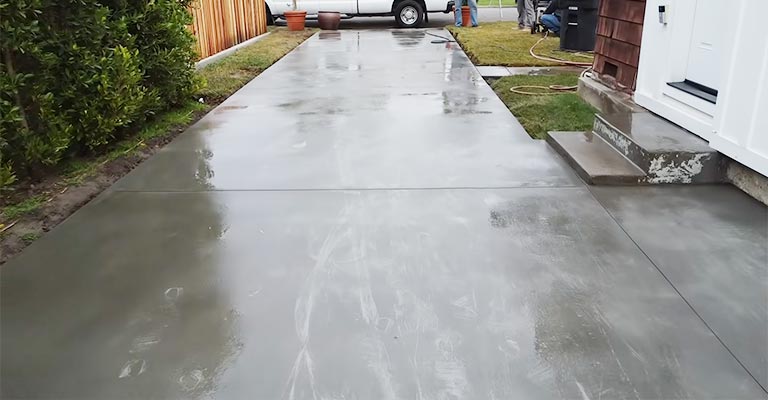
After the initial curing period, remove the plastic sheeting and allow the concrete to air dry for a few more days. You can then use a concrete finishing tool or sandpaper to further smooth and blend the surface if needed.
FAQs
1: Can I use regular cement instead of concrete mix to fill the gap?
It’s recommended to use a concrete mix rather than just cement because concrete mix contains aggregates that provide better strength and durability. Regular cement alone may not have the same structural integrity.
2: How do I know if the gap is a sign of a larger problem?
If the gap is a result of structural issues, such as foundation problems or extensive cracking, it’s best to consult a professional before attempting any repairs. They can assess the situation and recommend appropriate solutions.
3: What should I do if the gap reappears after I’ve filled it?
If the gap reappears, it might indicate an ongoing issue like soil movement or settling. You should consider consulting a professional to address the underlying problem before attempting to fill the gap again.
4: Can I use epoxy or other specialized products to fill the gap?
Yes, epoxy-based fillers can be used to fill gaps in concrete. Epoxy has excellent adhesion properties and can be particularly useful for larger gaps or cracks. Follow the manufacturer’s instructions for proper application.
5: Can I DIY a 2-inch gap filling or should I hire a professional?
Small gaps like a 2-inch one can often be DIYed following proper instructions. However, if you’re unsure about the cause of the gap or if it’s part of a larger structural issue, it’s advisable to consult a professional to ensure proper assessment and repair.
6: How long should I wait before using the repaired area?
After initial curing (24-48 hours), the concrete will continue to gain strength over the next few days. However, full strength development can take up to 28 days. Avoid heavy loads or excessive stress during this time.
7: What’s the best way to match the color of the existing concrete?
To match the color, you can try adding concrete dye or pigment to the mix. It’s a good idea to test the color on a small inconspicuous area first to ensure a close match.
8: Can I fill the gap with regular soil or gravel before adding the concrete?
It’s not recommended to fill the gap with soil or gravel before adding concrete, as this may not provide the structural integrity required. A proper concrete mix is essential to ensure a strong and durable repair.
9: Should I seal the repaired area after it’s fully cured?
Sealing the repaired area with a concrete sealer can help protect it from moisture, chemicals, and further damage. This is especially important for outdoor surfaces exposed to the elements.
10: Can I fill the gap in cold weather?
Cold weather can affect the curing process of concrete. If you’re filling a gap in cold weather, consider using a concrete mix formulated for cold conditions and providing additional curing and protection measures.
Final Words
Dealing with gaps and cracks in concrete is a task that requires careful consideration and attention to detail.
The steps outlined in this guide aim to empower you with the knowledge needed to effectively address a 2-inch gap in a concrete surface. By following these steps and considering the FAQs, you can take confident strides towards a successful repair.
Remember, safety should always be a top priority. Wear the appropriate protective gear, follow the manufacturer’s instructions for any products you’re using, and exercise caution during the entire process.
While minor repairs like filling a 2-inch gap can often be handled as DIY projects, it’s essential to recognize your limits.
If you suspect underlying structural issues or if the problem seems more extensive than you initially thought, consulting a professional is the best course of action.
Experts can accurately assess the situation and provide solutions that ensure the long-term stability of the concrete.


