Have you ever installed a shelf only to find an unsightly gap between it and the wall? Or perhaps you’ve inherited a space with an awkward void that seems impossible to fill.
Whatever the case, fret not because in this guide, we will show you how to bridge that gap and achieve a seamless and polished look in your home.
Filling the space between a shelf and the wall is about aesthetics, functionality, and safety. To fill the gap between a shelf and the wall, you can use options like caulk, putty, or weather stripping.
Whether it’s a floating shelf, a built-in unit, or a freestanding piece of furniture, addressing this gap is essential to ensure your belongings are secure and to create a clean, finished appearance.
How Do I Fill The Gap Between Shelves and Walls?
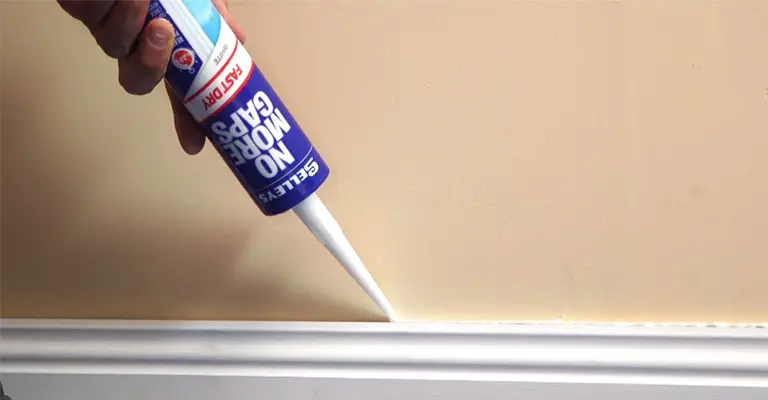
Using a caulking gun and tube, you can easily and quickly eliminate these gaps. If you want to create an overall seamless look, paint white caulk or use colored caulk to match the shelves.
Your shelves will get an updated look in a short amount of time by adding caulking.
How Much Space Between Shelves And Walls Should There Be?
A space of one to three inches usually exists between shelves and the wall opposite them. In this way, you will be able to install shelves between walls more precisely. In the case of uneven walls, gaps can be easily filled after installation.
If not, there would be some difficulty fitting shelves that were designed to be tight from the start. In most cases, shelves will open correctly when the space is suitable.
What Do I Do When There’s an Extra Gap Between Wall And Shelves?
In many cases, there is a gap between shelves and walls, which is a result of various factors. Perhaps you are wondering how you can fill in the gaps.
I have done a ton of research on how to fill in gaps in your kitchen cabinets. When shelves and walls have gaps, whether they are deliberate or unintentional, it can be challenging to fill them.
You may need to use specialized equipment and skills for this. Learn how to choose the right gap filler for shelves by reading on.
There are several options for filling gaps between kitchen cabinets and walls depending on the depth of the gap and the desired look.
For small gaps, caulk will suffice.
Filling The Gap Between Your Bookcase/Shelves And The Wall | Step By Step
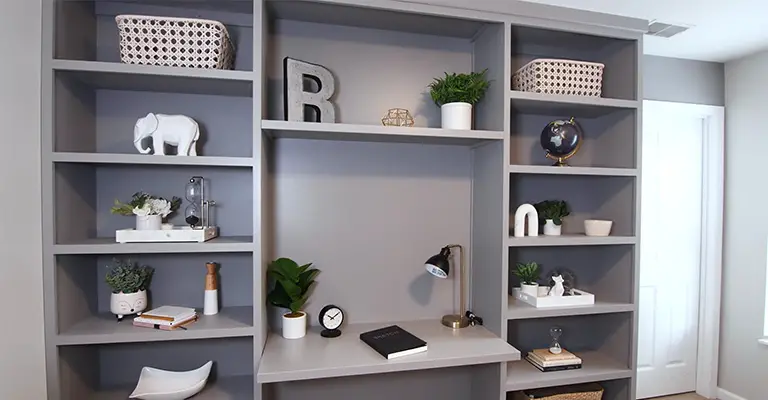
In the photo, there is a gap between your wall and your bookcase that makes your room appear unappealing. The gaps shouldn’t be a problem, however. Fortunately, it’s quite simple to fix.
Unless otherwise stated, these steps apply to wood walls, drywall, and wooden bookshelves. You can use these steps to fill gaps between bookshelves and walls, as well as other gaps.
In order to complete this project, you will need a cutter, a putty knife, a backer rod, a carpenter’s tape, a caulking gun, a caulk, and paint.
1. Clean The Area
It is important that you dust off the area before beginning any work. There may be a possibility that caulk does not adhere to the surface if it is dirty.
2. Put A Backer Rod At The Gap
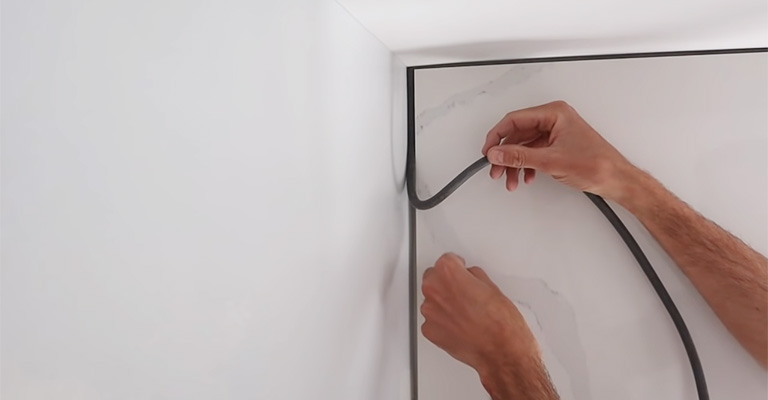
Various lengths of foam rods are used as backer rods to control the amount of sealant, caulk, and sealant applied. In order to prevent excessive usage, it serves as a stopper.
Due to their ability to resist most solvents, backer rods are ideal for filling voids. When using caulk to repair wide gaps, the backer rod is essential. If it is lacking, the caulk will become wiggly when it dries. Using the rod, you can also level out uneven gaps.
Moreover, if it isn’t added, the fabric will shrink more. Therefore, backer rods must be inserted into the gap before caulk is applied. Backer rods should be inserted into the gaps.
You can choose the size that is appropriate for your needs. If it fits snugly in the gap, it should be fairly stable.
This means that if the gap does not widen, then it might be too narrow. A flat surface is impossible without a uniform fit of the rod. Otherwise, the rod will shrink at different rates.
Despite small gaps being fillable with caulk directly, holes larger than 1/4 inch require backer rods for support.
3. Tape Off The Surface Around The Gap
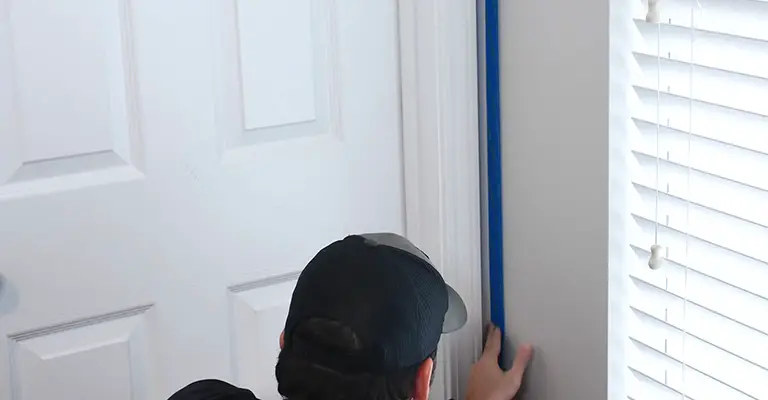
Ensure that the gap is protected by taping off the area around it. Additionally, this prevents caulk from getting into other areas where it shouldn’t. Make sure the carpenter’s tape is applied to all gaps as necessary.
4. Put Caulk Into The Gap
A variety of caulks are available in different colors. Use a latex type of paint if you are working on wood surfaces.
The caulk will be hidden later when painted; therefore, you will not have to worry about hiding it. Choosing the right caulk color will make your wall look great.
Caulk needs to be loaded into the caulking gun. The caulk tube’s tip needs to be cut off. The better option is to cut it straight instead of angled so you can apply it more freely.
In order to prevent overflow, cut the cut slightly smaller than the gap. If your putty knife and excess caulk are on your rug, make sure you wipe it off before applying. The tube’s tip should go in the gap at the beginning.
The caulk will flow if you press the trigger of the caulk gun. As you move, continue to clean the area until you have finished it. Applying caulk uniformly is the key to a smooth finish.
5. Level The Caulk Using A Putty Knife
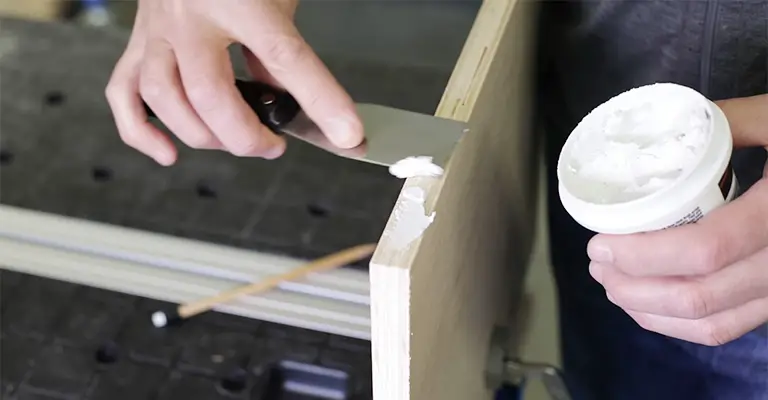
Remember that it’s okay to slightly overfill the gap with caulk. Its purpose is to smooth out excess caulk with the putty knife.
Following the caulking application, slide a putty knife slowly down the caulked area. If you want to leave a clean edge on the wall, be sure to keep the putty knife’s square edge up against the wall.
Having completed this step, you will see a thin buildup on the tape. There has to be a re-do if the buildup is thick. You can then proceed by wiping off the excess caulk with your putty.
While you are doing this, you may accidentally pull the caulk out of the gap. This is especially true if you wipe the surface. Fill it up again. Don’t worry.
6. Leave The Caulk To Dry
It takes a different amount of time for caulks to dry. Before proceeding, you have to wait a couple of days to see if it shrinks.
It’s better to leave the tape in the middle for the time being rather than having to re-do it later. If the caulk has dried properly, you should have a flat surface.
7. Refill With Caulk If Needed
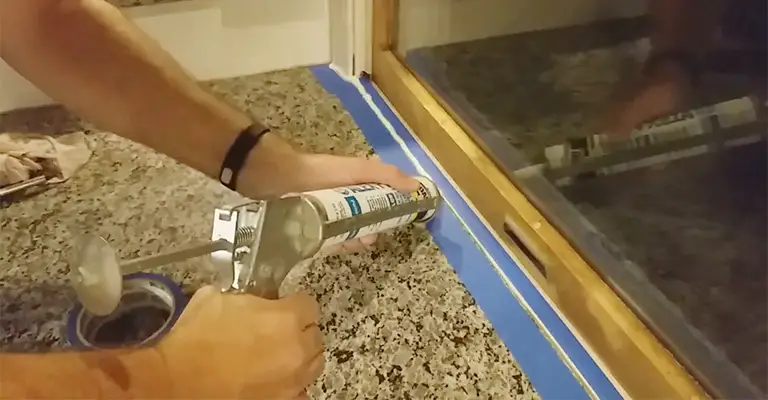
Whenever the surface is not flat, or the caulk has shrunk, you will need to do a second coating. It’s all good if you don’t do that. Now that the carpenter’s tape has been removed let’s move on to the next step.
Using a scraper, remove the traces of caulk at the spots where they shouldn’t be, and you are ready to paint.
8. Repaint The Caulked Gap
The painting can finally begin. In case you intend to paint the caulk, ensure that you use a type that can be painted. Make sure there is a thin layer of fresh caulk on the dried caulk before painting.
In this way, the paint will be bonded to the surface. When you have chosen a caulk that matches your wall color, painting it is not necessary.
You now have an understanding of the simple steps of filling the gap between your wall and bookcase.
Is Silicone Caulk Better Than Latex Caulk?
It’s best for use in moisture-prone areas, such as the bathroom, where silicone caulk is best suited. This sealant keeps joints dry by protecting them from water. The surface, however, cannot be painted.
The latex type is also more expensive than the latex type. You can use mineral spirits to remove excess silicone caulk.
Caulk should not be painted over; instead, latex caulk should be used. A smaller gap in wood or drywall can be filled with this form of filling less expensively.
These types are easy to clean. Using soap and water or wiping off the excess is all you have to do. Depending on how they will be used, you need to decide which type to pick.
What Causes Gaps Between The Wall And A Bookcase?
It may be possible that your wall has shifted, causing gaps between the bookcase and the wall. There is a possibility that this can happen over time. Construction and installation problems can also cause gaps in bookcases.
There is no need to worry about small gaps, whatever their cause. It is recommended to consult a professional if the gaps continuously grow larger. If this occurs, serious structural problems may be present.
Final Words
A variety of gaps exist between kitchen cabinets and walls. In different cases, different solutions are needed based on the gap’s size and location.
The disadvantage of caulking is that it is less time-consuming, but it is not ideal for filling gaps around shelves. Unfortunately, scribing is necessary for scribe moldings and filler strips to fit perfectly.
In most cases, filling gaps between bookcases and walls is a simple process. Getting the job done requires just the right tools and the proper methods.
If you want the caulking to stay even, you should use a back rod to make sure the caulking seals the gaps easily.
As well as helping to bridge gaps, back rods also support caulk when filling large spaces. Choosing the right caulk is also crucial for this project’s success.

