
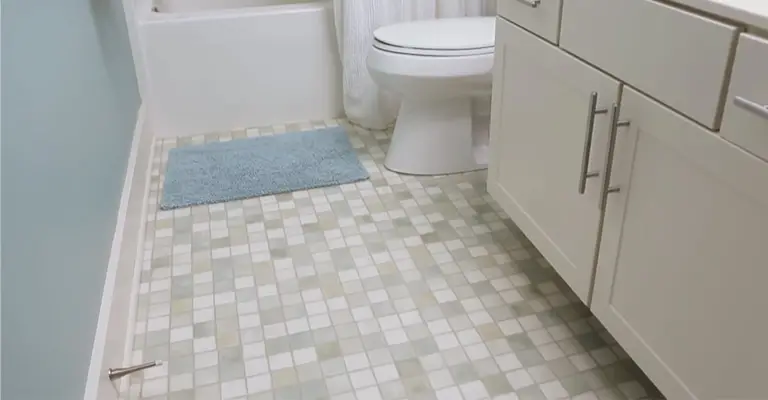
Have you ever stepped into your shower only to feel a sudden dip in the floor? Low spots on a shower floor can be a nuisance, affecting the look and safety of your bathroom.
These low areas can cause water to pool and create a tripping hazard. Fortunately, fixing low spots on a shower floor is a relatively easy and affordable task that most homeowners can do.
Whether you have a fiberglass shower base or a tiled shower floor, you can use several methods to level out the low areas and restore the safety and functionality of your shower. In this article, I’ll share some tips and tricks to fix low spots on your shower floor.
As someone who has dealt with this issue myself, I can attest to the effectiveness of these methods, and I’m confident you’ll be able to tackle this project easily.
Why Are There Low Spots on the Shower Floor?
You may notice low spots on the floor of your shower for a variety of reasons. It might be that the floor is uneven in the low spots if you did not level the floor beforehand.
Furthermore, if you installed the floor over an existing floor, it is possible that the original floor was not level either. The low spots are simply carried over from year to year.
As a third situation, excess tile mortar near and around the drain or around the shower perimeter can also cause dips.
In addition, low points and settlement can occur when you use improperly graded sand for your subfloor.
Are there any solutions to all these problems? For the most part, re-leveling the floor will fix the problem, regardless of what they are. For a solution to be effective, it is imperative to identify which issue has caused the problem.
How To Fix Low Spots On Shower Floor?
A low spot on your shower floor can be just as frustrating as finding a high spot. As well as being unsightly, it can also cause the shower base to stop draining, as well as damaged shower floors or mold growth in the shower.
A floor dent won’t be the same for everyone; it’s important to determine whether the issue is an annoyance or something that, if left untreated, will eventually require resurfacing the entire room.
You can quickly fix this problem using a couple of easy methods.
1. Replace The Shower Base (Expensive)
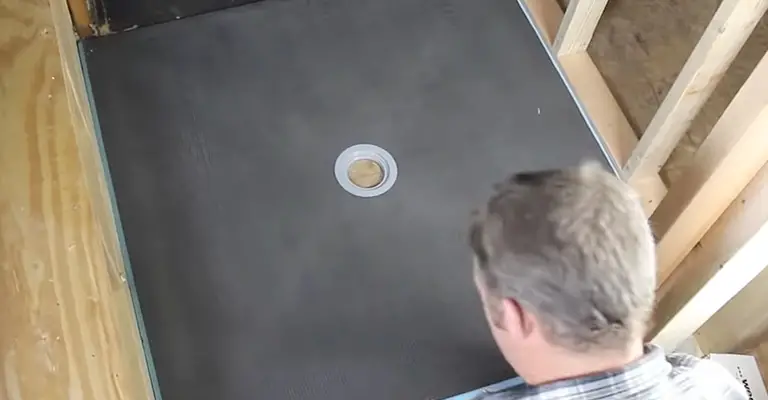
In some cases, replacing the shower base can be a tedious and time-consuming task. The cost can also be quite high.
Nevertheless, it’s worth it if you want to keep your shower floor looking great. This will make the new base level evenly spaced all around the shower. This is also a great time to rectify anything wrong with your no-slope shower floor.
You may need demolition work to remove the old shower base, so be prepared for some mess. There will be a lot of work, including removing all tiles, wet beds, and waterproof membranes.
Next, retile the entire shower area so the new base is leveled with the existing floor. Make sure that the perimeter of the shower base is well caulked or sealed with silicone sealant.
Replacement of a shower base should be your last resort when there are low spots on the shower floor. Professional help is more likely to be needed for this type of issue.
2. Chisel Out The Tiles Around The Low Spot And Re-Slope
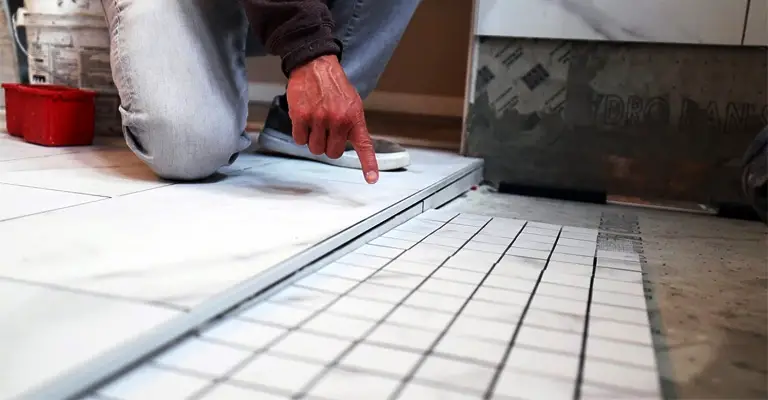
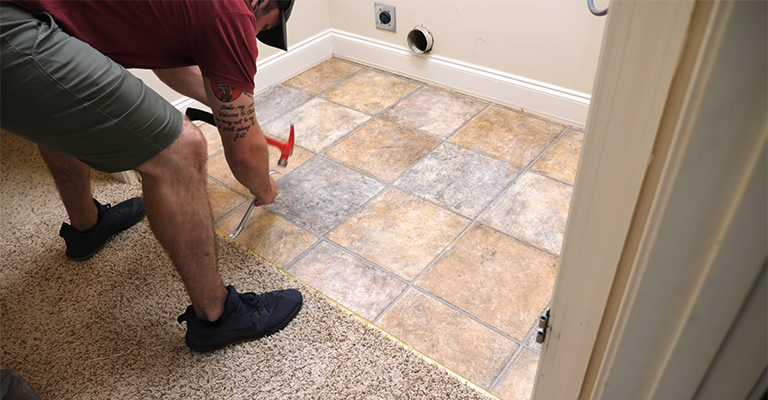
The first step is to remove all the grout around your low spot using a grout removal tool. You’ll then need to chisel out the tiles using a hammer and chisel.
As soon as you’ve broken through all of the tiles surrounding your low spot, start chipping away at your subfloor. This should be done until the bottom edge of your tile is level with the bottom edge of the tile.
Taking tiles out with a chipper should be done carefully. Under such circumstances, you risk puncturing the waterproof lining.
You will need to fill in the area of your low spot with thin-set mortar and re-slope to prevent the shower floor from being too flat. Replace the old tiles with new ones.
You should also remove any thin-set bedding compound present in the region. To avoid damaging the tiles surrounding the hole, use a small chisel such as the GREBSTK Chisel Tool Set, which is sturdy and rust-resistant.
It combines fine sand with cement and a water-retaining agent. Showers are commonly tiled with this material. A sticky adhesive (aka ceramic tile adhesive) is the most commonly used tiling adhesive due to its ease of application and sticky nature.
A high-moisture environment shouldn’t be used when using mastic as it can retain mold. A sufficient amount of water can also cause it to reliquefy.
Ensure that the bedding compound has been reapplied and the tiles have been reset. If you have drains, make sure that they are sloped downwards.
3. Re-Tilling Or Re-Flooring
In case you do not want to tear out your old shower floor tile, it isn’t necessary. Adding new tiles on top of the existing ones is possible.
First, apply a thin layer of thin-set mortar to the old tile. Install the new tile and secure it firmly in place with mortar.
Make sure every tile is even by using a level. Afterward, wipe away excess grout between tiles and apply grout between joints.
If you want to improve the slope of the shower floor, you can angle the new layer towards the drain.
4. Fill In The Low Spot With A Cement Floor Leveler

It might be a good idea to fill the hole with a cement floor leveler, then seal it with something waterproof if you determine the shower base is what’s not working.
To level out a low spot, mix the floor leveler according to the manufacturer’s instructions and then pour it on the spot. Ensure the leveler has cured for the recommended time, and seal it with waterproofing.
Apply 120-grit sandpaper to the area to make it smooth. Using a damp cloth, wipe away dust and paint over as needed.
Our recommendation for waterproofing is RedGuard. A waterproof seal is not only created but also prevented by cracks.
5. Squeegee and Live With It
A squeegee, a mop, or even your foot can sweep away excess water when there is little water pooling in the bathroom, and you have good ventilation. If you choose this method, it is important to seal your shower floor with a proper ready-mix sealant.
It’s common for caulk and adhesive to be referred to interchangeably. However, caulk is usually made from latex and acrylic materials, which are prone to shrinkage under heavy water exposure.
How To Identify Low Spots On Shower Floor?
The floor of your shower can be identified in several ways.
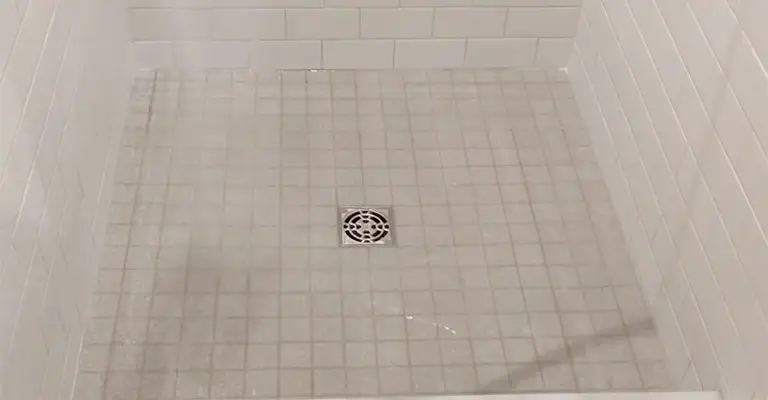
The first method is by sight. A low spot might be visible if you see any sunken areas on your floor. You can also feel for low spots to identify them. You can feel dips or depressions in your shower floor if you run your hand along it.
Look for water that isn’t going down because it is pooling. Furthermore, if your shower floor does not dry, it might be a sign of low spots.
Lastly, you may want to use a level. You should check if your shower floor is level from top to bottom and from side to side by placing a level on it. An area with a low spot has one side that is lower than the other.
It is essential to identify low spots so that you can begin to fix them.
Why Is Water Pooling In The Shower?
Water pooling is one of the most annoying things you can experience when taking a bath. The first thing you need to do is find out what the problem is.
There will then be no problem concluding. The following factors could be causing water to pool on the shower floor:
Clogged pipes: Clogged pipes prevent water from draining properly, which results in water pooling on the shower floor.
Leaked tap: Water constantly flowing from a leaky faucet creates a shaft in the ground. As a result, water collects in the shaft, and pooling occurs.
Incorrect installation of shower tray: When the tile shower floor is not sloped correctly, standing water will result.
Mold growth: Excess mold growth can also contribute to water pooling issues.
Final Words
This article aims to help you understand how to fix low spots on a shower floor after reading it. Identifying low spots, determining their causes, and repairing them have been covered thoroughly.
The excess water can be removed with a squeegee if the problem is negligible. The shower floor will need to be rebuilt or repaired if it cannot be repaired.
Some methods are simple enough to make it your DIY project. However, if you’re uncomfortable doing any of those things, seek professional help! Depending on the severity, this might be the best option.


