

A sagging ceiling can be a frustrating and unsightly issue that plagues many homeowners.
Over time, ceiling tiles may lose their structural integrity, causing them to bow or droop, marring the once pristine appearance of your interior space.
However, fear not! Before you consider costly ceiling replacements or major renovations, there are practical solutions to address this common problem.
If they are located in an area with high humidity, make sure the sagging is not caused by a leak or too much moisture in the air. What kind of support do they have?
Those that are grid-based will need to be pulled down so you can access the wiring and shorten it, so it meets the rest of the tiles. The glue may fail if they are glued up & need to be reattached with fresh glue.
You can repair or replace the tiles by starting at the wall closest to the problem. Starting from the wall, carefully remove tiles until you reach the sagging tiles.
Wear the right removal gear. If any tiles are damaged, replace them. Be sure to staple carefully and correctly to avoid this problem in the future.
Replacing the ceiling whole may be a better investment in the long run if you do not have replacement tiles.
Ceiling tiles can be categorized into two types:
- Supports that are exposed
- And hidden support
A white painted metal grid is usually visible when you look at the first type. When removing tiles, gently push them up, rotate them a bit, lift one end a bit, and lower them diagonally through the opening.
There are probably many variations of the second type. The following steps can be taken to remove this type:
- It is best to start with a tile that is not next to a wall or a light fixture.
- Gently push each edge upwards until you find an edge that can be easily pushed up. Tiles adjacent to the opposite edge lock into place with a lip
- Push the liftable edge up and slide the tile an inch or two towards it once you have found it.
- According to the previous description, you can now remove the tile.
- At the edges and next to light fittings, you may need to slide adjacent tiles into the hole created by removing a tile
- As a result of the symmetrical arrangement of lips/rabbets/rebates, every tile has a direction
- There is no difference in the orientation of the tiles.
It is usually very easy to damage ceiling tiles because they are so fragile. Avoid using force. You shouldn’t need to use more force than to straighten your little finger to lift them.
The damaged supports can be repaired or replaced once you have removed the sagging tiles. If the tiles are damaged, you can replace them – it may be that the upper lip has broken away from the support.
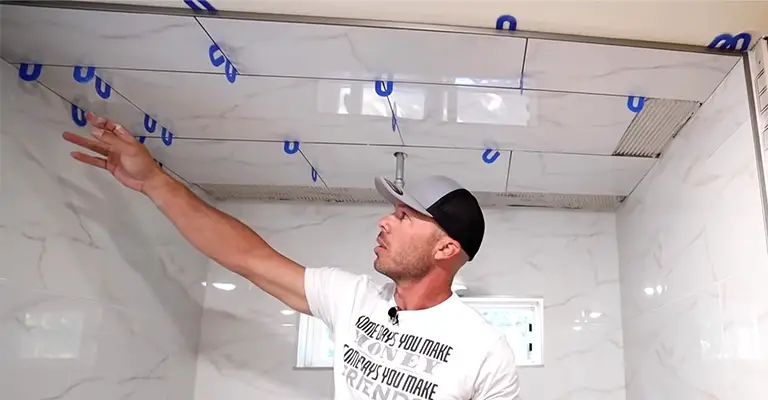
Step By Step Guide For Fixing Sagging Ceiling Tiles
It is usually suspended ceilings that are used to attach tiles to the ceiling. Furring is a grid used to suspend tiles in this technique.
During construction, furring is used to support the tiles so that they do not fall off the ceiling due to gravity. A combination of adhesives and staples is used to permanently attach ceiling tiles to the furring.
It’s possible to save money on construction by simply gluing the ceiling tiles to the furring, if you’re interested in saving time and money. It is not enough to use glue to hold the tiles in place and eventually the tiles will sag.
A sagging ceiling tile should always be replaced rather than repaired, since it will need to be replaced in the future.
However, replacing may not be the right option for everyone, as it can be expensive if the damage is significant. If your ceiling tile is sagging, you might want to consider repairing it. The following steps will help you resolve this issue.
Things You Will Need:
- Staple gun
- Staples
- Adhesion material
- Putty knife
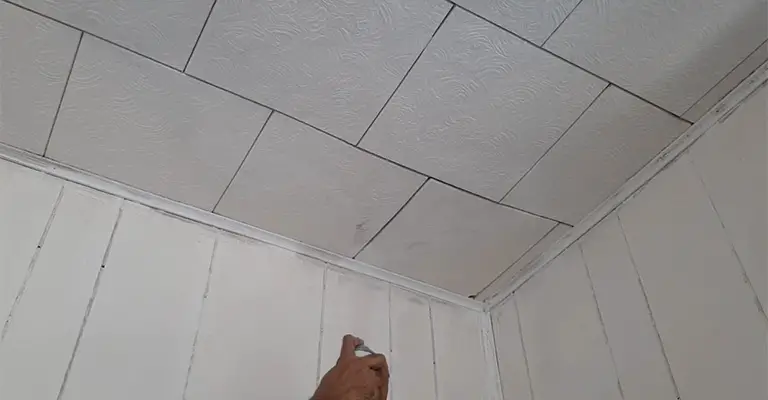
1. Find The Cause
Ceiling tiles that sag are a problem. Before addressing this issue, it is imperative to identify the reason behind it. It is commonly caused by water seepage in the ceiling or over time where a sagging ceiling develops.
In this case, water seepage leads to unsightly marks and spots on the ceiling due to water leaking. Sagging can also be caused by continuous seepage, which may result in mold growth, which loosens the tiles.
As long as the cause of the sagging tiles is identified and resolved, the tiles can also be repaired without worrying about future damage.
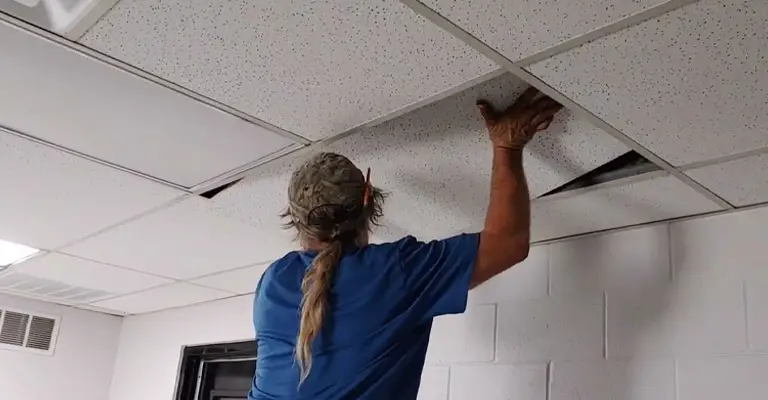
2. Sagging Tiles Should Be Removed From The Ceiling
The second step involves removing tiles from the ceiling that are sagging after the main cause has been rectified. Repair the damaged area by removing the loosened tiles with care, while not disturbing the properly fixed ones.
3. Furring Strips Should Be Adhered And Stapled
To attach tiles to furrings, use a putty knife to apply ceiling tile adhesive to their inner surfaces. To ensure that the tile adheres to its furring, place the tile on top of its furring and use a staple gun to staple it into place.
In order to achieve a uniformly repaired ceiling, fix all the sagging tiles in the same manner.
In plaster ceilings, sagging tiles must be attached with glue, while furring strips must be attached with staples. Depending on the type of ceiling, use the appropriate adhesion material.
4. Check For Ceiling Uniformity
In the case of sagging tiles, fixing them may result in a disruption in the uniformity of the ceiling. Maintain uniformity by using a single method of fixing the ceiling.
During repair work, plaster can also come off the ceiling, so it is best to think of a better solution if you ever encounter this problem.
How to Identify Sagging Ceiling Tiles?
It is possible for ceiling tiles to sag for a variety of reasons, such as age or water damage. Poor installation can also be the cause.
Sagging tiles can cause severe structural damage if not addressed quickly. If you suspect your ceiling tiles are sagging, take action as soon as possible. Sagging ceiling tiles can be detected by the following signs:
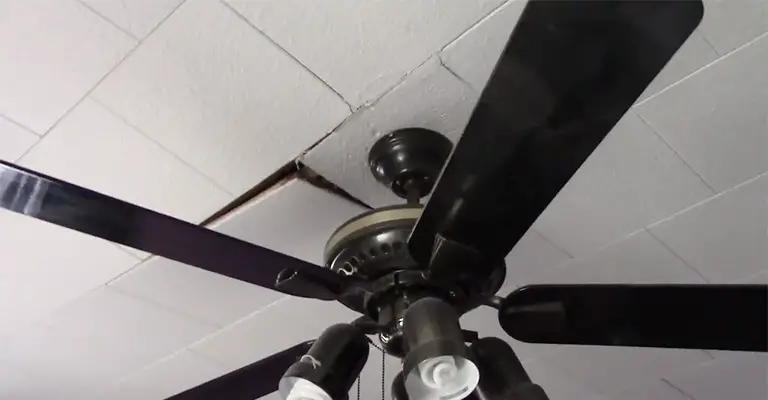
- You can tell whether your ceiling tiles are beginning to sag if some have significant gaps between them.
- Cracked ceilings are caused by tiles sagging, which stresses the drywall and plaster above.
- A sagging ceiling is another sign that the tiles are no longer extended: If you notice that some tiles aren’t lining up with others, your ceiling is sagging.
The signs listed above must be reported to a professional who will be able to assess the situation and make repairs as needed. You shouldn’t ignore loose ceiling tiles if you suspect there’s a problem, so don’t wait to act.
What Causes Drop Ceiling Tiles to Sag?
Although drop ceilings are great for finishing off a basement or office space, tiles tend to sag over time.
There are several reasons why this can occur, including the type of tiles used, the size of the room, and how much foot traffic occurs there.
There are several types of tiles used in drop ceilings, but mineral fiber tiles are the most common. They are susceptible to sagging under their own weight.
As the tiles cover a larger surface area, larger rooms and those with high ceilings are more likely to experience sagging tiles.
Last but not least, heavy foot traffic is more likely to cause sagging tiles, as people walking can dislodge the tiles from their supports.
Despite the fact that sagging ceiling tiles can be an inconvenience, understanding their causes can help you prevent them in the future.
Prevent Future Sagging of Ceiling Tiles
Rather than repairing damage after it has occurred, it is always better to prevent it. Ensure that the ceiling is not damaged by water leaks.
Consider using furring strips instead of adhesive, as staples work better and last longer than adhesive. A naked ceiling can also be chosen if you do not mind spending more money.
Various tile repair kits are available on the market. It is possible to repair unsightly sagging tiles with these kits without consulting a professional.
Even though the repairing job can be moderately difficult, once it’s finished, you’ll have a neat and tidy ceiling!
How Long Will the Repair Last?
Roofs typically last 20-25 years. Proper maintenance can extend a roof’s lifespan to 50 years. The remaining life of your roof should be extended if it is repaired.
Unless the problem is fixed properly, it may recur. A warranty or refund should be requested from the repaired company in this case.
Mistakes To Avoid When Repairing Sagging Tiles
It is important to avoid creating an unsightly patchwork of different tiles when fixing a sagging tile.
The new tiles should match the old tiles in color and design if your ceiling is sagging in more than one spot.
In addition, avoid over tightening the screws or nails holding the tiles in place – this could cause cracks in the tiles.
Make sure they are snugly to the ceiling joists by tightening them just enough. For a clean and straight edge, use a sharp blade when cutting new tiles to fit.
Is it Expensive to Fix a Sagging Ceiling?
Sagging ceilings can be repaired for a low cost. If you want to make your ceiling look better without spending a lot of money, there are a few things you can do.
If there are any cracks or gaps in your wall, you can cover them up with crown molding.
A new look can also be achieved by adding ceiling tiles to your room. Supports can be used to prop up a sagging ceiling. Hardware stores sell these supports for a relatively low price.
Final Words
There is nothing more unsightly than sagging ceiling tiles. In addition, they can be dangerous if not fixed properly.
A sagging ceiling tile can be fixed by following the instructions in this post. The information I’ve provided should have been helpful, and you’re now ready to tackle the ceiling repair project.
Taking your time is better than rushing and making mistakes; be patient and take your time. It is possible to replace missing tiles and restore the glory of your ceiling by exerting a little effort.


