
Hi there! It sounds like you’re facing a bit of a challenge trying to get a window screen back in from the inside. Don’t worry – with a few simple steps; you’ll have that screen back in place in no time!
Whether you’re a DIY pro or a first timer, I’m here to guide you through the process and help you get the job done. So, let’s dive in and get your window looking good as new!
How To Get A Window Screen Back In From Inside?
It is easy to remove or back into place most window screens. You must pull small springs or tabs inside the screen frame to pop back screens, regardless of whether they are decades old or relatively new.
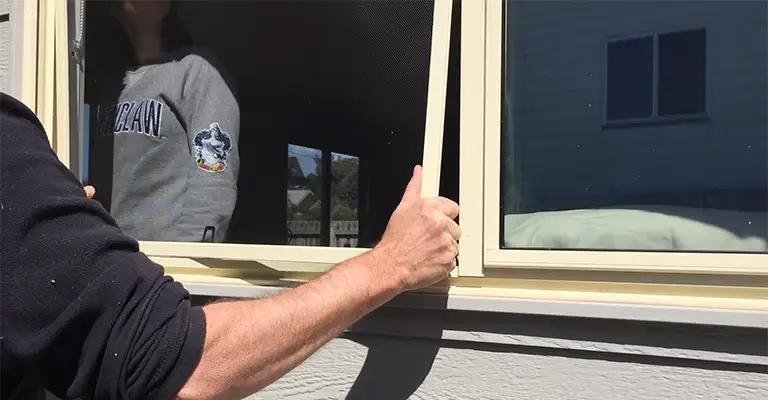
1. Remove The Screen From The Window
Determine the tabs or springs that secure the screen. You can pull or push the tabs or springs to release the screen from the window frame. You will need to remove the screen from the frame carefully.
2. Clean The Screen And Window
Cleaning the screen and window frame with a soft brush or cloth will remove any dirt, dust or debris. Remove stubborn stains or grime using a mild cleaning solution if necessary.
3. Reinstall The Screen
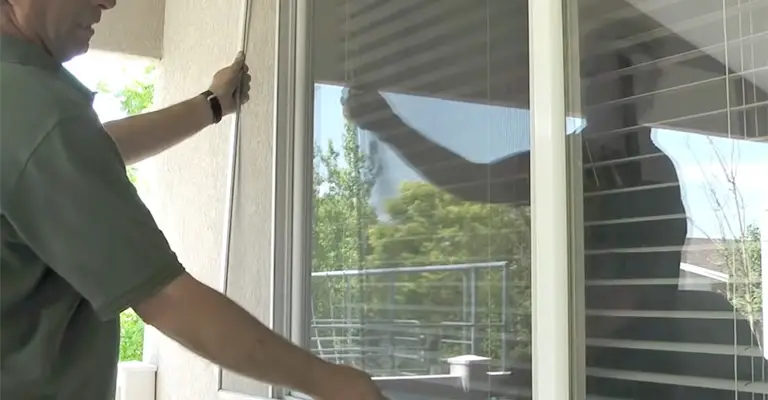
Place the screen at a slight angle to the window frame. Incorporate one corner of the screen into the frame, then apply the opposite corner.
You will need to gently push the remaining corners into the frame until they snap into place. Giving the screen a gentle tug will ensure that it is securely positioned.
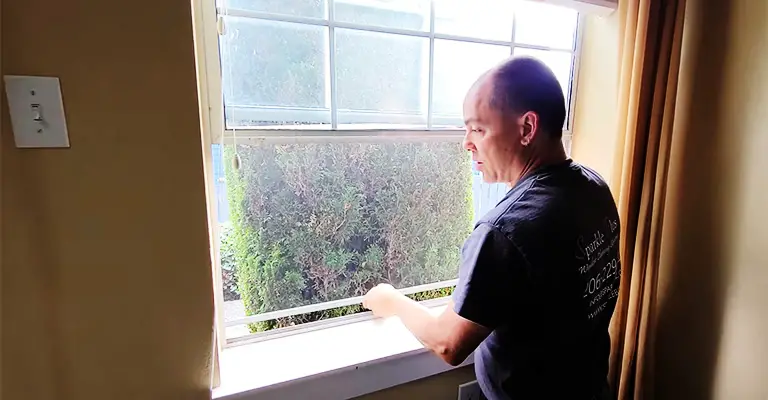
4. Finishing Touches
Using a soft cloth or brush, you can remove fingerprints or smudges from the screen. If the window works smoothly without any resistance, close it and check it. You now have a brand new window screen installed!
How to Install Tabbed Screens?
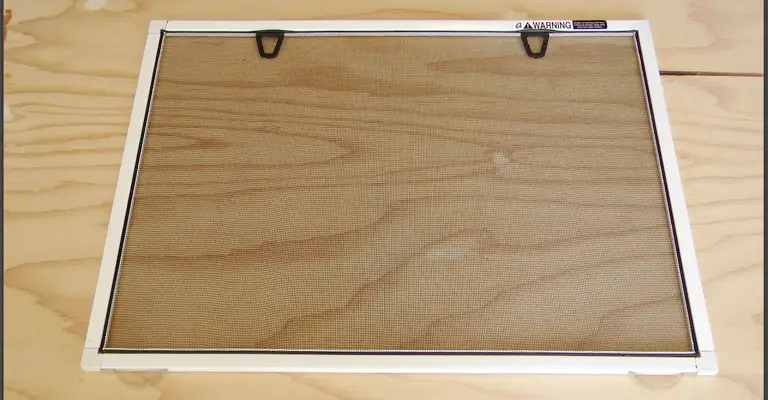
Screens for windows are typically installed from the inside. Examine the screen for two tabs, sliders or pegs inside the frame.
Tabs can be aligned along the top, near the bottom, or on either side of the text. They should be placed facing inside the house, facing you.
It is also possible for the screen to be held in place by hooks or levers on the sides as well as two sliders or tabs near the bottom.
Place the screen’s top end in its track, then align the bottom end with the track, pressing both tabs and sliders inward with your fingers. After you have inserted the bottom of the screen into the track, release the sliders.
Place the opposite end of the screen into a track on a screen with pegs or tabs on one side. You need to pull the pegs or tabs toward you as you simultaneously press the other side of the screen into place. Pull out the pegs or tabs.
Putting plastic loop-style pulls into place along one side of a screen requires pressing the opposite end first into place.
Two springy metal protrusions should be visible on this side where the screen fits into the track.
Place your finger into the top plastic loop on the opposite side of the screen to guide it into place. Make use of the bottom loop to guide the bottom into place.
Tip
Plunger pins are typically used instead of lift tabs on some screens. When you lift out the screen, simply press the pins into the window frame with your fingers.
Neither the tabs nor plunger pins require special tools for removal and replacement.
Warning
Once you have removed the screen, make sure the window does not remain open unattended. If young children or animals fall from an open window space, they can easily be injured.
Final Words
First, you need to remove the old window screen from the window if it is out of place. Seek out the tabs and pegs. Those are the ones inside the screen. By pulling them both simultaneously, you can easily remove the screen.
Push the window screen back into its track to return it to the correct position. When you are ready, release the sliders or tabs.
Tabs or pegs must be installed on one side of the window screen frame. Using them is possible to position the opposite end of the screen into the track.


