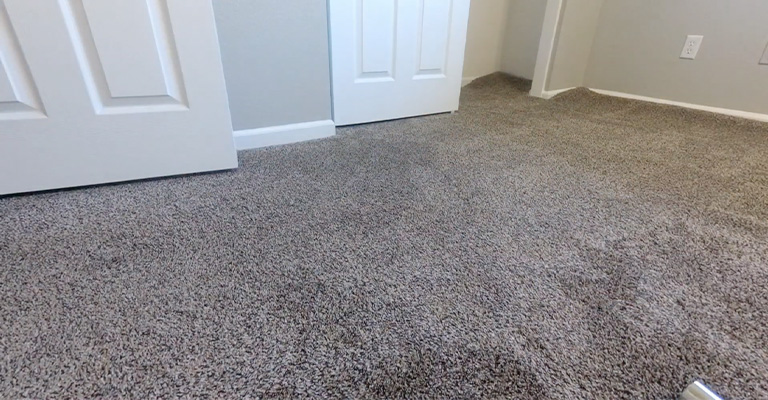
Wall-to-wall carpeting is pretty common in homes and apartments. However, one of the most annoying things about this type of carpet is that it can sometimes have lumps.
If you are experiencing lumps in your wall-to-wall carpet, it can be caused by many things. The most common cause is improper installation, which can lead to lumps and bumps that are too high or too low.
Other causes could include furniture moving around, pets playing on the carpet, or even just regular wear and tear from foot traffic.
The best way to get lumps out of your wall-to-wall carpeting is to use a vacuum cleaner with a brush attachment. You will also want to use a mat or rug on the floor so that you don’t damage your carpet as you vacuum.
You should start at one end of the room and vacuum from one side of the room to the other, using an up-and-down pattern. If there are any stubborn lumps, go over them again with the brush attachment until they are gone!
What Causes Bumps In Wall To Wall Carpets?
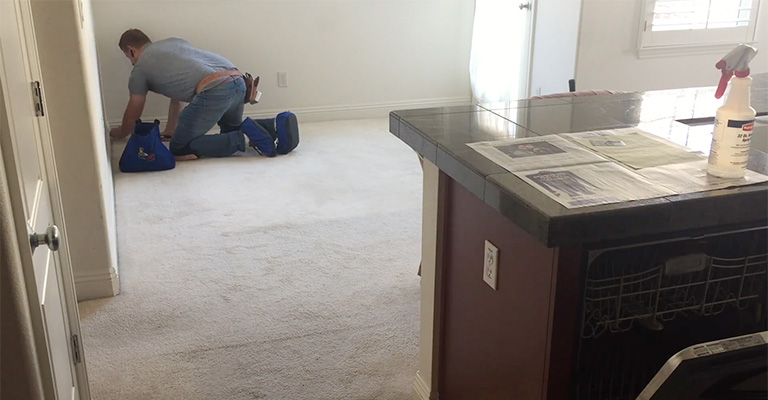
Proper installation, inadequate padding, and adhesive failure are the leading causes of carpet rippling. Moisture-absorbing materials are used in the adhesives that hold your carpet in place.
In some cases, adhesives applied properly can also maintain their integrity after flooding and excessive humidity exposure.
A carpet ripple can also occur as a result of elasticity loss in older carpets or tension failure caused by heavy foot traffic or dragging heavy items.
How to Get Lumps Out of Carpets?
It is not uncommon for carpets to develop lumps, bumps, and wrinkles over time, which are unattractive and can pose a trip hazard.
In either case, the bumps can occur because slack has been created in the carpet above due to the worn carpet padding.
A factor to consider is humidity; it can affect both the way the carpet and padding lay and the wooden subfloor beneath the carpet as well.
The good news is that re-stretching your carpet will restore a flat, hazard-free floor, regardless of the cause of your bumps.
1. Relocate the Furniture
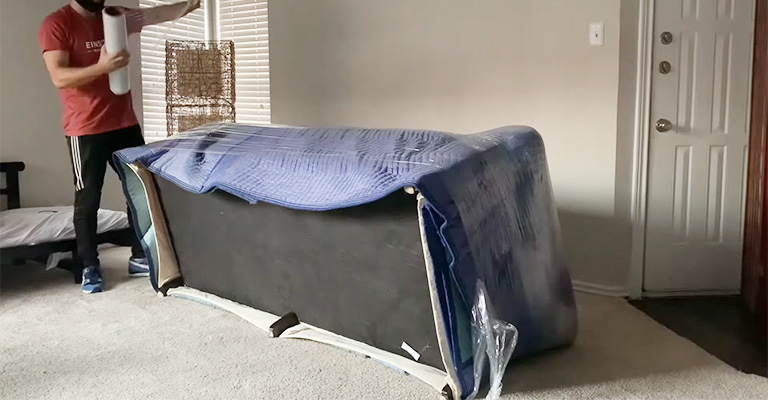
If you want to remove bumps in your carpet, remove all the furniture from that room.
2. Kick The Corners
Rather than using the power stretcher in small areas, install the knee kicker in corners. Place it about 6 inches from the edge of the carpet, then kneel behind it.
By kneeling on the carpet, you can stretch it, and then with the back of your carpet cutter, you can push the edge into the tack strips.
3. Reset The Underpadding
Underpadding should be pulled tight and stapled to the subfloor as you go using a carpet stapler. You can rent a carpet cutter from a rental store if it overlaps the carpet strip when you reach the wall.
4. Pull the Carpet Away From the Wall
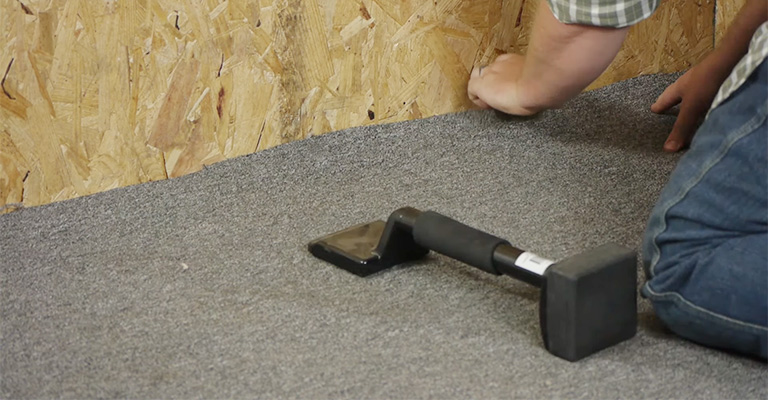
You can grab the carpet with your fingers after pulling one corner of the carpet out from under your baseboards using needle nose pliers. Using your fingers, pop it free from the tack strips attached to one wall.
The carpet should still be connected to one wall as you pull away from two other walls. When separating carpet from tack strips, be careful not to separate seams.
5. Stretch the Carpet
The power stretcher should be placed directly across from the center of the wall where you will begin stretching.
You can stretch the carpet by pressing down on the handle after pressing the stretcher head into the carpet about 12 inches from the wall.
Next, make sure the carpet is firmly pressed on the tack strip by using the blunt backside of the carpet cutter.
6. Set Up a Piece of Wood
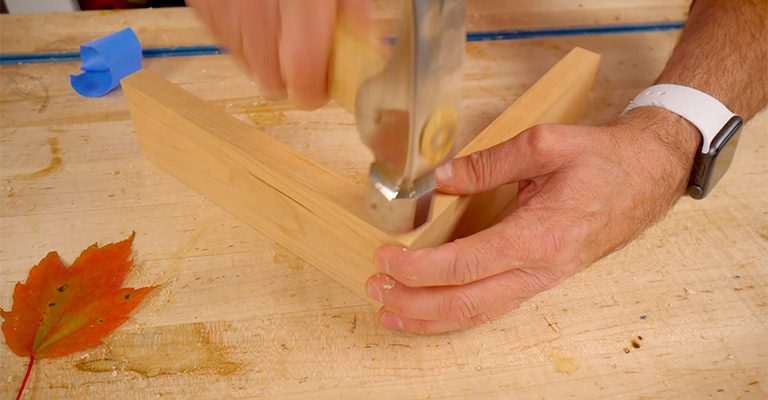
On the wall that still has carpet attached, place a scrap piece of wood, such as a 2-by-4-inch piece of lumber, along the center of the baseboard.
Then, slide the power stretcher against the lumber to prevent your baseboards from being damaged.
In addition to the extendable bar on the power stretcher, the end of the gripper also has teeth to hold the carpet tightly in place while stretching. Using the power stretcher’s pressure handle, you can control the stretch.
7. Repeat With the Next Section
Stretch the next section and press it into the tack strip after moving the carpet stretcher 18 inches to one side. Use the same technique to stretch the other side walls once the first wall has been completed.
8. Remove Excess Carpet
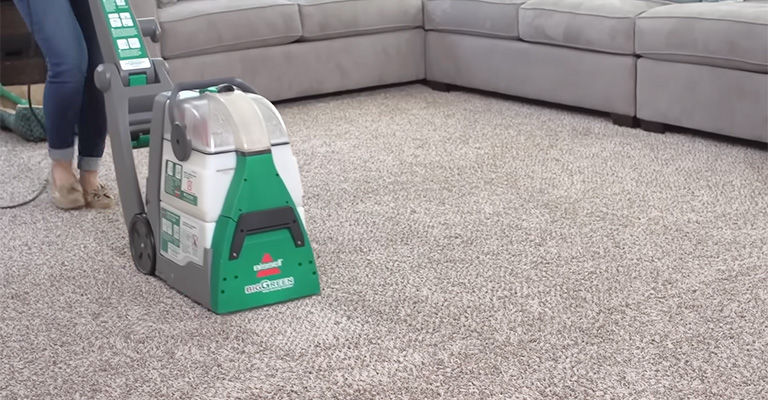
Make sure the carpet is cut away from the baseboards using your carpet cutter. Then, for a finished look, you can use your fingers or the edge of your carpet cutter to tuck the edges under the baseboards.
9. The Drip Cap
Double-sided tape or tackless strips are typically used to attach carpet to floors. However, re-installing the carpet will release dust and carpet fibers, so vacuum the carpet before re-installing it.
The seams need to be butted together with seam adhesive. Take off the old double-sided tape from the floor. Add carpet to the adjoining wall and move the knee kicker. On the other side of the room, place a carpet stretcher.
10. Tackless Strip Installation
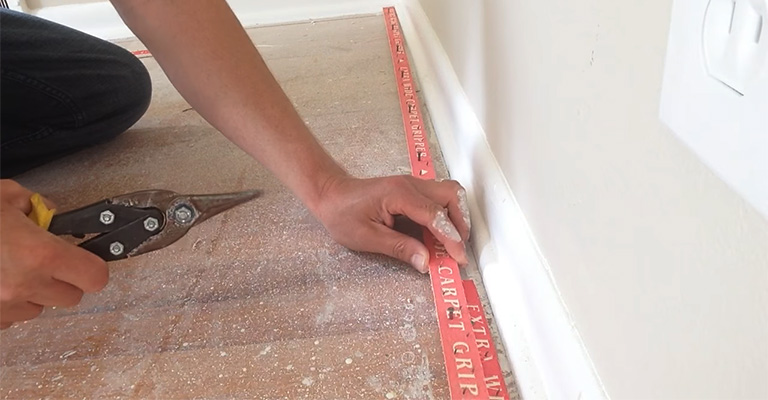
Put a knee kicker one foot away from the wall in the corner of the room and center the carpet on it. Knee kickers are attached to tackless strips by their teeth, grabbing the carpet and holding it in place.
Install the carpet on the adjoining wall after moving the knee kicker. To attach the carpeting, proceed along one wall every foot.
The other corner of the room needs a carpet stretcher. Attach the carpet to the tackless strips by pushing the lever. Make sure the carpet is every foot along the wall.
11. Double Sided Tape Installation
You can remove the old double-sided tape from the floor by lifting it up. Tape the perimeter of the room using double-sided tape. The tape should have a protective paper on top. It is important to center the carpet.
You will need to remove the protective paper and press the carpet down. Next, you will need to work along the room’s wall.
Attach the carpet to the double-sided tape by rolling a carpet roller over it. Ensure the room is not used for 24 hours so the adhesive can adhere to the carpet.
Warning & Tips
Wear gloves when pulling the carpet away from tack strips or pushing the carpet down onto tack strips. If you press down on the power stretcher handle, it should be difficult, but not too difficult.
An adjustable tension dial on the stretcher will ensure the carpet is stretched tight enough. The carpet isn’t stretched tight enough if it’s easy to push down. Your tension is too tight and needs to be loosened if you can barely push it down.
Final Words
Lumps are usually caused by loose carpets or walls pulling away from one another. Eventually, it becomes impossible to ignore if there’s a lot of foot traffic in the room.
You’ll need to re-stretch the carpet to get rid of the lump, but two rental tools make it almost effortless. All the furniture has to go so you can work, so that’s the hardest part.

