
Have you ever found yourself frustrated and stuck trying to remove a seized bolt with no head? It can be a challenging and time-consuming task but fear not!
With the right tools and techniques, you can loosen even the most stubborn bolt and get back to your project quickly.
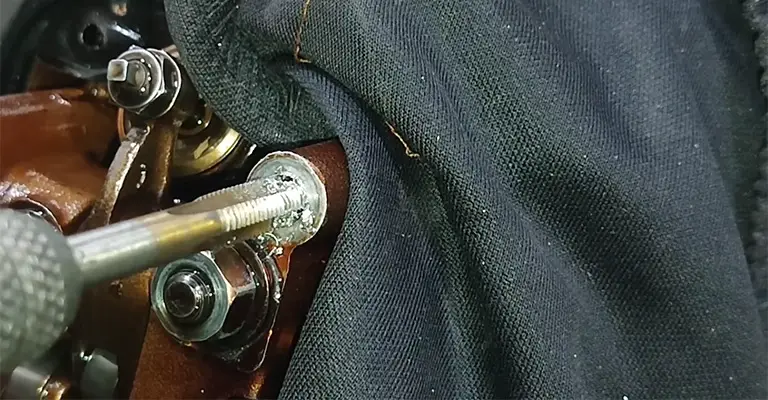
DIY projects sometimes involve drilling bolts which can break, causing them to seize inside the workpiece. As a result, the project owner may be anxious about removing a seized bolt without a head.
Most do-it-yourselfers can accomplish this task without much difficulty. It is essential to be patient when attempting to extract trapped bolts.
Using a small drill, you can drill through the bolt bottom to relieve your pressure, and you may be able to remove the remaining bolt.
To reopen the new spot to the current size, you can drill, thread, and then use the auxiliary spools.
To manage your garage effectively, let’s choose the most effective one based on the current state of the seized bolt that has been stripped of its head.
Methods For Removing Stubborn Or Broken Bolts
The removal of a stuck bolt without a head can be accomplished in several ways. Let’s go through these methods with examples to learn how to loosen a seized bolt without a head.
Method #1. Use Locking Pliers
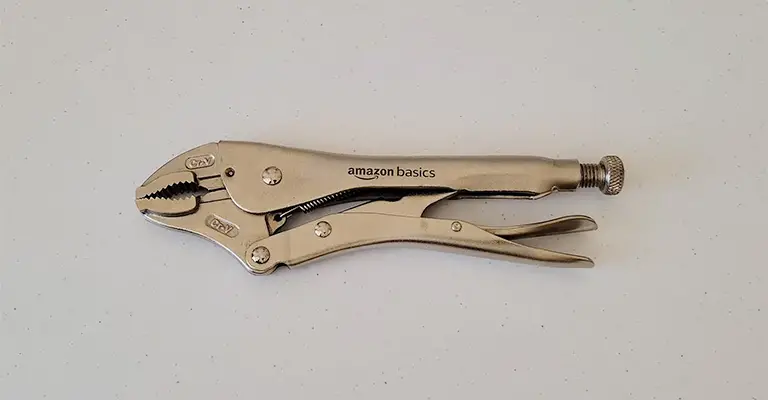
I would suggest trying grabbing it with locking pliers and twisting it out. This is typically our first step when trying to loosen tough bolts.
We use this approach every instance before removing emission studs from cylinder heads. There are several methods that you can use.
Method #2. Drill Your Way In
It would be necessary to drill and remove a hole with a screw extractor tool. Likewise, reverse drill bits that turn counterclockwise are available for trying to spin out bolts.
Welding a nut to the exposed metal of the bolt might work if you have a welder accessible. There are usually several techniques that must be combined, such as penetrating oil, heat, or sometimes access from the opposite direction.
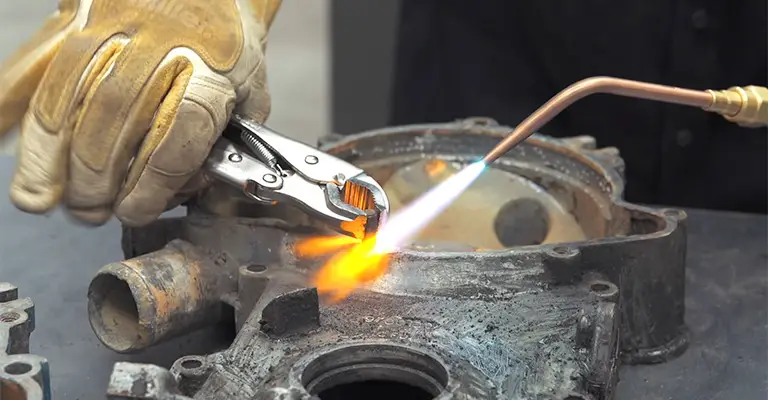
Method #3. Heating
By heating the region surrounding the bolt, it will expand the hole where it is threaded and make it appear larger. As a result, the bolt can fit a little looser and be threaded out more easily.
Using a heat gun, warm the bolt end and the surrounding area until it turns dark orange color to break the rusted joint between the three prongs of the theatre bolt and the female threads.
Splitting it open with an impact wrench or gun will break apart the rust because of the pressure from the impact wrench. Using penetrants such as Kroil or CRC Freeze-Off will assist in the removal process.
Method #4. Relief or Comfort Cuts
Using this method, you will need to make two to three cuts in the bolt. You want to cut enough through the bolt to get to the other side.
After that, a chisel and a hammer whack the cuts a few times to fracture the bolt and reduce tension. By using pliers, you can now spin the bolt. By compressing the bolt in the relief cuts, the pliers can usually pull it out quickly.
Method #5. Rust Buster
If the bolt is still hot, apply rust-busting solvent liquid like “Rust Buster”, available from plumbing suppliers or “Fusion”, available from better auto parts dealers, taking care never to let the bolt burn.
Method #6. Blunt Impact/Force
After punching a depression in the center with a hammer and center punch, carefully drill a hole slightly smaller than the bolt’s diameter.
In addition, you can hit it back and forth with an impact wrench/gun a few times. For a more simplified process, you can combine it with various approaches.
To remove the headless bolt, insert a proper-sized “Easy-Out bit into the hole and turn it counterclockwise with a wrench.
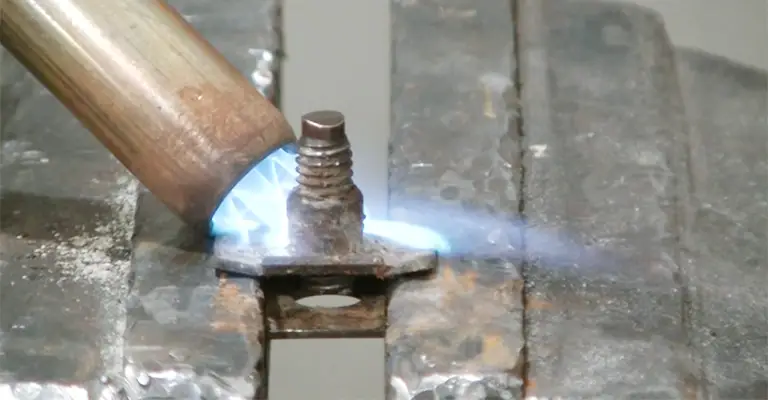
Method #7. Weld It Together
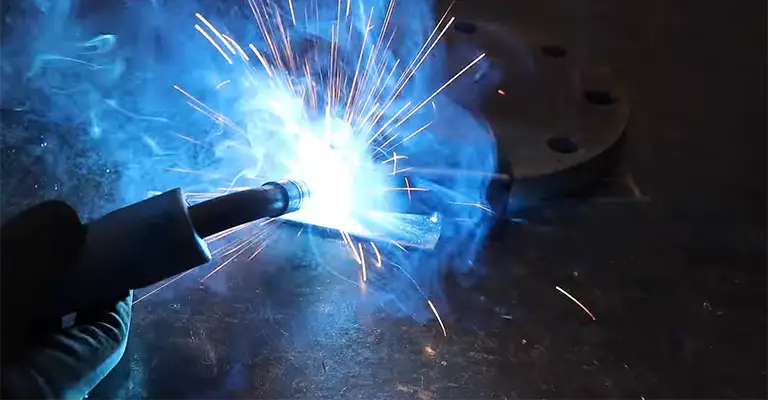
This tool should be used in cases where nut or bolt heads cannot be turned with locking jaw pliers or if the head has broken off the bolt. The bolt body should be tack welded to a nut and a bolt of a more substantial size.
When the nut has been tacked-welded, run a bead of weld around the base where it joins the bolt body. The heat is introduced into the bolt, allowing it to expand, compress, and break some of the rust due to re-socketing.
8. Worst Case Scenario
Burn it out with a torch, then reweld new metal where stuff has been removed. You will need to drill a new hole afterwards.
It really depends on the part and how much it costs. It is possible to remove the bolt with things like EDM, but this requires the part to be accessible for carrying to a machine and is expensive.
Best Way To Remove A Seized Bolt With No Head
The best tools and skills are available if you know what you’re doing. Using this method, it will be easy to remove the seized bolt.
Step 1: Find Out A Problem With The Bolt
In the first place, inspect the broken nut or bolt. Bolts that have been loosened are on the verge of breaking.
You need to check whether the bolt is rusted or if it has a locking compound on it. Heat-sealable thread locking is incorporated into some bolts by manufacturers.
Identify whether or not the rusted bolt can be salvaged. A rusty bolt with low tensile strength can sometimes provide the necessary force.
If this is the case, replacing the bolt is highly recommended. However, you may salvage screws and bolts with locking pliers after removing the J-nut.
Step 2: Remove The Rust On The Bolt
Make sure to remove as much rust from the bolt as possible if it is still usable. A firm wire brush is easier and more effective than a soft one. When the rust is removed with an air compressor, it is done quickly.
Step 3: Select The Appropriate Tool
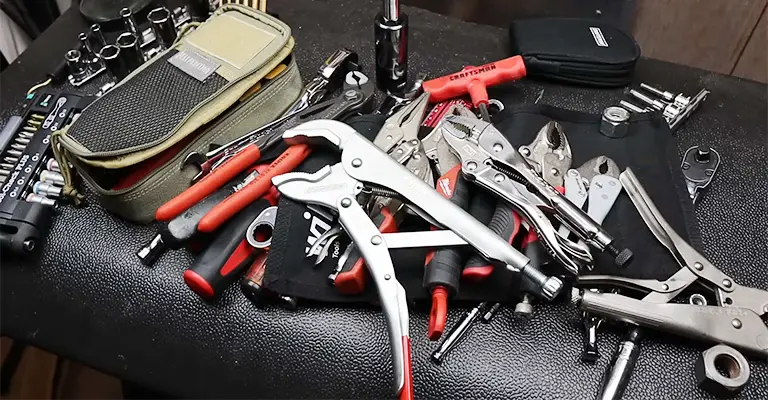
Make sure you pick the right tools. The open-ended wrench can be used to raise the level of a screw. It is appropriate to use a box containing six points for a 12.4.
However, rust may cause nuts to become smaller. It is therefore recommended to choose a size that is lower. In addition, using a die grinder and an abrasive wheel joint, you can remove the nuts from muffler fasteners.
Step 4: Turn It The Correct Way Up
It’s important to make sure the bolt is moved appropriately. Although some mechanics are well-versed in their profession, they still make mistakes every now and then.
Their further confusion was exacerbated when they operated upside-down and reversed. A few vintage lug nuts and some ring gear bolts must be turned backwards, even though most of the threads can be loosened with the left hand.
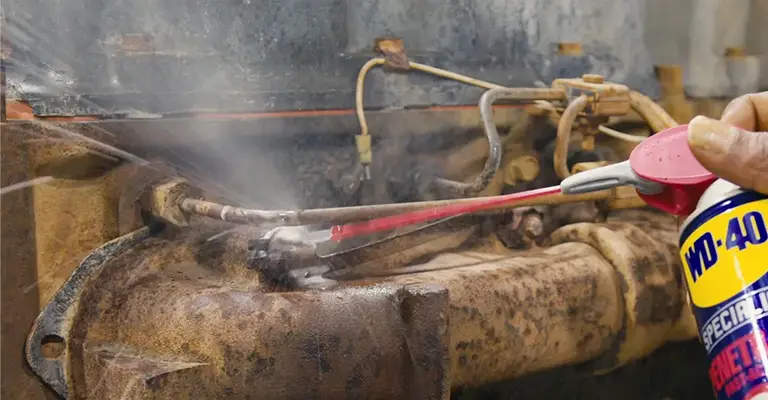
Step 5: Thread Loosener In Liquid Form
Using a liquid thread loosener will help you unstick the rusty bolt. Various penetrating oils are available to effectively overcome the most excellent rust bond.
As long as you protect yourself from fumes, you may also use 50 per cent ATF and 50 percent acetone together.
Step 6: Soaking The Threads
Penetrate oil should now be applied to the threads thoroughly. Remember that reapplying treatments is essential, and they likely should be steeped fast as well.
The same goes for patience since it will save the time you would have spent drilling. Drilling with a hammer drill is not required.
Step 7: Increasing Batter Leverage
By using a breaking bar, you will have more leverage. Keep your effort in check so that you can feel every turn.
When the threads peel, or the bolts are damaged, the pressure suddenly becomes smooth. Wear protective gloves if your knuckles are hurting.
Step 8: Make Use Of Heat
Grabbing rust and melting locking compounds both require heat. The flame will help remove all oil if it is used in an area likely to cause explosions since oil is highly combustible.
Step 9: As A Lubricant, Use Paraffin
Many experts employ this technique to remove corroded pipe plugs from cast iron – applying heat to the iron. Over the threads, they melted a candle with the metal.
The paraffin coats the threads at this point and acts as a lubricant. It must be paired with the correct size and tight-fitting socket to ensure a proper fit.
Step 10: The Final Solution
The last option is an electric impact cannon, which usually kills the bolt. A pair of safety gloves, sunglasses, and proper impact sockets are necessary to handle more giant nuts.
You can use your impact cannon with a wrench to hold the bolts while you impact the wedged part of the bolt.
Final Words
It will take time for metal items, including screws and bolts, to begin to rust. The rusting of these things may become a major issue since they are present in practically every human-made device, machine, and comfort.
Most often, these bolts must be replaced after they deteriorate. You’ll spend a lot of time and money calling the pros if you don’t understand how to remove a seized bolt with no head.
Hence, you should follow our instructions and ensure the correct application so that you can enjoy trouble-free functioning and concentrate on developing rather than fixing.


