

When it comes to home maintenance, one often overlooked but crucial task is sealing the gap between your window and brick wall.
This small gap can lead to significant problems if left unattended, including drafts, energy inefficiency, and even water damage.
In this guide, we will show you how to properly seal the gap between your window and brick wall to ensure a comfortable, energy-efficient, and leak-free home.
Why Is Sealing the Gap Important?
Before we dive into the steps, let’s understand why sealing the gap between your window and brick wall is essential. This gap can be a source of several issues:
Energy Efficiency: Gaps allow air to flow in and out of your home, causing temperature imbalances and increasing your energy bills.
Water Infiltration: Gaps can let rainwater and moisture seep into your home, potentially leading to costly water damage and mold growth.
Drafts and Comfort: Gaps can create drafts, making your home less comfortable, especially during extreme weather conditions.
How To Seal Gap Between Window And Brick Wall?
Sealing the gap between a window and a brick wall is important to prevent drafts, water infiltration, and energy loss. Here’s a step-by-step guide on how to seal this gap effectively:
Gather Your Materials
Before you start sealing the gap, gather the necessary materials:
Caulk Gun: A caulk gun will help you apply the sealant accurately.
High-Quality Caulk: Choose a caulk that is suitable for exterior use and can withstand various weather conditions.
Utility Knife: You may need this to remove old caulk or to trim the caulk bead neatly.
Caulk Backer Rod (optional): For larger gaps, a backer rod can provide additional support.
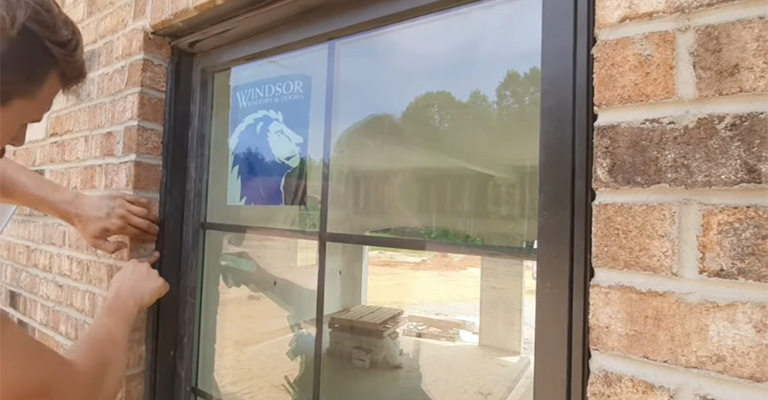
Prepare the Surface
To ensure a successful seal, follow these preparation steps:
Clean the Gap: Remove any dirt, dust, or old caulk from the gap using a brush or scraper.
Inspect for Damage: Check for any damage to the window frame or brick. Repair any structural issues before sealing.
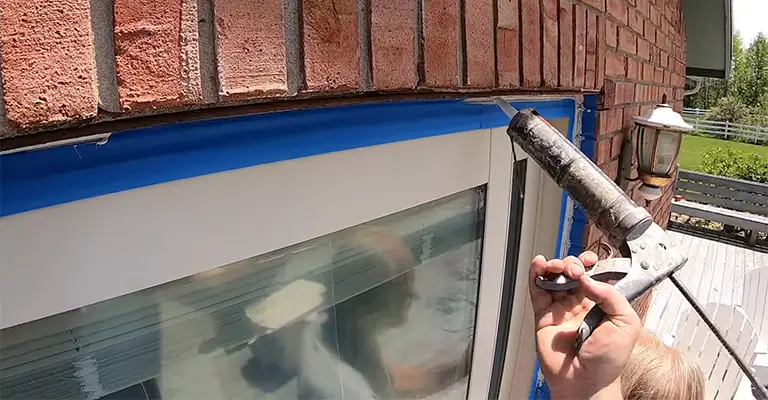
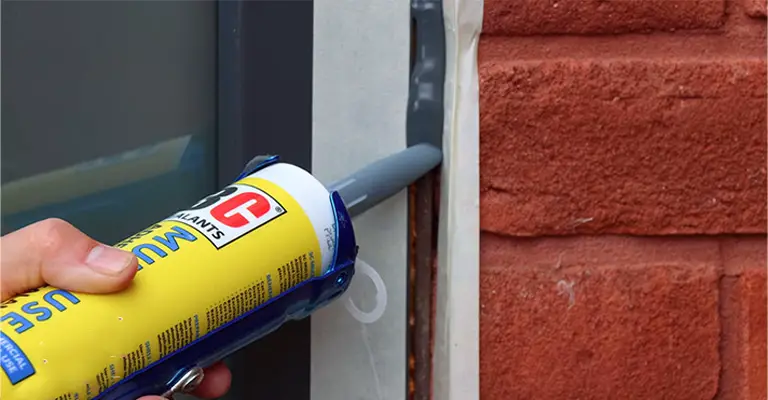
Apply the Caulk
Now, it’s time to seal the gap:
Cut the Caulk Tip: Cut the tip of the caulk tube at a 45-degree angle. Make sure the hole is big enough to fill the gap but not too large to create a mess.
Insert the Caulk Tube: Place the caulk tube into the caulk gun and press the trigger to start the flow.
Apply the Caulk: Slowly run a bead of caulk along the entire gap, ensuring it’s airtight and water-resistant. For larger gaps, insert a backer rod before applying the caulk.
Smooth and Shape
To create a clean, neat seal:
Use Your Finger: Wet your finger and run it along the caulk bead to smooth and shape it.
Trim Excess Caulk: If necessary, use a utility knife to trim any excess caulk for a tidy finish.
Let it Cure
Allow the caulk to dry and cure according to the manufacturer’s instructions. Typically, this takes 24 hours, but it may vary depending on the product and weather conditions.
Final Check
Once the caulk has cured, do a final check to ensure the gap is properly sealed. Look for any gaps or imperfections and touch up as needed.
Paint (if necessary)
If the caulk is paintable and you want it to match the window frame or wall, paint it after it has fully cured.
Things To Know
This is what I would do if I were you:
Use expanding foam to fill the gap. It will expand so do not do it too soon as it will leave an uneven surface. Cut away any bubbles so it’s flush with the surface.
Invest in a really good caulk for outdoor use (oil-based). The local big box sells a product called Quad, but you might be able to find something similar in grade if that is not available.
Using 1/2-inch caulk should be liberally applied over the joint. As a result, the window will be sealed, and the foam will be protected.
Insulate the gap with foam and provide support to the backer rod by using foam to fill the gaps.
Getting the foam at the right depth, however, is crucial.
- Leaving the backer rod too shallow will result in it falling back into the void.
- The backer rod and caulking will not fit if there is too much fill.
You should mark the required depth and practice filling the foam on a sample board so you can observe how much it expands and how deep it stops.
When one-half of the window frame is covered with foam, the frame may twist and move out of alignment if the window is old. The frame of the window looks sturdy, but how sturdy is it?
You cannot just caulk back to the foam without a backer rod.
Backer rods act as a release agent, allowing the caulking to adhere to the walls (in your case, bricks and wood frames).
No caulking should be applied behind the material. Ensure that you do not overfill. Getting the right depth of caulking in the joint is more important than how much you can apply.
It is common for people to fill too deep. A ratio of 3:1 is generally recommended by manufacturers. In other words, 3 wide and 1 deep.
As a result, the caulking stays adhered to the sides even as it expands and contracts. The joint should not be filled deeper than 1/4″ if it is 3/4″ wide.
As a side note, caulking and sealants are two different things to me. Caulking made of latex can be painted, but it dries out after a while.
A silicone sealant can be painted…more easily, but it is more flexible (better for places where there may be movement due to thermal issues, etc.) I doubt if there is much movement between these two types of sealants.
Conclusion
Sealing the gap between your window and brick wall is a simple yet crucial home maintenance task that can significantly improve your home’s energy efficiency and protect it from potential water damage.
By following these steps, you can seal the gap effectively and enjoy a more comfortable and secure living environment.
Regular maintenance like this can go a long way in preserving the integrity of your home and saving you money in the long run.


