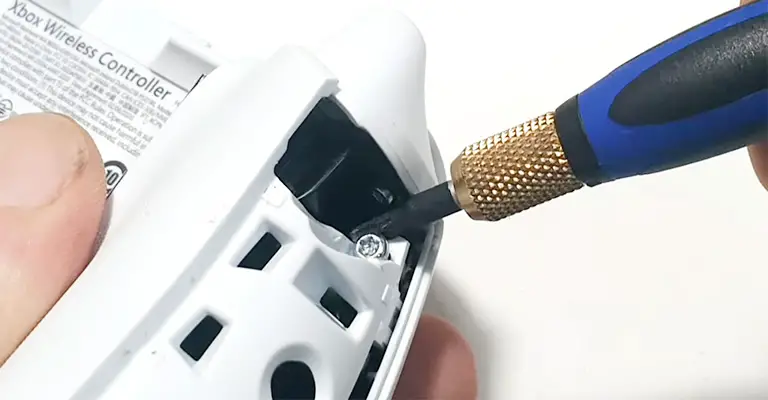
We’ve all been there—faced with a stubborn tiny screw that needs to be removed, but no screwdriver is in sight.
Whether it’s a delicate electronic device, a pair of eyeglasses, or any other item with a pesky screw, the frustration of being ill-equipped can be overwhelming.
However, fear not! There are clever solutions and unconventional techniques that can help you unscrew that tiny culprit even without a traditional screwdriver.
This guide will explore innovative methods for removing tiny screws when a screwdriver is unavailable. These ingenious techniques rely on everyday objects that can be found in your home or surroundings.
With some improvisation and a touch of creativity, you can successfully conquer those minuscule screws that seem intent on defying your efforts.
How To Unscrew A Screw Without A Screwdriver?
Sometimes, you need to remove a screw urgently but don’t have a screwdriver handy.
The easiest and safest way to remove a screw is by using a screwdriver, but other methods can be attempted if you cannot locate one or do not have the right size and type.
Removing Very Tiny Screws
Step 1:
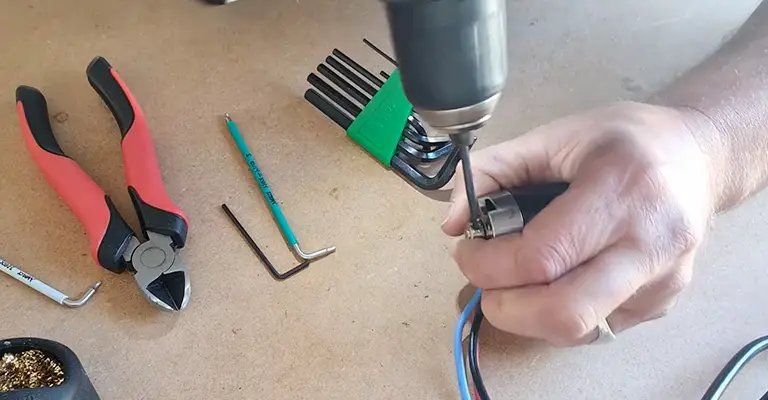
If you need to remove highly tiny screws without a screwdriver, use this method. Very tiny screws have a challenging time being removed without the proper tools.
Devices with electronic components often contain them. It would be best to use an eyeglass repair kit, including the necessary tiny screwdrivers, to remove your screws.
You can use one of these methods if you cannot find an eyeglass repair kit. It is effortless and inexpensive to find eyeglass repair kits.
Step 2:
Make sure you have a knife tip in your hand. With a knife’s pointed tip, turn tiny screws counterclockwise.
You can try inserting the knife tip at an angle to provide more surface area for contact between the knife tip and the screw by inserting the knife tip in the groove.
Step 3:
Using a metal nail file will help. You can insert a metal nail file tip into the groove on the screw head. Ensure the head of the screw doesn’t get damaged by turning the screw counterclockwise.
Step 4:
You can use pointy little scissors for this purpose. To replace a screw head, insert the tip of a very sharp pair of scissors into one of the grooves on the head.
Ensure that the screw is counterclockwise. Screws of very small sizes cannot be opened with blunt scissors.
Step 5:
A tip of tweezers might work. Place the pointy end of the tweezers into the groove on the screw head and turn counterclockwise. Their tips must be pointed if you want to properly insert tweezers into the groove.
Removing a Torx Screw
Step 1:
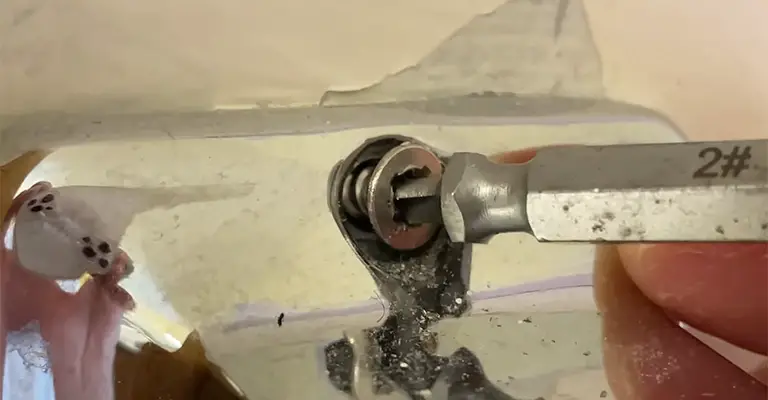
The method below can be used if you have a Torx screw. Unlike other screws, Torx screws have a star-shaped pattern on the head, making them very popular for all kinds of work.
An essential feature of security torx screws is the nub in the middle of the head. If you want to remove Torx screws with an alternative tool, be very careful to avoid damaging them.
Step 2:
Small flat-head screwdrivers are best. Make sure you insert the flat-head screwdriver between the opposite edges of the screw head.
Taking out the screw involves turning it counterclockwise. You must turn the head slowly if you don’t want to damage it.
In order to use a security torx screw, the flat head must be applied to one of the outer grooves and the nub at the center of the head. Torx screws don’t require security, so they work similarly.
Usually, security torx screws turn in the opposite direction. Remove them by turning them clockwise.
Step 3:
Torx screws with security pins must be broken out. You can remove the centre pin from the screw head using a simple torx screwdriver without a secure version.
To remove the nail, use a hammer and a punch or other chisel-like tool and align the chisel on the bottom. To remove the centre pin, gently tap the top of the chisel.
Step 4:
Create a small hole in the tip of your torx driver. When you wish to remove a security torx screw with a non-security torx driver or drill bit, you can drill a small hole in the drill bit.
You can then utilize your security torx screw with a small hole provided for the centre pin.
Step 5:
Use a plastic toothbrush. Use lighter or other heat sources to lightly melt the end of a plastic toothbrush. Insert the plastic into the screw head and allow it to harden once more once the plastic has softened.
Trying to unscrew the screw counterclockwise once it becomes hard is the best method of getting it out.
Removing a Flat Head Screw
Step 1:
Without a screwdriver, you can remove flat-head screws this way. In contrast to a round-head screw, a flat-head screw has only one groove across the head.
For unscrewing screws, you can usually use a flat surface if you do not have a flat-head screwdriver.
Step 2:
You can use a card. You could try turning the screw with a plastic credit card. Remove the screw by inserting the edge of the card into the long groove and turning it counterclockwise.
You should ensure that the card is sturdy and old, as you don’t want it to be damaged during the process.
Step 3:
Take a tab from a soda bottle and try it. The tab from a soda can be inserted in the groove of the flat-head screw. Screws can be unscrewed by rotating the head counterclockwise.
Step 4:
Let’s try a coin. Put a small coin into the groove and turn counterclockwise to unscrew. This method works best with nickels and dimes, but larger coins will be easier to turn if they fit inside the groove.
Step 5:
A butter knife is a good tool to have in your kitchen. It is very similar to using coins with kitchen butter knives. Remove the screw by inserting the butter knife end into the groove and turning it counterclockwise.
Your butter knife may bend rather than unscrew the screw if it is of low quality and strength or if it is very tight. This potential damage must be considered.
Step 6:
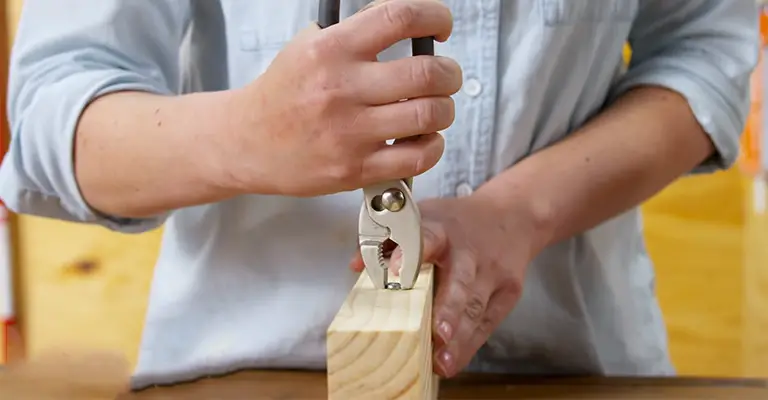
If you need to tighten the grip, use pliers or vice grips. Only if the head of the screw is raised above the surrounding surface will it work.
Turn the screw counterclockwise using pliers or vice grips by gripping its sides and twisting them. You may be able to get better results with needle nose pliers than with regular pliers.
Step 7:
You can use your thumbnail for this. The thumbnail will only work if the screw is incredibly loose on the surface. Take your nail and insert it into the groove.
Turn it counterclockwise. If the screw is relatively loose, it should come out easily, but if it is tight, this method is unlikely to work.
Removing a Phillips Head Screw
Step 1:
Try this method to remove a Phillips head screw without the appropriate screwdriver. A Phillips head screw has two grooves that make a cross.
You should use the groove that is longer when trying to unscrew your screw when one groove is longer; improvised tools work best in this groove.
Phillips head screws are particularly prone to stripping when the grooves formed in the corners wear down.
Due to there no longer being a solid groove in which to insert your tool, unscrewing your screw is very difficult. Make sure you use these methods carefully so as not to strip your screw.
Step 2:
Make sure you have a kitchen butter knife on hand. The use of kitchen butter knives is similar to the use of coins. Insert the end into the longer groove using the butter knife and unscrew the screw counterclockwise.
Your butter knife may bend rather than unscrew the screw if it is of low quality and strength or very tight. There is a possibility that this damage could occur.
Step 3:
Give a coin a try. See if that turns the screw if you insert a small coin into the larger groove. In this method, dime and penny coins are particularly useful.
Larger screws are usually more suitable for this technique than small ones. To insert a coin, insert it into the larger groove and turn it counterclockwise.
Step 4:
Consider using pliers or vice grips. You will need a screwhead that is slightly raised above the surrounding surface for this to work.
You can twist it out using pliers or vice grips to grab the sides of the screw head and turn them counterclockwise. You may be able to get better results with needle nose pliers than with regular pliers.
Step 5:
You can use your thumbnail for this. The screw must be quite loose on the surface before your thumbnail will work.
The longer groove needs to have your nail inserted and turned counterclockwise. Screws with relatively loose heads should come out quickly. Screws with tight heads may not come out quickly.
Step 6:
Put an old CD to good use. You need to put the edge of an old CD into the groove and turn it counterclockwise.
You might damage or break the CD, so be sure you use an old one you don’t mind breaking. Using this method may not work very well for very tight screws.
Step 7:
A hacksaw can be used to create a long groove in the screw that is similar to a flat-head screw. Using a hacksaw, you can create a groove that is similar to the groove of a flat-head screw if your screw head is raised above the surface.
A groove can be made by holding the hacksaw vertically and gradually cutting the screw’s end. Do not cut the wood or whatever the screw is affixed to.
You can remove the screw with a flat-head screwdriver or another flat object, such as a credit card, just as you would a flat-head screw.
Step 8:
Make use of a flat-head screwdriver. Use a flat-head screwdriver if you can’t find a Phillips head screwdriver, but you can find a flat-head screwdriver with a groove about the same length as the groove on the Phillips head screwdriver.
Remove the screw by inserting the flat head into the more extended groove and rotating it counterclockwise. It will not work with smaller screws but should work well with regular and larger screws.
To avoid damaging your screw, ensure that there is not too much surface area exposed to the screw head.
Step 9:
Plastic toothbrushes are a good option. The end of a plastic toothbrush can be simply melted with the help of a lighter or another heat source. The soft plastic can be inserted into the screw head and allowed to harden again.
To unscrew it, turn the screw counterclockwise once it hardens. It usually only works on screws that are not too tight and relatively easy to turn.
You should use the lighter carefully to avoid accidents and melt the toothbrush slowly, so you can see the melting and prevent a mess.
Final Words
I hope you find this helpful! You have your very own guide to unscrewing a screw without a screwdriver. Don’t worry if you don’t get it right the first time – practice will make it perfect in no time. Keep trying, and you’ll become an expert soon.

