
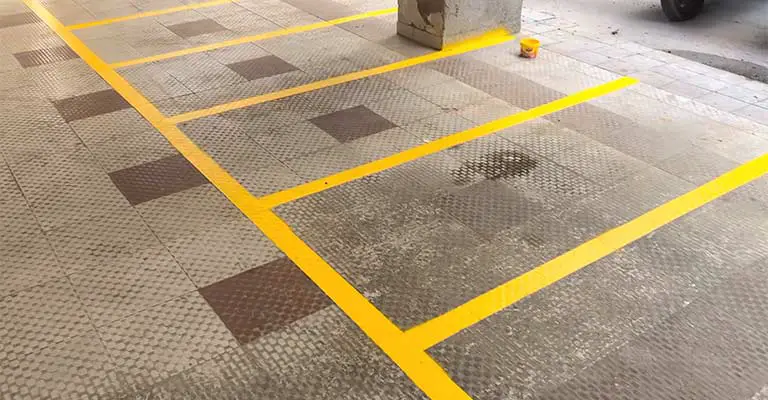
The lines on your pavement should be well-marked so that drivers can navigate your parking lot efficiently. The result is less time spent in traffic jams and more time at your place of business.
It is essential to clearly identify traffic directions, parking loads, and handicapped parking spots on your property so that your customers are able to navigate your property safely and comfortably.
The best way to paint straight parking lines is to use a four-inch paint roller and paint by hand over chalk lines.
It is recommended that you buy high-quality traffic paint to ensure your results will last for years. Parking lot lining paint can be purchased specifically for this purpose. Make sure the formula you choose is:
- It dries quickly.
- A water-based product.
- It is reflective.
For striping your entire parking lot, thermoplastic paint is less cost-effective than latex paint.
Take Note:
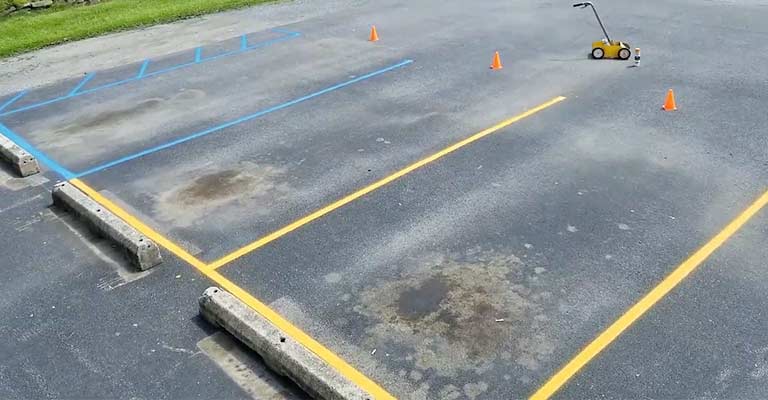
Clean, straight parking lot lines can only be made with a parking lot striping machine. Stripers often come in the size and shape of lawn mowers and are available in different shapes and sizes.
It is possible to get a striper so small that it can hold one can of aerosol paint, if you only need to touch up one line. For precise, straight lines, choose a striper that has a laser.
It is possible to achieve the same results without using a machine by following the following method.
A Quick DIY Method For Painting Parking Lot Lines
You need to make a stencil. These are the typical road markers used for arrows, symbols, letters, and numbers. A cardboard box would be the easiest to use.
Create a stencil with a gap shaped like the stripe by flattening and cutting the boxes. Place on the road, spray paint, and reposition for the next stripe.
You can also paint straight lines using a stencil, it only needs to be a few feet long, and then move it throughout the process, but don’t allow too much paint to build up or you will end up with blotches.
When you use a stencil to paint a line, make sure that the sides are parallel to one another and the line to be sprayed through. Put a length of wood so that at least one side of the stencil stays in contact with the wood and move the stencil along it.
The Preparation Work
The prep work isn’t complicated. It only needs to be clean, no matter what surface you’re painting.
This means you want to sweep and blow off asphalt and concrete parking lots, then pressure wash them. The first thing you need to do is sweep and blow off the heavy dirt. Remove the lighter dust by pressure washing.
Don’t worry about it being perfect, just make sure no dirt is left behind once you’re finished. As a result, you won’t have to worry about paint flaking and peeling in the future.
A Cheaper Alternative To Line Spraying Machines
Additionally, you may be able to use a narrow roller rather than the line-spray machine mentioned earlier.
It should give a sharp-enough parking-lot boundary. The best thing to do would be to draw a snap-line or equivalent and follow it carefully.
The width of a standard roller can easily be cut down to whatever you want. You can buy rollers up to 4 inches wide.
There are four standard roller sizes: 3, 4, 7 and 9. I always cut down rollers since I paint with two-part paint, which melts standard rollers.
This is better than using a stencil, which will either be too large or need to be sprayed one section at a time.
Moving the stencil might smear the paint and then the underside of the stencil gets painted, which is very frustrating.
Furthermore, because of the contrast between perfectly straight and distinct angles, the stencils will not line up perfectly and will appear slightly crooked.
What If You Have To Paint A Lot Of Parking Lines?
It sounds like you need a machine to stripe lines. One of these can be easily found using your favorite search engine.
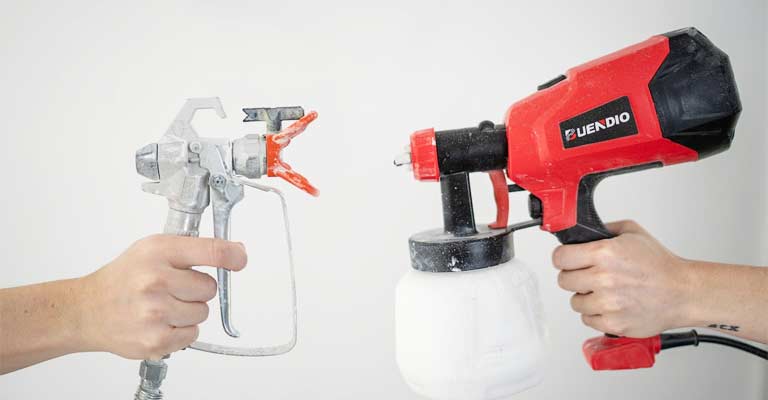
High-end models come with paint reservoirs, compressors, and everything else.
Alternatively, there are simple versions that mount a can of spray paint. Roll it in a (presumably) straight line while keeping a constant distance from the asphalt.
Some of them are as low as $75, and if you do some internet research you may be able to find these for even less. Striping wands with single wheels are even cheaper (around $20-50).
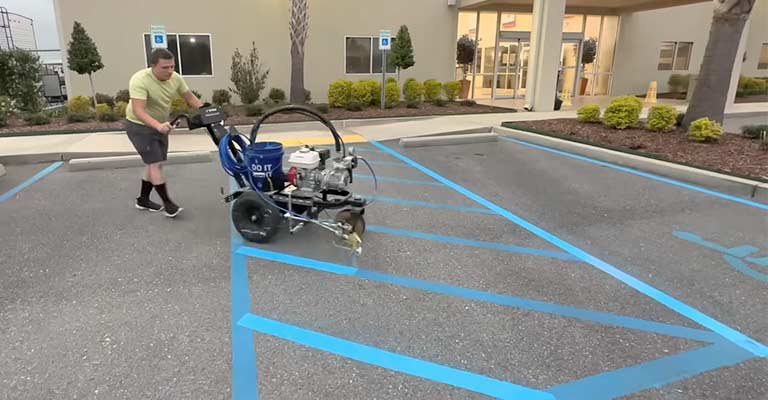
In contrast, a four-wheeled striper allows you to make straight lines without setting up any kind of guide.
Pull the trigger and walk in the direction you want to start the lines. Simply measure where you want the lines to start, point the machine in the right direction, and plunk it down.
A DIY Guide To Painting Parking Lot Lines Without A Machine
Let me walk you through the steps to achieve professional-looking results.
Materials Needed:
Measuring Tools:
- Measuring tape
- Chalk or marking crayons
Paint and Marking Supplies:
- High-quality outdoor paint (latex or oil-based)
- Paint rollers with extension handles
- Paintbrushes for detailing
- Stencils for symbols (optional)
- Paint trays and buckets
Surface Preparation:
- Broom or blower for debris removal
- Pressure washer (if needed)
- Asphalt crack filler (for addressing cracks)
Step 1: Measure and Mark
Begin by measuring the parking lot to ensure accuracy in line placement. Use a measuring tape to mark the starting and ending points of each line.
Consider using chalk or marking crayons to create a preliminary layout, allowing you to make adjustments before committing to painting.
Step 2: Clean the Surface
Before painting, ensure the parking lot surface is clean and free of debris. Use a broom or blower to remove loose dirt, leaves, and other obstacles.
For a more thorough clean, consider using a pressure washer to remove stubborn stains or grime.
Step 3: Address Cracks and Imperfections
If your parking lot has cracks or uneven surfaces, fill them with an asphalt crack filler. This step not only enhances the appearance but also contributes to the longevity of the paint job.
Step 4: Mix and Prepare Paint
Select a high-quality outdoor paint suitable for asphalt surfaces. Mix the paint thoroughly, following the manufacturer’s instructions. Pour the paint into paint trays or buckets for easy access during the application process.
Step 5: Roll it Out
Armed with a paint roller and extension handle, start applying the paint to create the parking lot lines.
For straight lines, use a long, straight edge or a piece of sturdy string as a guide. Roll the paint evenly, maintaining a consistent thickness throughout the lines.
Step 6: Detail with Brushes
Once the main lines are in place, use paintbrushes for detailing and to refine the edges. This step ensures a professional finish and helps correct any imperfections or unevenness in the lines.
Step 7: Use Stencils for Symbols (Optional)
If your parking lot requires symbols such as handicap logos or directional arrows, use stencils to ensure precision and uniformity.
Place the stencil in the desired location and apply the paint carefully, making sure to lift the stencil without smudging the paint.
Step 8: Allow for Drying Time
Allow the painted lines to dry completely before allowing traffic on the surface. Follow the drying time specified by the paint manufacturer, which may vary depending on factors such as temperature and humidity.
Step 9: Apply Additional Coats If Necessary
Inspect the painted lines after they have dried. If you notice any areas with thin or uneven coverage, consider applying additional coats of paint to achieve a more durable and vibrant finish. Allow each additional coat to dry thoroughly.
Step 10: Clean Up
Clean your painting tools promptly after completing the project. If you used latex paint, water is generally sufficient for cleaning.
For oil-based paint, you may need a specific solvent. Proper cleaning ensures that your tools can be reused for future projects.
Tips:
- Choose paint specifically designed for outdoor use on asphalt surfaces for longevity and durability.
- Work in sections to ensure that the paint is applied consistently and does not dry before you finish a particular area.
- Check the weather forecast before starting the project. Painting in dry, mild conditions is ideal for proper paint adherence and drying.
Final Words
Remember, while this DIY guide can help you achieve professional-looking parking lot lines without a machine, it’s essential to prioritize safety.
Consider using proper personal protective equipment, such as gloves and safety glasses, and ensure that the area is well-ventilated during the painting process.
Additionally, be mindful of local regulations regarding parking lot markings and any specific requirements for symbol dimensions and placements.


