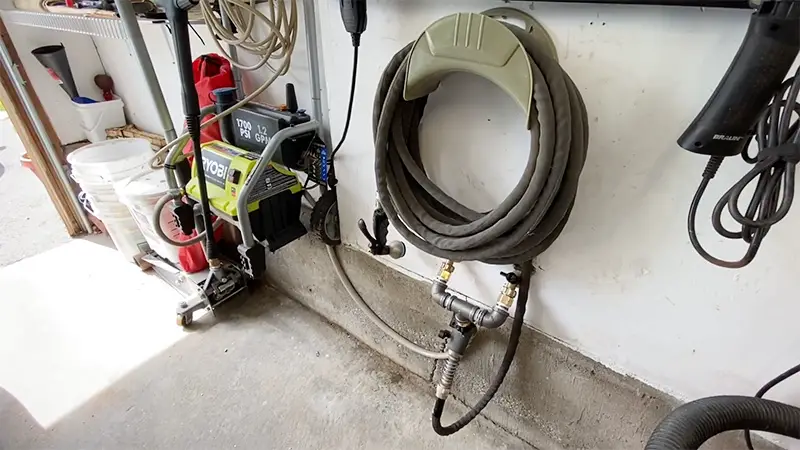
A hose bib, also known as an outdoor faucet or spigot, can be a game-changer when it comes to easy access to water for various tasks such as watering plants, washing your car, or cleaning outdoor equipment.
In this guide, we’ll take you through the step-by-step process of installing a hose bib in your garage, allowing you to extend your water source conveniently.
Remember, while this can be a rewarding DIY project, if you’re unsure about any aspect of the installation process, it’s always a good idea to consult with a professional plumber.
They can provide guidance, ensure the installation is done correctly, and help you avoid potential problems down the line.
Can I Put A Hose Bib In The Garage?
Absolutely, you can put a hose bib in the garage! Installing a hose bib in your garage can be a great idea for a variety of reasons.
It provides easy access to water, which can be incredibly useful for tasks like washing your car, watering plants, cleaning outdoor equipment, and more, all without needing to drag a hose from an exterior faucet.
If you have an antifreeze hose bib in the house that you can connect to the garage, you shouldn’t encounter any problems.
The situation changes if you need to run more pipe. Before proceeding with the installation, there are a few things you need to consider:
Water Source
Ensure you have a suitable water source nearby, such as a water supply line that can be extended to your garage.
Tools and Materials
Gather all the necessary tools and materials for the installation, including a hose bib, pipe fittings, a drill, pipe wrench, Teflon tape, and more.
Location
Choose a suitable location for the hose bib in your garage. It should be easily accessible and positioned in a way that prevents freezing during cold weather.
Installation
The process involves cutting into your existing water line, so some plumbing knowledge might be beneficial. If you’re not confident in your plumbing skills, consider hiring a professional plumber to ensure a proper installation.
Permits and Regulations
Check if there are any local building codes or regulations that you need to adhere to when installing a new plumbing fixture.
Freezing Concerns
If you live in an area with cold winters, make sure to install the hose bib in a way that minimizes the risk of freezing, such as by using frost-proof hose bibs or properly insulating the pipes.
Maintenance
Regularly inspect and maintain the hose bib to prevent leaks, corrosion, or other issues.
How Does A Hose-Bib Work In The Plumbing System Of Our Home?
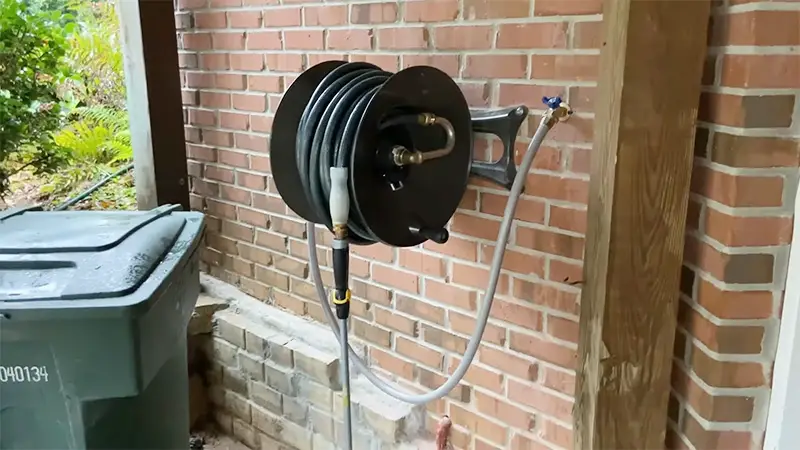
Our home’s plumbing system must be connected to a hose bib so that we can bring water outside. Pipes connect the hose bib to the main water supply in our home.
Houses often have hose bibs installed on their exteriors as a means of connecting water to the house.
It allows us to attach a hose to it and send water to the parts of the property that need it the most. Washing vehicles and watering plants are common uses.
Instruction To Install A Hose Bib In The Garage
It is best to keep our hoses in a heated garage or basement so that they do not become damaged by the freezing weather outside. In the meantime, let’s take a look at how to install a hose bib in the garage.
Step 1: Planning & Getting Started
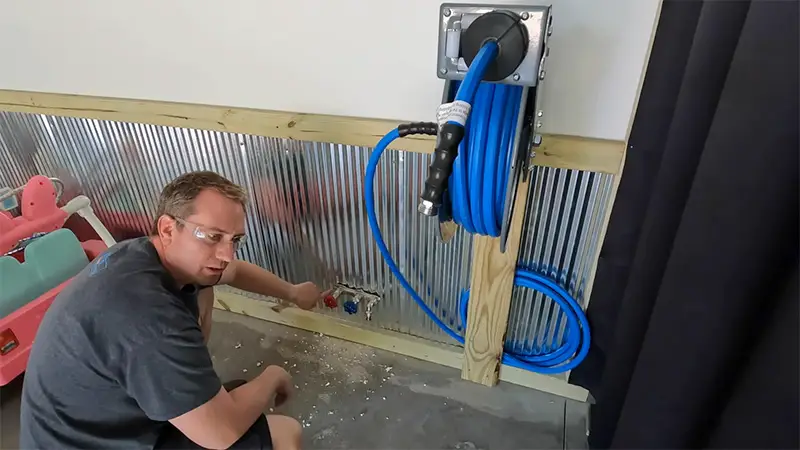
Those living in harsh winter regions should get a frost-free, long-stem faucet that shuts off the water inside rather than outdoors. In warm climates, the pipe can be connected to a regular hose bib.
A sprinkler system that is connected to the hose bib should be equipped with an anti siphon device. By doing this, we will prevent flooding in our homes and water pollution.
Installing a frost-free hose bib requires knowing that the hose bib is connected to the shutdown valve by a short nip in order to keep it from freezing.
A sweated copper adapter connects the supply line to the valve. Make the necessary adjustments.
Why Should We Install a Frost-Free Hose Bib?
Burst pipes and other property damage can result from frozen hose bibs. The house might flood if the pipes burst, spilling the primary water flow through the valve.
These pipes are so close to circuits, electrical cables, etc., that it represents an emergency. Hence, a frost-free hose bib should be installed.
Step 2: Locating Drilling Hole
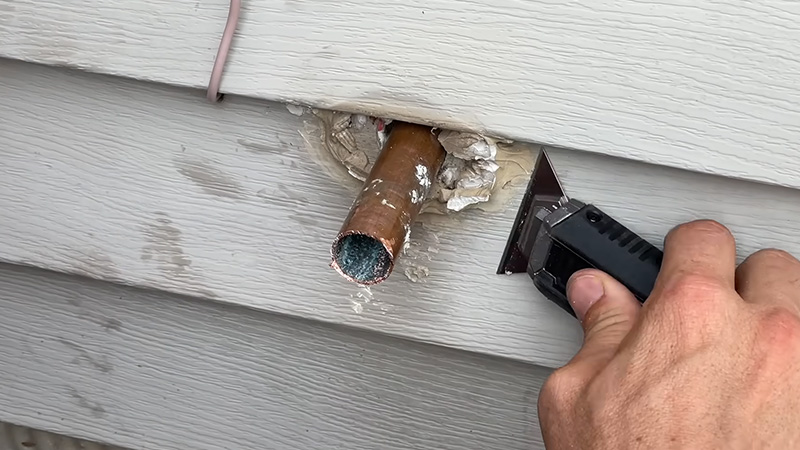
In order to tap into the cold water pipeline, we will need to drill a locating hole using a long, thin bit. A hole must be drilled through the sheathing, siding, and rim joists.
Drilling from the inside out on the epoxy floor of the garage will prevent the siding from splintering. We can then drill from the outside in to complete the drilling process.
Step 3: Adding A Hose-Bib To The System
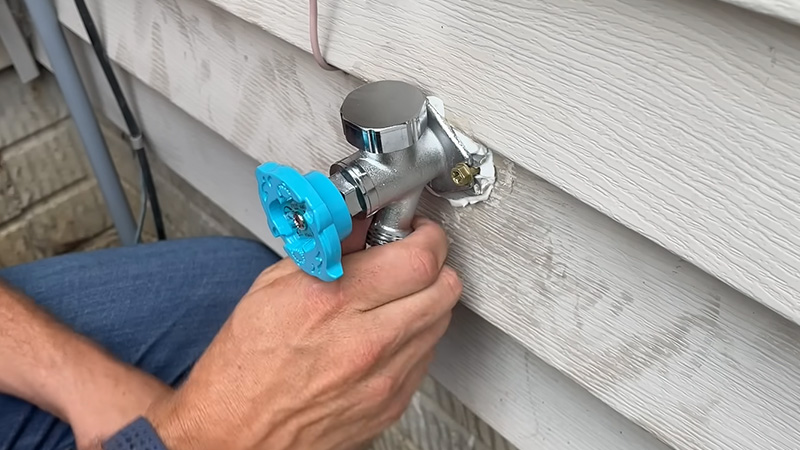
By sliding the plastic gasket over the hose bib and pushing it through the hole from the outside, we can seal the hole.
In order to secure the hose bib, we need to apply silicone caulk around the hole and screw in two rust-proof deck screws or bolts.
Put a hose-bib in our garage in a convenient location so that we can easily use it and check it for any problems. For a better nighttime experience, follow the garage lighting layout.
Step 4: Cutting & Assembling
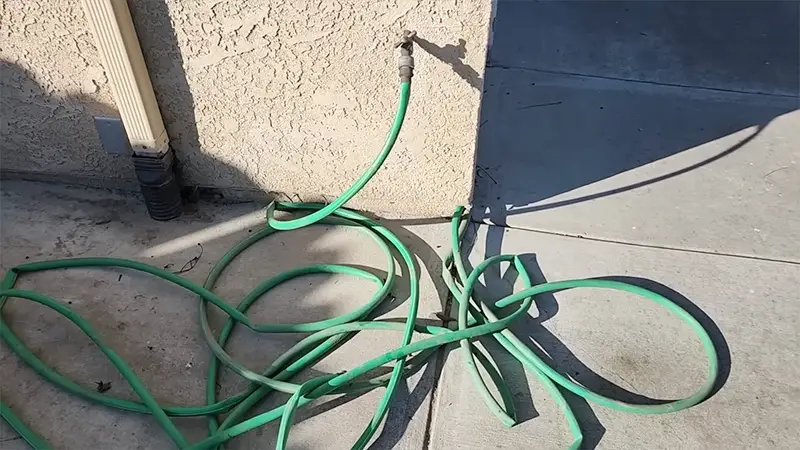
A carpenter’s square can be used in this step to mark the placement of the tee fitting on the cold-water pipe for cutting. Turn off the water. Make a cut in the pipe to install the fitting.
A nipple and elbow must be dry fit perfectly before assembly. A cutoff, a nipple, and an adapter need to be dry fitted. Chrome-plated brass bibs do not require a dielectric fit.
It is imperative that the hose bib slopes when turned off so it can drain. Marking the valve’s last nipple may be necessary so we can cut it.
The Final Step
We are almost finished. To complete the installation, the cutoff valve must be disassembled, and the inner workings removed. The frame should be protected with a heat-resistant fiber barrier, and all joints should be lubricated.
What Can Be Done To Prevent Hose Bibs From Freezing In The Winter?
Frost-free hose bibs can prevent freezing. You can also turn off the valves and drain the pipes. In any case, the hose-bib can be disconnected.
Turn off the water supply valve that supplies the outside faucet upstream. Make sure the pipe and faucet are free of any remaining water. Insulate the upstream pipe of the faucet. Make sure your faucet is freeze-resistant.
How Do You Deal With A Freezing Hose Bib?
The fastest way to defrost a hose bib is to wrap rags around it and pour hot water over them. When the faucet thaws enough to turn the handle, open it as soon as possible. As soon as the water starts flowing, the rest of the ice will melt.
When Installing A Hose Bib, How Much Height Should We Maintain From The Surface?
Hose bibs are usually installed between 12 and 16 inches above the surface. We may not have enough room for something like a check valve or a timer if we go any lower.
Final Words
I hope you now have a clear understanding of what the hose bib in the garage looks like. I have described how to install a hose bib in the garage.
Nonetheless, you can always contact a plumber if you encounter any problems. I wish you all the best until then!

