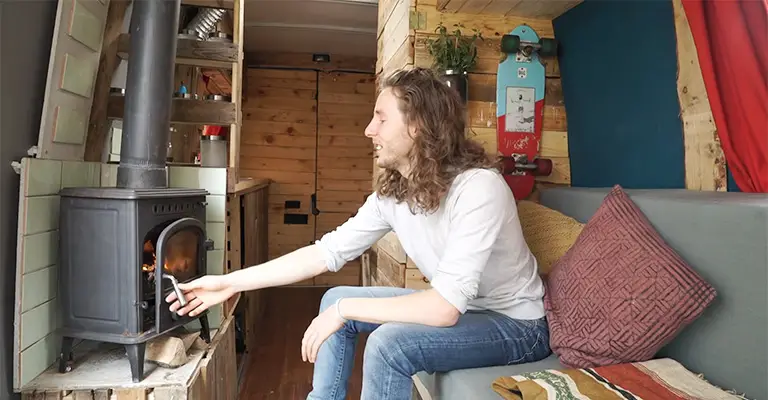
You can save some money on your heating bill by burning wood, and you can watch the fire while you are watching it.
For a freestanding wood stove to be connected to the chimney or pipe, it must be connected with a double-wall or single-wall stove pipe. A stove pipe that has been improperly installed can lead to creosote leaking out and making life miserable.
When burning wood, the stove pipe’s male end should always point downward and/or at the stove. Additionally, water should flow into the wood stove outlet when the pipe is inserted into the collar.
It may seem backward, given the direction in which the flue gas travels. There is some concern that the smoke can leak out of the pipe seams – however, this will not occur.
Smoke will not be able to pass through the seam due to the pressure of the draft moving too fast. The most significant concern is creosote leakage through the wood stove pipe connections.
In the dying stages of a fire, creosote is often seen floating in liquid form in the stove pipe. Condensation drips down the pipe at a lower temperature, resulting in creosote buildup.
It is always the case that when the male end of the pipe is incorrectly pointed upwards, liquid formed by condensation will always follow the path of least resistance and eventually drip outside of the pipe.
A female end of the pipe below will catch any drops falling from the male end and be burned in the stove.
During your stove pipe installation, you may notice that the male ends of your pipes are pointing upward. This has worked for years.
There’s no doubt it will leak at some point. Even if it hasn’t leaked yet, you can bet it won’t be long before it does. When the pipe configuration is changed, the “yet” is removed from the equation, and nothing can happen to it in the future.
What You Need To Know About Stove Pipes And Elbows

There are many challenges involved in installing fireplace venting. It is especially important to pay attention to elbow movements if you have framing and other objects in the way. What is an elbow? We’ll be discussing exactly that today.
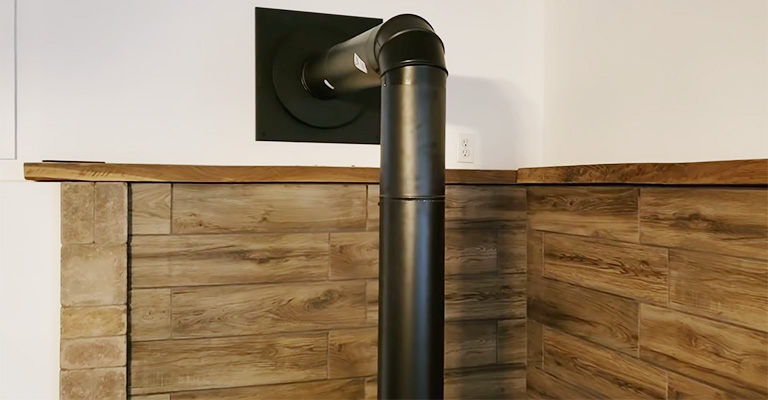
Angled pipes called elbows help you maneuver venting systems around objects blocking their path. With flexible offset options and angles of 15, 30, 45, and 90 degrees, elbows can be used in any situation.
Unless you absolutely have to, elbows are ideal for horizontal venting installation but are not recommended for vertical installations.
A wood-burning vent cannot be offset beyond 30 degrees in the U.S. and 45 degrees in Canada due to the presence of solid particles.
Direct vent and B-vent systems can use offsets up to 90 degrees since their venting systems do not have solid particulates that could accumulate within the bend of the elbow.
In the case of elbows, gasses, and fumes can’t flow freely. If smoke is escaping from your fireplace, it should escape through a straight vent pipe rather than running into a wall and turning.
If you wish to install a vertical elbow, you can do it with a 45-degree elbow but not with a 90-degree elbow. Horizontal installations are allowed to use 90-degree elbows, but vertical installations are not.
If you want to direct the vertical run of the stovepipe towards a wall, you’ll need a 90-degree elbow. Before installing an elbow, you usually need at least 12 inches of vertical pipe from the stove.
By using this length, the stove will have time to create a draft before its elbow blocks the airflow.
It is essential to understand that the type of elbow you buy for your fireplace will depend on how it is vented. Wood-burning fireplaces or coal units typically use stainless steel venting, while gas fireplaces use aluminum or galvanized steel venting.
Due to the high temperatures in wood-burning fireplaces, heavier materials must be used. Keep these things in mind if you are shopping for an elbow for your fireplace.
Final Words
Using a corrosion-resistant steel pipe of a suitable gauge for stoves is recommended. As part of the NFPA standards, stove pipes must have a minimum internal cross-sectional area equal to the stove’s flue collar.
It is recommended that all pipe sections be secured appropriately and the pipe is as straight and short as possible. Whenever possible, limit the angle to one to two sweeping 90-degree elbows or the equivalent.
A good draft requires that the horizontal portion of the pipe rise not less than a one-quarter inch per linear foot.
Avoid passing it through a combustible wall when connecting a stove pipe to a chimney flue. It is, however, necessary to pass the stove pipe through a thimble or collar if there is no alternative. The following NFPA standards have been established:
There must be at least 12 inches between the diameter of a ventilated 24-gauge metal thimble and the stove pipe. Alternatively, a tinsmith or sheet metal company can make it for you.
It is recommended that metal thimbles or burned fireclay thimbles be surrounded by no less than eight inches of brick or equivalent fire-resistant material.
A minimum clearance of 18 inches is required on all sides of the pipe on any wall with combustible materials. It is essential to use noncombustible and insulating materials to close this opening.


