
Usually, people thank their air conditioning or heating systems by either thanking the supply vents or the system itself. Typically, supply vents are those that blow air into the house.
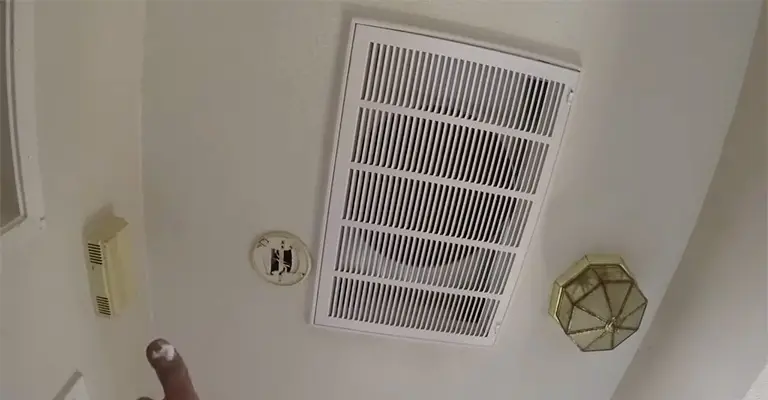
Although your filter is located right adjacent to the return duct, it is often forgotten. The return duct could also be forgotten about during installation, and the home wouldn’t be adequately heated and cooled without it.
Some homes have inadequate heating and cooling due to a lack of return ducts or bad placement of return ducts that cause hot and cold spots.
Consequently, it is essential to thoroughly understand return ducts before installing one. You can install return ducts yourself without the help of an HVAC professional, even though we always recommend hiring a professional.
Installing return air vents requires a skilled technician. Using a return air vent technician is a good idea if you are unsure of your ability to install the air return vent.
How To Add A Return Air Duct To A Room?
In the following section, we will outline how to add a return air duct without professional assistance.
Step 1 – Determine Where There Is A Need For Ductwork
It is very important to determine where the ductwork needs to be installed in your home before installing an air duct system.
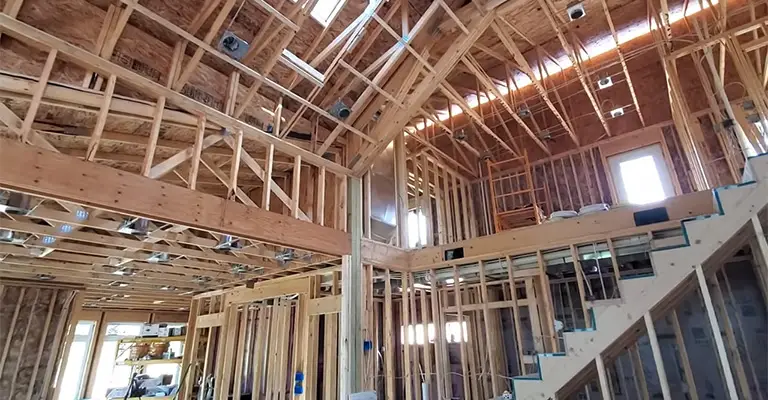
Think about the route your air should take from your vents to your handler before choosing a location for your ductwork. Through the ceiling joists, you can safely circulate air coming from your home through air return vents.
You should aim for your transferred air to hover above your furnace or air handler vents. Afterward, you want this air to travel down your walls and reach your furnace.
This type of duct routing is usually planned during the construction of your home. Get in touch with your home’s designer to discuss ductwork configuration if you are aware of it.
Your return vent may need to be reconfigured if you are adding to your home. To determine whether additional ductwork is required, you will need to determine which ducts are connected to your furnace and which are not.
Step 2 – Create Vent Holes For Air Flow
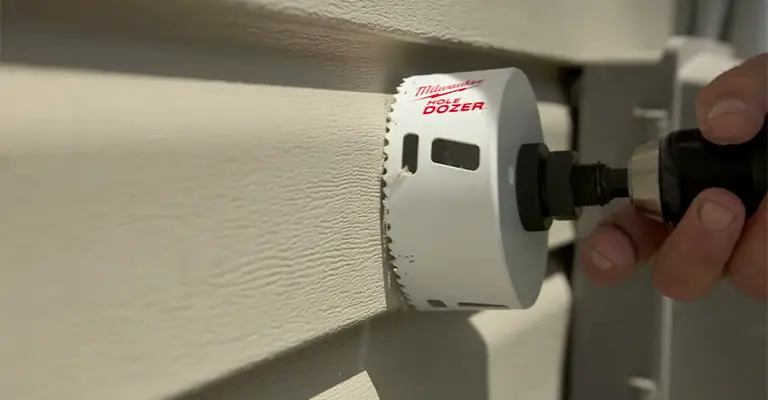
The next step of the air return vent process is to create vent holes to allow more airflow through the vent. Measuring the cubic feet of your vents will help you determine what return ducts to use.
Do not make your return air vent holes too big when cutting them. In order to mount your cold air return vents to your walls, you’ll need some space. Installing screws on the wall will allow you to mount your return duct.
It is essential to be sure of your measurements before cutting your return duct holes. A small mistake can cost you a great deal of time and money. The infrastructure of your house could also be damaged as a result.
Once you have determined that your square feet measurements are correct, cut through your drywall. Ensure that you have an appropriate-sized vent hole and test it out to ensure that air flows in the appropriate direction.
Step 3 – Install Return Air Ducts
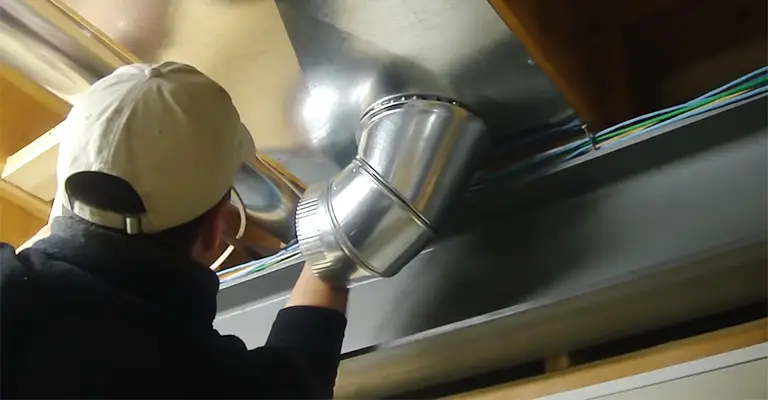
During this step, your return air ducts will be installed. Make sure that you remove the insulation that disrupts your hot airflow path before you begin. The efficiency of your system will be lowered by any obstacle in the air path.
The new ductwork must be connected to the system that returns air to your heating unit. Prior to constructing ductwork in your home, you should consult with an HVAC technician because there are many codes that must be followed.
As your air travels through these duct routes, pressure will build up in the ceiling, walls, and basement.
Make sure that air flows efficiently through your system as a whole. If you plan to use air filters, make sure you include corners in your design. You should avoid edges on your HVAC unit since they can disrupt the airflow.
You should allow enough space for air to flow around the corners of your supply vent. You need to construct two different tubes that are connected seamlessly at the edges of your return duct during installation.
Step 4 – Add Ducts To Your Basement
When setting up an HVAC unit, your basement or utility room must have a return air duct. The basement is the most convenient place for cool air to escape your house since the heat moves upward.
It is important that you use transfer grills to transport conditioned air to your master bedroom as well as the other rooms in your house.
Alternatively, you can replace this cold air with warmer air in the winter. To achieve this heat gain, an air duct is necessary. As soon as you install your new air filter, bad air will be removed so that warm, fresh air can flow more freely.
When a new basement return duct is installed, this air will be transferred to your cooling system.
During the summer, your air conditioning unit takes air from your basement and pushes it through the supply side. In addition to making your home more comfortable, this air transfer reduces energy costs.
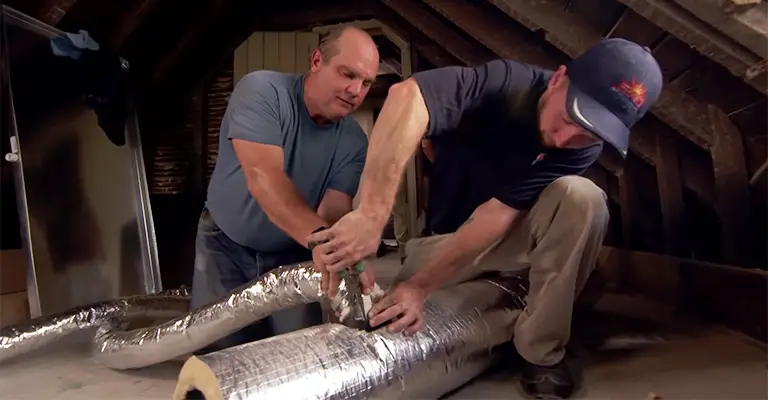
The metal sheathing in your ceiling must be located before installing a new return air duct.
Depending on how much material you have removed, you might have to remove some sheathing. To install the new ductwork, cut a circle-shaped hole in the metal.
It is convenient to have tabs on this metal sheathing that can be used to guide you during installation. When you have installed the new ductwork, tighten the metal tabs. Ensure that your air conditioner has enough airflow by doing so.
Where Are The Best Places To Put Return Ducts?
You may think that since return ducts suck air back into the system, they should be located adjacent to supplies. Some parts of this are true, and there are some parts that are not true.
The setup described above would be effective, but it isn’t required to go this way. In some cases, installing a return duct in each room with a supply vent isn’t always the best option.
Whenever possible, avoid installing return ducts in bathrooms or kitchens. In this situation, the heating and air system would circulate cooking odors and moisture throughout the house.
An environment like this would be a recipe for disaster and bad odors. Generally speaking, installing the return as close as possible to the thermostat for two-story homes is a good idea.
Following this general rule, the thermostat can monitor and record the temperature circulated back through the system. Moreover, the thermostat is usually located centrally.
It will make it easier to collect circulation and temperature measurements from all parts of the house by centralizing the thermostat and return duct.
There may be cases in which this setup isn’t appropriate for all home designs. Unless the kitchen and bathrooms are present, it may be entirely necessary to install returns in every room of the house.
What Exactly Is A Return Ducts Function?
It is the goal of millions of homeowners to make their homes more energy efficient. A return air duct is a fantastic way to create an energy-efficient home.
Depending on where you live, two types of air ducts can be installed in your house. An air return duct system controls the airflow through your HVAC system, making it an important component of your air conditioner.
You need to supply ducts from your air conditioner ventilation system to get more air into your rooms. If you prefer, an air return system can transfer humid air from your room to the air handler.
As a result, your home is created to be a comfortable environment because both ducts work together. Many people don’t realize what the return ducts are really for, even though they contain filters.
In a furnace or air handler, the return duct carries the air back into the system, which continues circulating through the supply vents. In reality, your heating and air conditioning system is nothing more than a giant circulation machine.
Circulating the air in the home without the return duct would be impossible. The result will be not only an increase in your energy bills but also a decrease in the efficiency of your entire system.
Essentially, the return duct applies negative pressure on the system, which is why it contains the filter. Effectively, it filters the air before it recirculates throughout the entire system.
Having a return for every room does not necessarily mean that you have to have one in every room. While some systems are designed this way, most modern duct systems have one or two returns to handle the entire system.
These systems are far more effective than others. You should, however, consider air duct cleaning before installing a new return air duct to ensure your ducts are clean and not causing low air pressure in your HVAC system.
Best Possible Locations
The majority of your supply ducts are probably installed either beside the windows or doors if you make sure not to miss them. The major source of heat entry into a house in this area.
It is important to strategically place the ducts in these locations to combat this heat flow. In fact, this is one of the reasons why the return ducts should be installed directly across from the supply vents.
Thus, the system will suck air throughout the room when installed in this way. As you can imagine, this setup will only work for those installed in every room of the house.
It is best to locate your return vent as centrally as possible if you install just one or two return vents.
Secondly, you should consider the physical location of the supply ducts. Which is the best place for them to be installed? Are they on the floor, wall, or ceiling?
When installing the return ducts or grills, it is important to keep them as low as possible, depending on the ceiling or wall locations. Essentially, we are returning to the old theory of pulling the air throughout the room.
Balancing The Return Air
You ought to install dampers on both supply and return vents if you want to get the most from your duct system.
It is possible to do this even after the initial installation as long as you have access to the ducts, which are usually in the crawlspace, attic, or basement.
The grill cover may even allow you to create more airflow, but dampers will improve the process. This method can be used to choke off rooms that are located too close to return ducts by installing these dampers.
The greatest amount of air will be pulled into these rooms, and the suction power will be taken away from the rest of the system in these rooms.
If you choke down the ducts on the first floor or near the return duct, you can pump more air into the ducts that lack suction power.
The Size Of Your Return Ducts
Choosing the right location and size for your return ducts makes a big difference. You can determine the size of your return ducts based on the size of your ducts and the size of your HVAC system.
The size of the ducts in each room where there is a supply should be the same size as the supply vents.
For 2-ton and smaller units, a 12-inch return vent will suffice if you install just one or two. 14- inches for 3 and up. 16-inch should be suitable for 4-ton systems, whereas 5 might require 18-inch returns.
Final Words
It is easy to see how crucial the return ducts are to the system’s operation.
Moreover, you learned return ducts aren’t supposed to be installed in bathrooms and kitchens since they just circulate humidity and odors from these rooms through the entire system.
Another reason to maintain an air duct is to prevent the spread of bacteria. Dust and debris will be circulated through the home over and over again if the return duct is dirty.


