
Handrails are an essential safety feature in any home or building, providing support and stability for those navigating stairs or uneven surfaces.
However, when it comes to attaching a handrail to drywall without studs, things can get a little tricky.
Without the proper support, a handrail can come loose and even pose a danger to those using it. But fear not because there are several methods for securely attaching a handrail to drywall, even without studs.
In this article, we’ll explore some of the most effective techniques for mounting a handrail to drywall, including the use of toggle bolts, molly bolts, and other specialized hardware.
So, if you’re ready to ensure the safety of your home or building’s occupants, read on to learn more about how to attach a handrail to drywall without studs!
Handrails provide support in stairwells and other places to prevent accidents. When someone grabs a handrail, it is usually secured to the wall studs, allowing it to hold weight and force.
There should be no wobbling or unsteady handrails. An accident victim who slips on a stairway could be seriously injured if an unsecured handrail detaches from the wall.
Besides ensuring the handrail is securely installed, you should also ensure it complies with various state building codes.
Caution:
Anchoring devices and the wall the grab bar is mounted on determine how strong the grab bar is.
A wood “stud” blocking is preferred when fastening directly into it. If you aren’t sure you can do the installation yourself, an installer should be hired.
Step By Step Guide On Installing A Handrail Without Studs
Due to the fact that studs are more capable of supporting weight than drywall, handrails are usually attached to walls using studs. Sometimes, you might need to attach a handrail to a wall without studs.
This is a detailed guide to guiding you through the process from start to finish. You can install a handrail without studs using the instructions below.
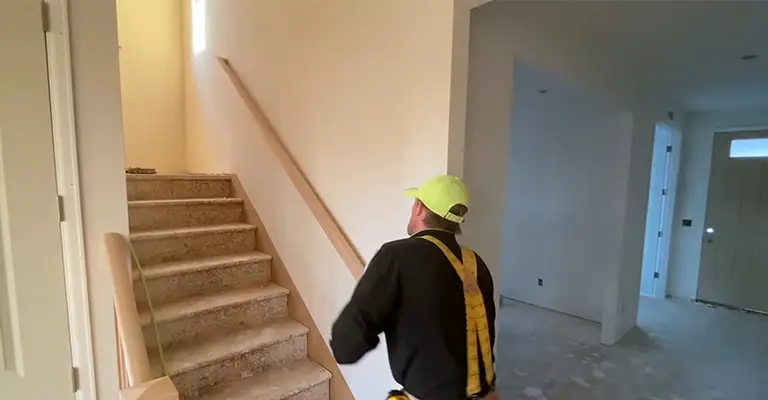
1. Mark The Bracket Points On The Wall

It is best to plan where the handrail should be installed on the wall before it is installed. To determine precisely where the handrail should be installed, consult your state’s building code.
Generally, the distance between the staircase threads and the handrail is the height requirement. It is usually expected that handrails will be 32-34 inches high.
As a result, most people are able to reach the handrail comfortably at this height. Once you have figured out the height requirement, add the bracket and the handrail thickness to the height requirement.
Take the bracket height and the handrail height from the 32 inches that your state requires you to install the handrail about 32 inches above the thread of the stairway.
In this way, you maintain the 32-inch height requirement instead of adding the height of the brackets and handrails to the requirement. Consequently, the handrail would be much higher than what the state requires.
2. Mark Out The Width Of An Upright 3/4-inch Plywood
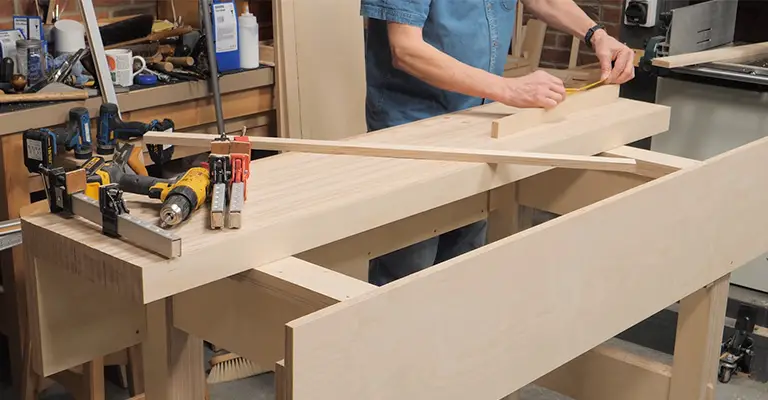
A 3/4-inch plywood piece will act as an anchor for the bracket. The thick, flat plywood will provide the support the studs on the wall are supposed to provide.
Ensure that the bracket markings are centered on the 3/4-inch plywood, which should be placed over the bracket points. Make a pencil mark along the plywood’s measurements against the wall.
3. Mark Out A Quarter From The Top And Bottom Of The Plywood
Put the plywood on the other side of the outline once the measurements are on the wall. As you measure forward from the bracket point, measure about a quarter of an inch from the top and the bottom of the plywood.
With the bracket point in the center of the rectangle outline, you will have a shorter rectangle outline.
Please ensure that the plywood’s dimensions are accurate since it will need to fit inside the outline. If you want to make the horizontal measurements a fraction of an inch wider, make them a fraction of an inch wider.
4. Cut An Opening In The Wall
The outline of the short rectangle should be carefully cut out. Utility knives can be used to cut through regular drywall. If you wish to cut sheetrock drywall more efficiently, you can do so with a power tool.
Keeping the cutout piece of the wall is essential since it will be put back in place later. Whenever you are using these tools, you should observe the proper safety precautions. Wearing hand and eye protection while cutting through the wall is recommended.
Drywall dust can also cause skin irritation, breathing problems, and other health problems. In the process of cutting through drywall, you might have a friend or assistant vacuum the dust immediately.
5. Attach A Long Screw At The Center Of The 3/4 Plywood
When the wall opening has been safely created, insert a long screw in the center of the 3/4 plywood. When inserting the plywood into the opening, hold the long screw in place.
To insert the plywood more easily, tilt it until it is fully inserted into the opening. Ensure that the plywood remains upright once it is inside the wall. A plywood anchor is created by positioning the plywood against the wall’s surface.
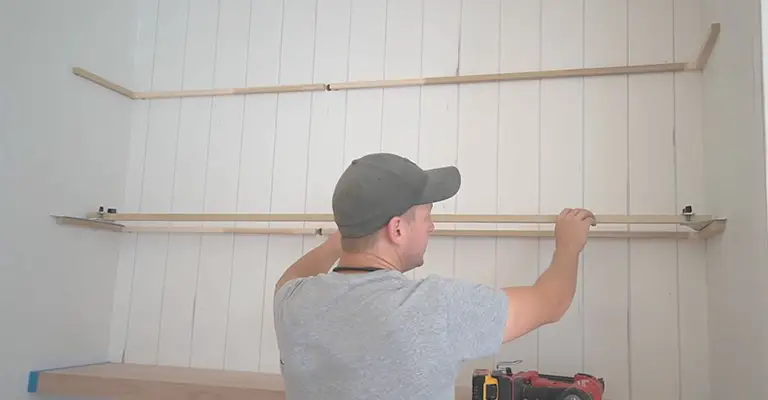
6. Secure The Plywood Behind The Wall
As you are holding the long screw attached to the plywood center, drill in screws along the edge of the wall where you will place the edge of the plywood.
When the plywood has been securely fastened behind the wall, remove the long screw. You should repeat the installation process depending on how many brackets you intend to install.
7. Apply Joint Compound On The Back of the Cutout Piece Of Wall
Once the plywood has been secured, use the joint compound to reattach the damaged wall pieces. A joint compound can be applied to the cutout walls like a tile to back butter them.
Using back butter, you can cover the back of a tile with cement. Ensure you have just enough joint compound for the cutout piece of wall. Ensure not to put too much, or it may slide through the edges and drip onto the wall.
8. Return The Cutout Piece Of Wall
Then, back the wall piece in its original location by covering the back with a joint compound. Install the handrail bracket via screws through the 3/4-inch plywood and into the wall.
When the joint compound is still wet, apply it this way. You must drill in the handrail bracket before the joint compound dries. Otherwise, it will crumble.
9. Seal The Cutout On The Wall, Then Paint
Use joint compound to fill in the visible cutout. Ensure the surface is flattened with a trowel and allow it to dry. After the surface has completely dried, paint it to cover it up.
10. Secure Handrail Brackets, Then Attach The Railing
Retighten the brackets on the wall after double-checking. You can install the handrails if you are confident that the brackets will last.
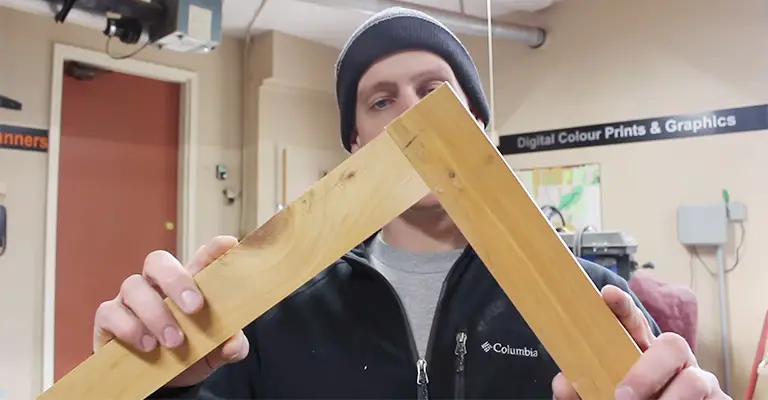
Do My Walls Have Studs?
Studs are present on every wall. Wall studs form the framework for your walls, providing a strong and stable foundation. Studs are essential to the structural integrity of a wall since, without them, it cannot stand.
Although it may be difficult to find your wall studs for multiple reasons, they exist. It’s them that keep your walls in place.
How Do I Find My Wall Studs?
You can use a wall stud finder if you’re having trouble finding a wall stud. A wall stud finder can show you exactly where the studs are.
By placing them against a wall, these devices use magnets to identify the metal inside the studs. The latest wall stud finders use advanced technology and can also locate wires and pipes.
This list describes where you can find wall studs in your home.
- Located near an electrical outlet.
- About 16 inches off the edge of a window.
- In line with a light switch.
- Behind a regression on the wall.
Final Words
You need to provide alternate support when installing a handrail on a wall without studs. The anchor can be fastened behind the wall in place of wall studs by creating an anchor and fastening it behind the wall.
Ensure the handrail is securely attached to the staircase to prevent accidents. The purpose of this article is to explain how to install handrails without walls or studs.
As part of the lesson, we also learned the significance of wall studs and some tips for locating them.


