
Are you tired of seeing unsightly nail holes marring the walls of your home? Filling in those holes before painting can make all the difference in the final look of your room.
Not only does it create a smooth and polished finish, but it also saves you the trouble of having to touch up the paint later on.
In this guide, I’ll walk you through the simple steps of how to fill finishing nail holes before painting so that you can achieve professional-looking results in no time.
Whether you’re a seasoned DIYer or a first-time painter, this guide will give you the tips and tricks you need to get the job done right. So, let’s get started!
Filling Finishing Nail Holes Before Painting | Step By Step
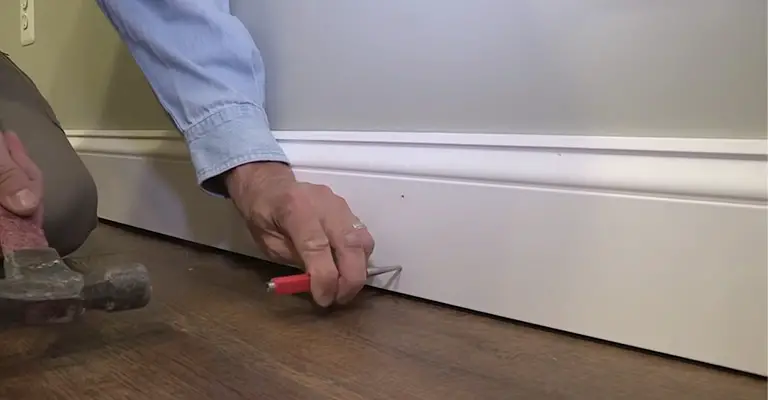
The very small holes created by finishing nails in wood and drywall may seem inconsequential at first, but once the surface has been painted, the holes will become very noticeable.
These holes must be covered with a material that blends in with the surrounding surface so that painting can proceed smoothly and evenly.
It is possible to use traditional joint compounds or spackle on some jobs, but it is necessary to use fillers that are designed to resist shrinkage and last long after the painting has been completed.
1. Gather Your Materials
Before you begin, make sure you have all the necessary materials on hand. You will need spackling paste, a putty knife, sandpaper (220 grit), a small paintbrush, and paint that matches the color of your walls.
2. Apply The Spackling Paste
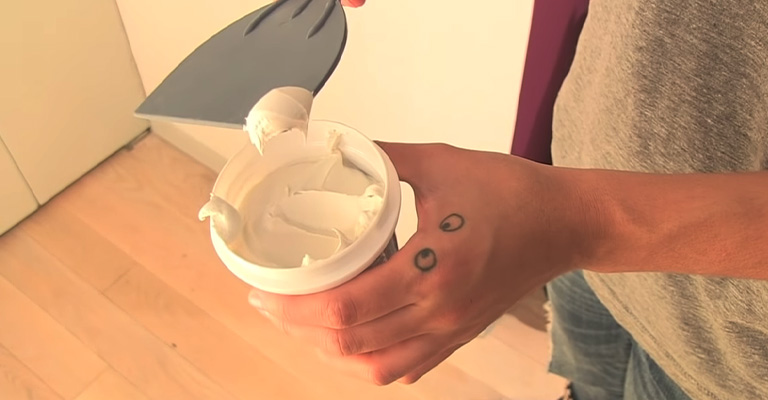
Using the putty knife, apply a small amount of spackling paste to the nail hole. Make sure to apply enough to fill the hole completely but not so much that it bulges out of the wall.
3. Smooth The Surface
Use the putty knife to smooth out the surface of the spackling paste, ensuring that it is level with the surrounding wall.
4. Allow The Spackling Paste To Dry
The drying time will vary depending on the type of spackling paste you are using, so be sure to follow the manufacturer’s instructions. Once the spackling paste is dry, it should be hard to the touch.
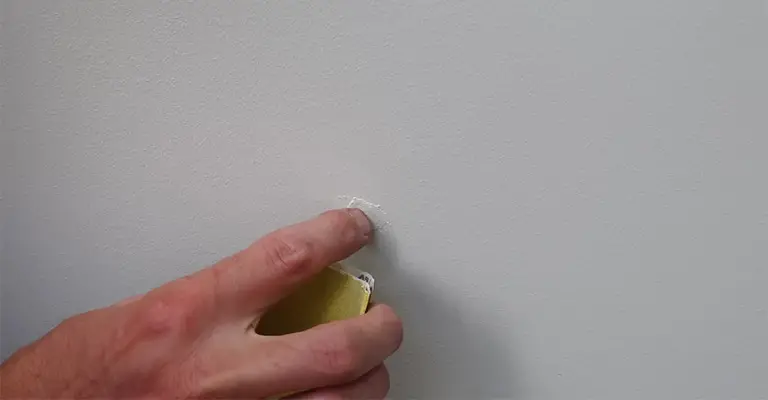
5. Sand The Area
Using sandpaper, lightly sand the area to smooth out any imperfections or rough spots.
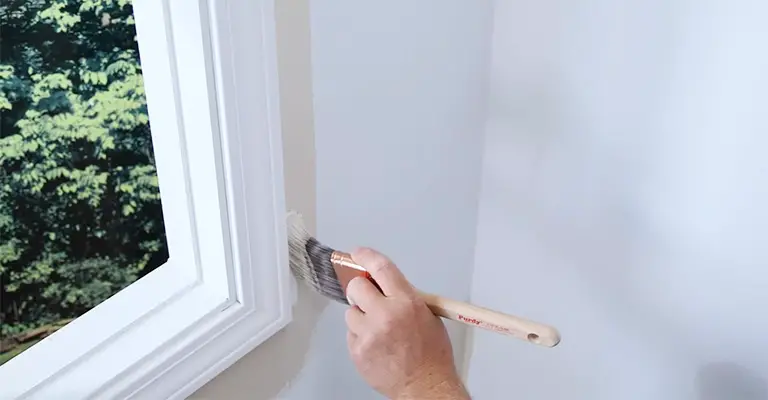
6. Apply A Touch-Up Coat Of Paint
Using the small paintbrush, apply a touch-up coat of paint to the area. Make sure to use paint that matches the color of your walls.
7. Allow The Paint To Dry
Once the paint is dry, your nail holes should be invisible and your walls will be ready for a full coat of paint.
Note:
If you have many nail holes or larger holes, you can use a spackling compound that comes ready-mixed and can be applied with a putty knife or a flexible knife.
Filling Holes in Wood | Step By Step
Before you begin, make sure you have all the necessary materials on hand. You will need wood filler, a putty knife, sandpaper (220 grit), a small paintbrush, and paint that matches the color of your wood.
1. Apply The Wood Filler
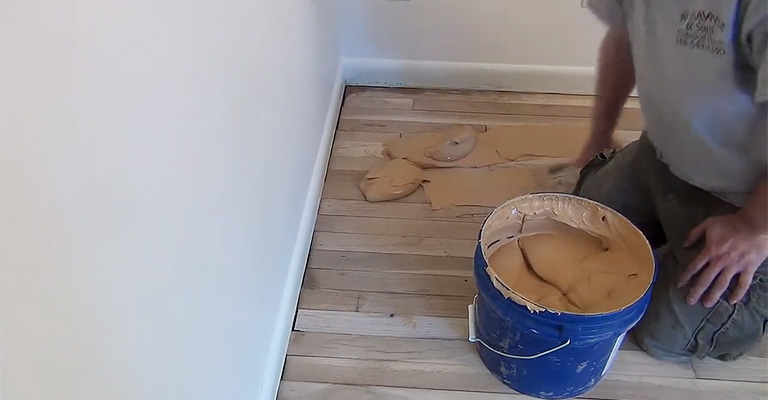
Using the putty knife, apply a small amount of wood filler to the nail hole. Make sure to apply enough to fill the hole completely, but not so much that it bulges out of the wood.
2. Smooth The Surface
Use the putty knife to smooth out the surface of the wood filler, ensuring that it is level with the surrounding wood.
3. Allow The Wood Filler To Dry
The drying time will vary depending on the type of wood filler you are using, so be sure to follow the manufacturer’s instructions. Once the wood filler is dry, it should be hard to the touch.
4. Sand The Area
Using sandpaper, lightly sand the area to smooth out any imperfections or rough spots.
5. Apply A Touch-Up Coat Of Paint
Using the small paintbrush, apply a touch-up coat of paint to the area. Make sure to use paint that matches the color of your wood.
6. Allow The Paint To Dry
Once the paint is dry, your nail holes should be invisible and your wood will be ready for a full coat of paint.
Note:
If you are filling larger holes, you may need to repeat the process several times, allowing each layer of wood filler to dry before applying the next one.
Also, if you are staining the wood and not painting, you may want to use a wood filler that can be stained to match the color of the wood.
Frequently Asked Questions
1. How long does the wood filler need to dry before sanding?
The drying time will vary depending on the type of wood filler you are using, so be sure to follow the manufacturer’s instructions.
Generally, it takes around 24 hours for the wood filler to dry completely, but it can take longer in certain conditions, such as high humidity or low temperatures.
2. Can I paint over wood filler?
Yes, you can paint over wood filler once it is dry and sanded smooth. Make sure to use paint that matches the color of your wood.
3. What is the best wood filler for large holes?
For large holes, you may want to use a two-part wood filler that can be mixed together to create a paste-like consistency. This type of wood filler is typically more durable and can be sanded to a smoother finish.
4. Is wood filler suitable for outdoor use?
Some wood fillers are suitable for outdoor use, but it is important to check the manufacturer’s instructions to ensure that the product is suitable for your specific project.
You may also want to consider using an exterior-grade wood filler that is designed to withstand the elements.
5. Can I use wood filler on a wooden floor?
Yes, you can use wood filler on a wooden floor, but it is important to choose a product that is suitable for use on floors and can withstand foot traffic.
You should also make sure that the filler is sanded smooth and sealed with a clear coat of polyurethane to protect the wood.
Final Words
In conclusion, filling finishing nail holes before painting is an easy and important step in achieving a professional-looking finish for your walls.
By following the steps outlined in this guide, you can easily fill in the holes and prepare the surface for painting.
With the right materials and a little bit of patience, you can make your walls look smooth and polished. Remember to allow the wood filler to dry completely before sanding and painting, and to use paint that matches the color of your wood.
With these tips in mind, you’ll be able to fill nail holes like a pro and enjoy the beautiful, finished look of your newly painted walls.


