
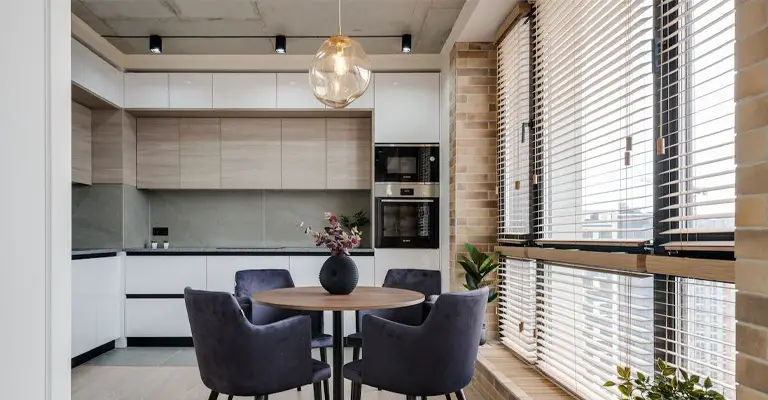
Vertical blinds are a popular and functional window treatment option that can add privacy, light control, and style to any room. However, the blinds may experience problems over time, such as not sliding appropriately closed.
This issue can be frustrating and prevent you from thoroughly enjoying the benefits of your vertical blinds. Fortunately, there are several simple solutions to fix vertical blinds that won’t slide closed.
In this article, we will explore some of the common causes of this problem and provide practical tips and tricks to help you troubleshoot and resolve the issue.
Whether you are a DIY enthusiast or a novice, this guide will help you get your vertical blinds back in working order and looking their best.
Repair Sliding Mechanism On Vertical Blinds

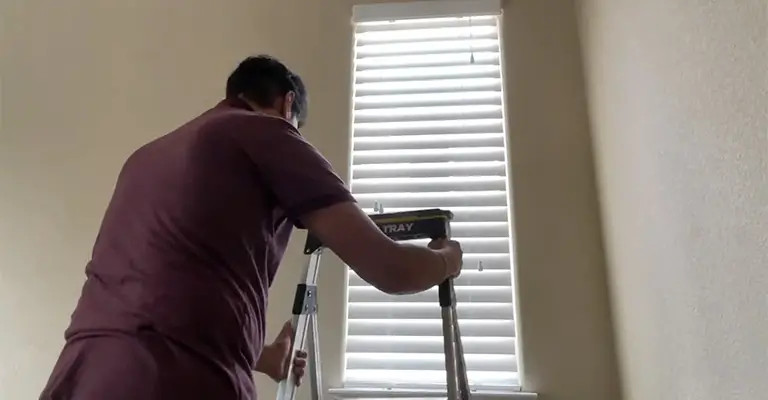
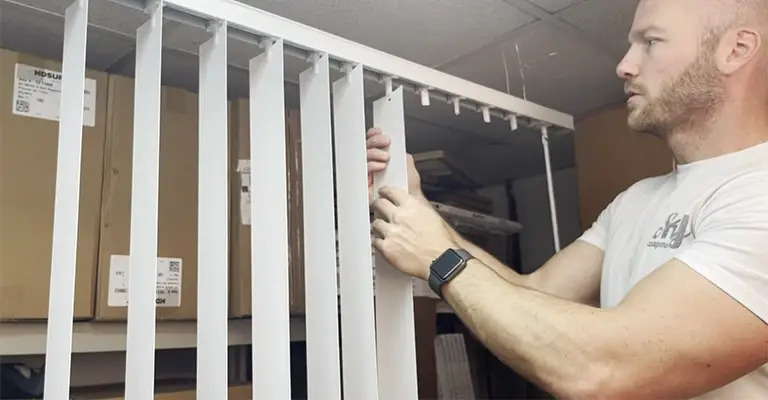
An extremely popular way to cover sliding glass doors is with vertical blinds. However, these window coverings can be problematic when they do not slide open.
Take a shot at this quick fix if your window treatments always struggle to slide open due to turbulence.
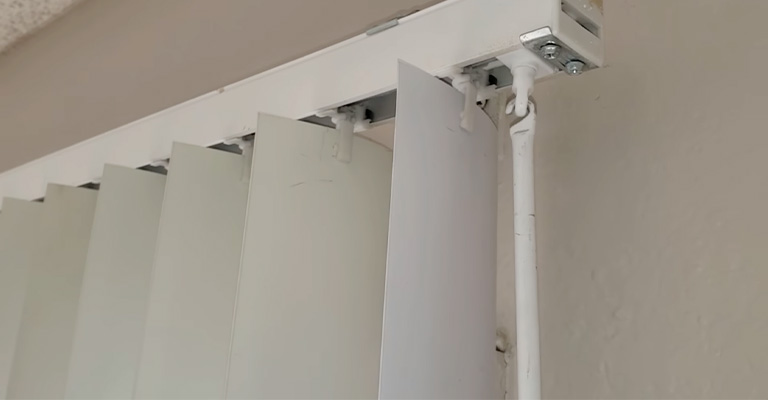
Ensure that your vertical blind slats are correctly aligned before you proceed. You should ensure that the ends are uniformly positioned, and the slats aren’t unnaturally tucked behind one another.
To align them, rotate them until they are located correctly. As a result, your problem should be resolved quickly. Try spraying silicon spray into the headrail of your car if you are still having problems.
You can use vertical blinds or the inside of the track that guides your panel track blinds. During the application process, open and close the blinds all the way to ensure that the silicone coating is evenly distributed.
Before you know it, they will be gliding effortlessly from side to side. It’s obvious you’re a smooth operator.
How To Easily Fix Common Issues with Stuck Vertical Blinds
We’ll explore some common troubleshooting techniques.
- Close the louvres to identify which vanes are out of alignment.
- Pull or twist the chain once the wand has stopped moving.
- It may make an unusually loud noise during the tug, but you shouldn’t worry about it. That’s normal.
- Repeat the same in the other direction until you hear a loud, harsh sound.
- After this time, the misaligned vane should be delicate. Hopefully, now it will turn out quickly.
Troubleshooting Vertical Blinds That Won’t Slide
Vertical blinds may get bent, stuck, or damaged for various reasons. Minor troubleshooting is the most common cause of blinds that operate backwards or crooked.
Despite this, if you cannot determine a cause, such as a backward blind or similar, you may have to replace the carrier stem or blind. If you put some effort into it, you may be able to repair your blinds yourself.
1. Adjust Blinds That Won’t Turn
A simple fix usually fixes blinds that won’t close or aren’t closing all at once. Ensure that every blind is checked separately. You’ll likely need to twist some blinds backwards to put them in the right place.
Additionally, blinds may overlap, and you can push them apart gently if they do.
2. Patch Up Holes With A Repair Kit
Sometimes a blind can develop holes at both ends. It can cause multiple problems, such as the blind falling out or the blinds not rotating correctly.
Buying a blind repair kit from a department store and taping over the holes is a cheap and quick fix. This should resolve the problem.
3. Remove Items by Jamming The Blinds
You should check the slot where the blinds are connected to the carrier stem if they won’t rotate and there are no overlaps or backward blinds.
Sometimes a dirt piece or a small fragment of the blind itself breaks off and gets jammed in these holes. A dislodging of this object with your fingers will usually solve the problem.
4. Use Lubricant Spray To Fix Rotation Issues
Occasionally, if blinds don’t rotate due to a non-rotating rod, some lubrication may be necessary. Choose a lubricant spray you can use on household items, such as WD-40.
Place a small amount of lubricant on the rod that connects the blinds to the rod. Hopefully, this will make the rod rotate smoothly.
5. Check Your Blinds Individually. If Troubleshooting Fails
When basic troubleshooting does not resolve the problem, a more significant problem may exist. If you can determine that a single blind is at fault, you should remove and replace it.
Blinds may be bent or cracked when they are very bent or cracked, preventing them from closing or rotating.
Blinds that are in need of repair are not always necessary. The blind can be removed, reattached correctly, and put back in place if simply backwards.
6. Replace A Carrier Stem If You Can’t Find An Issue With The Blinds
The carrier stems connecting your blind to the top poll must be in good condition if your blinds are in good shape. You must replace your carrier stem if it is cracked or damaged.
Replacing A Blind
When necessary, remove the spacer chain. Sometimes, a spacer chain runs along the bottom between each blind. Every blind ends with a plastic loop through which the chain runs.
It is necessary to detach the blinds from the spacer chain before removing them from the hook in this instance. You will need to remove the clip that secures the chain at the end by using your fingers to twist it off.
You need to feed the chain outward from the loop at the bottom of the blind you’re removing before disconnecting it from other blinds.
1. Lift The Blind Off The Hook
A blind on a hook is the easiest to remove. Simply raise the problem blind off the hook by opening the blinds. Lift the blind of the poll entirely after bending it slightly to detach it from the hook.
2. Attach A Replacement Blind To The Hook
Remove the old blind and take the replacement blind. The curve of the blind should point in the same direction as that of the other blinds. You can hold onto the blind near the top if you hold on tight.
Once the vane has been manipulated back into the hook, lift the blind, twist it over the hook, and press it down gently until it is secure.
3. Reattach The Blind To The Spacer Chain
You will have to reattach the new blind here as well if you have a spacer chain. Each blind has a hole at the end to which you can thread the chain.
You will need to reconnect any blinds that you previously disconnected. Once you have reached the end, continue to feed the chain through the blinds. Attach the clip securing the chain again by screwing it back on.
Replacing A Carrier Stem
To replace the stem, you should open the blinds first. Closing your blinds will prevent you from changing the stem.
1. Remove The Blind Attached To The Carrier Stem
Your blind needs to be unhooked from the problem stem. Take the blind down along with the spacer chain if you have one.
2. Grab The Carrier Body With Needle Nose Pliers
The carrier stem looks like a rectangle-shaped piece of plastic clamped to the top of the blind.
In addition to a small piece of plastic on the stem, a small piece of plastic is found on the poll just to the right of the stem. In this case, it is called the carrier body.
Grab a pair of pliers and clamp them around the carrier body. Ensure the stem isn’t touched when you are close to the body.
A hollow cavity exists inside the pole that holds the blades. Inside the poll is a body that is pressed against the right.
3. Twist Off The Stem
Holding both the carrier body and stem together with your pliers, gently twist the stem away. After twisting, pull the stem down until it disconnects from the carrier body.
4. Get A Replacement Stem
To ensure successful replacement, getting the same stem as your old carrier is crucial. You can’t attach your blinds properly to a stem from a different manufacturer.
Ordering a stem online from the same manufacturer is possible, or you can go to a hardware store and find an exact match by looking in the appropriate section.
Identifying the correct stem can be difficult, but you can ask a worker at a hardware store for guidance.
5. Insert The New Stem
Removing the stem is much more difficult than inserting it. An adjustment knob on the stem is supposed to fit into a hole in the carrier body. To insert the stem, push it into the carrier body until it slides into the opening.
You can pull it back out as soon as your blade passes through the stem. It is then possible to reconnect the blind and spacer chains once the stem has been replaced.
Final Words
In addition to a good cleaning every now and then, most window coverings are known for their durability. It is possible for your blinds to not work the way they should every time.
What if you tried my helpful quick fixes instead of ripping them from the wall in a confused fury?
A majority of common issues can be quickly and easily repaired without using tools! Remember that if you treat your blinds and shades well, they will reciprocate.


