Loose wall anchor holes can be a real headache. Whether you’ve accidentally drilled a hole that’s too big for the anchor or you’re dealing with an existing hole that’s become loose over time, it’s essential to find a reliable solution.
In this guide, we’ll explore various tips and tricks to help you fix those problematic wall anchor holes. So, if you’re ready to tackle your loose wall anchor holes, stay tuned for a comprehensive breakdown of the fixes.
Now, if you have accidentally drilled holes too wide for drywall anchors, you will need to fix it. This isn’t too complicated.
- Take a trip to the store.
- Buy bigger anchors.
- Install those bigger anchors once you get home.
There you have it.
This is the answer, really. Putting anchors in and patching the drywall is not possible; you can re-drill near your anchor but that will crack the drywall.
It would be better to switch to a toggle anchor. In order to install it, you must drill a larger hole because it must pass through the wings, but it holds much stronger than a plastic anchor.
As soon as you screw them down, the wings are pressed against the wall, which makes them unusable if you need the screw head to protrude from the wall (for example, to hang a picture wire).
Thus, I’ll use toggle anchors if I can replace the plastic anchors that came with a fixture with a toggle anchor if I need to hang it.
If I were you, I’d just buy bigger anchors. If you still want to try some weird fixes, I have some methods that you can try.
Wet and Ready Drywall Fix

The first method we’re exploring is the “Wet and Ready in Three Minutes” solution.
This unique approach involves using special discs that can be submerged in water and wrapped around your drywall anchor. It’s a promising option, and here’s how it works:
- Prepare the Discs: According to the instructions, start by taking one of these water-activated discs.
- Submerge the Disc: Dip the disc into water, ensuring it gets thoroughly wet.
- Wrap Around the Anchor: Once saturated, wrap the wet disc around your drywall anchor. It may remind you of paper mache, but it’s designed for a stronger hold.
- Layer as Needed: If the first layer doesn’t seem thick enough, you can add another layer on top. The goal is to create a sturdy anchor base.
- Insert the Anchor: After wrapping the disc around the anchor, insert it into the oversized hole in your drywall. Ensure that the cloth from the disc surrounds the anchor area.
- Screw It In: Next, insert the screw into the anchor while the wet material is still pliable.
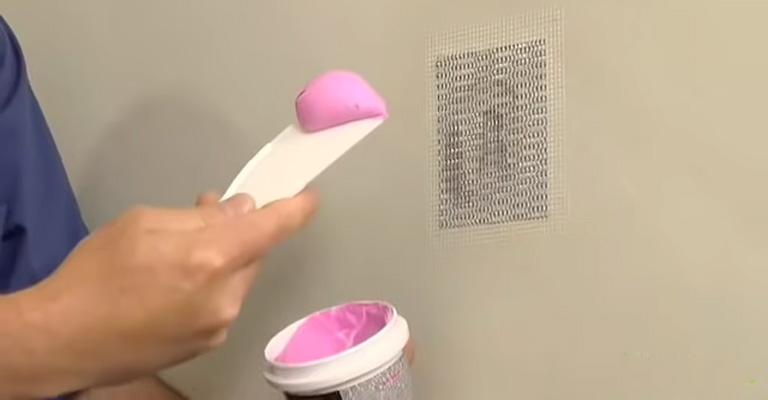
- Apply Pink Spackle: For an extra layer of reinforcement, apply a pink spackle, which turns white when dry. Spread it over the anchor area like you’re spreading peanut butter on bread.
- Wait for Drying: The wet and ready fix should set in about three minutes. During this time, it’s essential to keep the anchor in place and let it dry thoroughly.
Pink Spackle Fix

The Pink Spackle Fix is another method you can use to repair those pesky oversized wall anchor holes. This method utilizes pink spackle, which turns white as it dries, making it easier to gauge when it’s ready. Here’s how you can apply this fix:
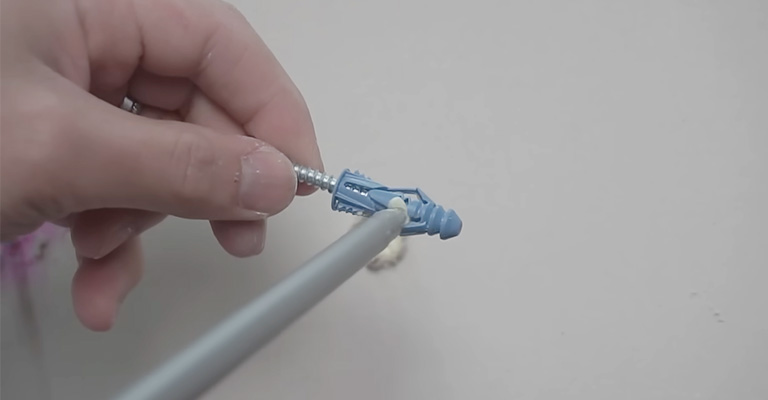
- Insert the Anchor: Start by inserting your drywall anchor into the oversized hole.
- Apply Pink Spackle: Take a bit of pink spackle and apply it generously over the hole, ensuring you cover the anchor and the surrounding area.
- Spread It Like Peanut Butter: Much like spreading peanut butter on a slice of bread, use a putty knife or a similar tool to evenly spread the pink spackle. This helps secure the anchor and fills in the gaps around it.
- Screw It In: As the spackle dries, slowly turn the screw into the anchor. This step is crucial to ensure that the anchor doesn’t turn or break loose.
- Wait for Drying: Allow the pink spackle to dry completely. Keep in mind that the pink color will turn white, indicating that it’s ready.
Expansion Foam Solution
For our third method, we turn to the versatile Expansion Foam, specifically Great Stuff. This foam is known for its expansive properties and can be an effective solution for fixing loose wall anchors. Here’s how to apply this method:
- Insert the Anchor: Begin by inserting your drywall anchor into the oversized hole.
- Apply a Small Amount of Expansion Foam: Using the Great Stuff or similar expansion foam, apply a modest amount into the hole. Be cautious not to overdo it, as expansion foam can expand significantly.
- Insert the Screw: With the foam in place, insert the screw into the anchor. The foam will help secure the anchor and provide added stability.
- Wait for Drying: Allow the expansion foam to dry and set. It’s essential to follow the manufacturer’s instructions regarding drying time.
Wood Filler Repair

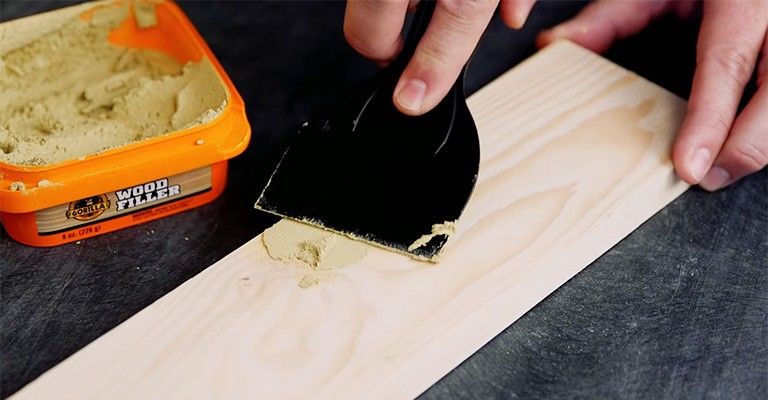
If you’re looking for a more traditional approach, Wood Filler can be a reliable option for fixing those oversized wall anchor holes. Here’s how to use wood filler effectively:
- Insert the Anchor: Begin by inserting the drywall anchor into the oversized hole.
- Apply Wood Filler: Take your wood filler and apply it generously around the anchor and within the hole. Ensure that the anchor is completely covered, and the filler extends to the edges of the hole.
- Spread and Twist: Similar to the previous methods, use a twisting motion as you insert the anchor into the hole filled with wood filler. This ensures a secure fit.
- Wait for Drying: Allow the wood filler to dry completely. Drying times may vary depending on the product, so refer to the manufacturer’s recommendations.
Caulking as a Fix
Caulking is a versatile material often used for sealing gaps and cracks, but it can also serve as a solution for fixing loose wall anchor holes. Here’s how you can use caulking effectively:
- Insert the Anchor: Begin by inserting the drywall anchor into the oversized hole.
- Apply Caulk Generously: Take your caulking material and apply it generously around the anchor, covering the hole’s edges as well.
- Insert the Screw: Once the caulking is in place, insert the screw into the anchor. This will secure the anchor and ensure it doesn’t move or loosen.
- Wait for Drying: Allow the caulking to dry completely. Drying times may vary depending on the type of caulk used, so refer to the product instructions.
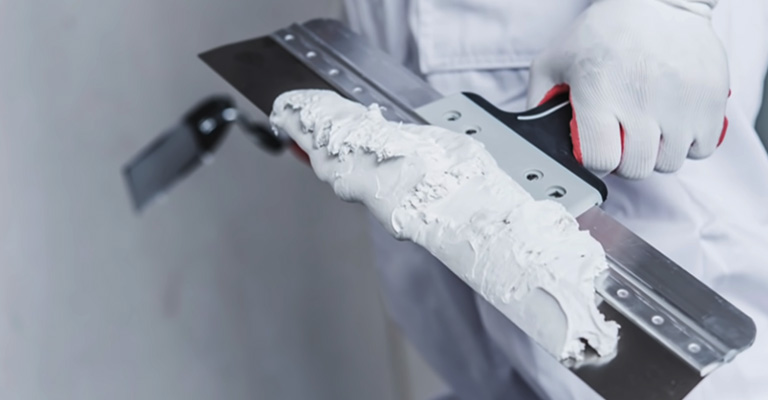
Five-Minute Hot Mud Joint Compound Fix
Our next method, the Five-Minute Hot Mud Joint Compound Fix, relies on a quick-drying joint compound to secure loose wall anchors. Here’s how to use this method effectively:
- Insert the Anchor: Begin by inserting the drywall anchor into the oversized hole.
- Prepare the Compound: Take a small amount of the five-minute hot mud joint compound and mix it with a bit of water to achieve the right consistency. Work quickly, as this compound dries rapidly.
- Apply the Compound: Apply the compound generously around the anchor, ensuring it covers the hole’s edges and the anchor itself.
- Insert the Screw: Once the compound is in place, insert the screw into the anchor while being careful not to disturb the compound too much.
- Allow for Rapid Drying: The key feature of this compound is its quick drying time. Wait for it to dry and set, which typically takes around five minutes.
Final Words
In this guide, we’ve explored several methods for fixing wall anchor holes that are too big, ranging from innovative solutions like Wet and Ready and expansion foam to traditional approaches like wood filler and caulking. Each method has its own unique characteristics and potential benefits.


