
Furnace blowers are essential components in heating and cooling systems, responsible for circulating warm or cool air throughout a home.
However, when they break down or become obsolete, these blowers can be repurposed into powerful fans for a variety of applications.
By converting a furnace blower into a fan, you can save money and reduce waste while creating an effective and efficient cooling solution.
In this article, we will explore step-by-step instructions on how to make a fan from a furnace blower, including the tools and materials needed, safety considerations, and tips for optimal performance.
Converting A Furnace Blower Fan Into A Stand-Alone Fan | Things To Know
You might be able to use a spare furnace blower fan if you’re missing a stand-alone fan. For the conversion from furnace fan to stand-alone fan to be successful, you’ll need to understand how fans work.
Parts
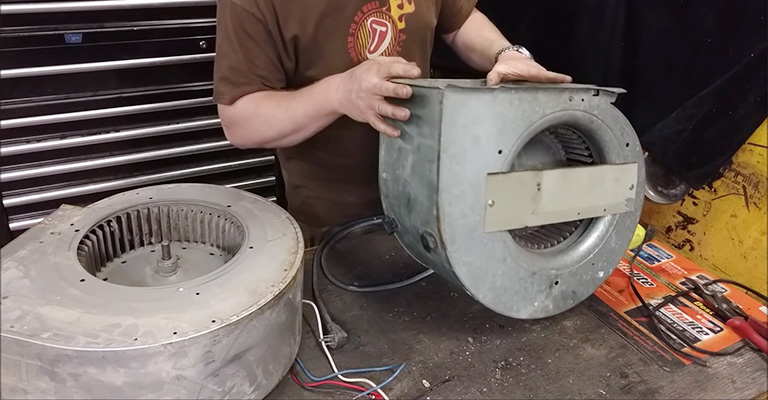
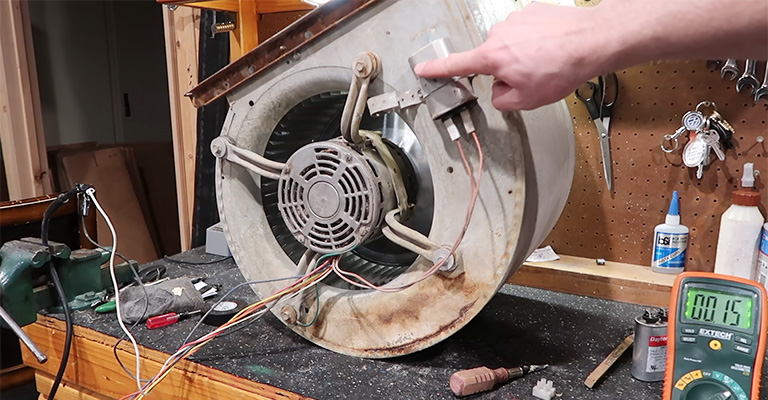
Furnace fans consist of three basic components: the impeller, the motor, and the plenum. Air is drawn into the impeller by specially designed blades in much the same way as any fan. To move air properly, it relies on suction pressure.
As you construct your fan, this is one of the most important aspects to consider. It is possible to buy furnace fans with motors ranging from 1/6 to one horsepower.
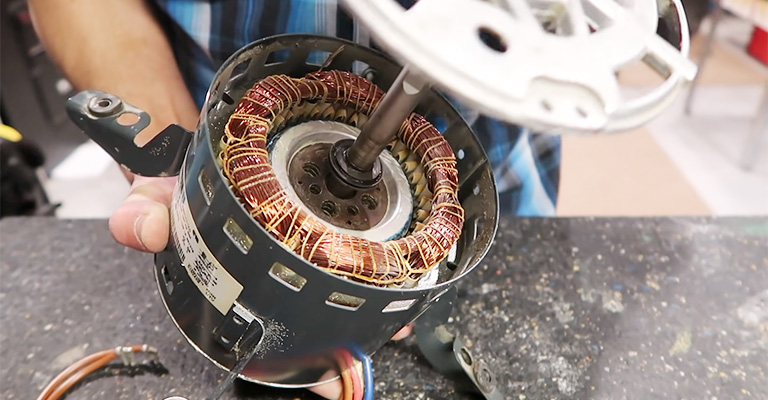
The motor’s speed is more important. For a stand-alone fan, you’ll want to use the lowest speed you can unless you want your pictures blown to bits. Furnace fans have from one to four speeds, depending on the make.
Color-coded wires represent these speeds. From lower to higher speeds, the colors normally go red, blue, yellow, and then black. The motor should be able to operate on 140 volts, which is indicated on the motor.
You will be able to plug it into your standard outlet this way. A plenum is simply a chamber through which air flows. In addition to remembering not to lodge anything inside the plenum, any other instructions should suffice.
Allowing Proper Suction Pressure
An effective furnace fan requires proper suction pressure, as mentioned earlier. A sheet of metal can be secured to the hole by the impeller to block about 90% of the hole. As a result, the suction pressure will be optimal.
Cover the hole with chicken wire or some other caging to prevent body parts or debris from entering the impeller if you want it to look aesthetic. Otherwise, use a skill saw to cut a 3-inch hole in the sheet metal.
To prevent people or furniture from being inadvertently cut, make sure the edges of sheet metal are ground down. The metal will not chatter if you secure it with screws, which will keep it adhered.
Blocking/Modifying the Outflow Port
In order to prevent body parts and debris from entering the outflow port, chicken wire or another type of cage should also be used.
If you want to disperse the air in a broader pattern, you may want to construct a cone to diffuse the air uni-directionally. To disperse multidirectional, a small cone and a common household vent port could be used.
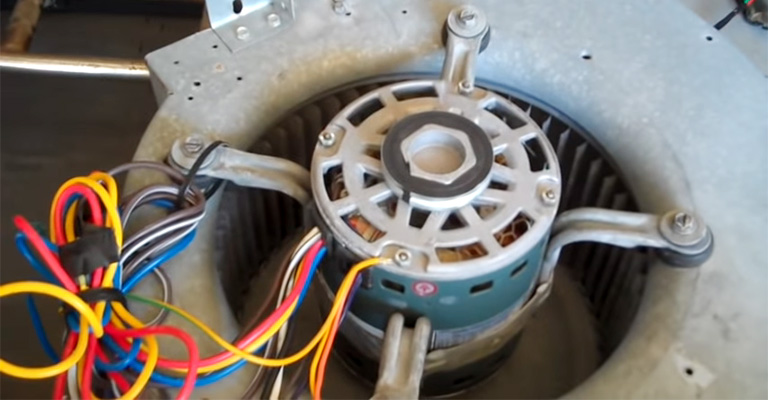
Wiring
Unless you are careful, electricity can be a dangerous element. It is always advisable to make sure that an electrical device is unplugged before tampering with it. You will need a wall plug to divert power from the wall socket to the motor.
Cut the wall plug wire to the desired length. This is the most challenging part of the project. Depending on your needs, you can either run at the lowest speed or run at two different speeds.
The white wire (ground) must be connected to the ground connector, the red wire (low) must be connected to one connector and the blue wire (high or higher) to the other connector if you require two speeds.
For household applications, additional speeds are not necessary. Make sure you tape down the red and white wires properly if you’re working with only one speed. If you’re working with two speeds, splice the red and white wires together.
Additional Options
You may also want to attach a handle to the top of the furnace blower fan or even build a casing for it.
Making A Fan From A Furnace Blower
Turning a furnace blower into a fan is a great way to repurpose an old or broken component into a useful household appliance. Here are the step-by-step instructions on how to make a fan from a furnace blower:
Materials and Tools Required:
- Furnace blower
- Power drill
- Screwdriver
- Wrench
- Wire stripper
- Electrical tape
- Extension cord
- Plywood board
- Bolts and nuts
- Fan blades
- Motor pulley
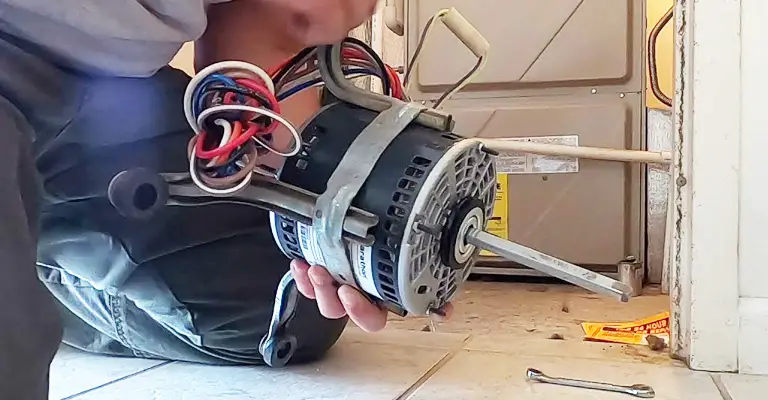
Step 1:
Disconnect Power Before you start, ensure the power supply to the furnace is disconnected to avoid any potential electrical hazards.
Step 2:
Remove the Blower Assembly Using a wrench and screwdriver, remove the blower assembly from the furnace. Disconnect all the electrical wires from the motor and remove the fan blades and motor pulley.
Step 3:
Mount the Blower Assembly Mount the blower assembly onto a plywood board using bolts and nuts. Ensure the assembly is firmly attached and that the board is large enough to accommodate the size of the blower.
Step 4:
Install the Fan Blades and Motor Pulley Attach the fan blades and motor pulley onto the blower assembly. Ensure that the blades are positioned evenly around the circumference of the blower assembly.
Step 5:
Wiring Strip, the insulation from the wires on the blower motor and connect them to an extension cord using electrical tape. Connect the other end of the extension cord to a power source.
Step 6:
Test the Fan Turn on the power and test the fan to ensure it is working correctly. Adjust the fan blades if necessary to ensure optimal airflow.
And that’s all there is to it.


