Cutting a hole in drywall for an electrical outlet is a common task for many DIYers and electricians alike. However, sometimes things don’t go as planned, and the outlet hole ends up being too big.
This can be a frustrating and unsightly problem, but fortunately, several solutions exist. In this article, we’ll explore how to fix an outlet hole cut too big, including some quick fixes and more permanent solutions.
Whether you’re a seasoned DIYer or a beginner, we’ve covered you with the tips and tricks you need to make your electrical outlet look and function as good as new. So, if you’re ready to tackle this common home repair issue, read on to learn more!
How to Repair an Outlet Hole Cut Too Large

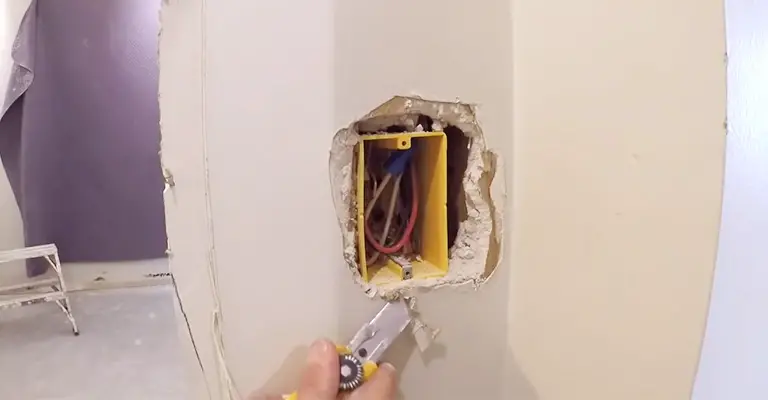
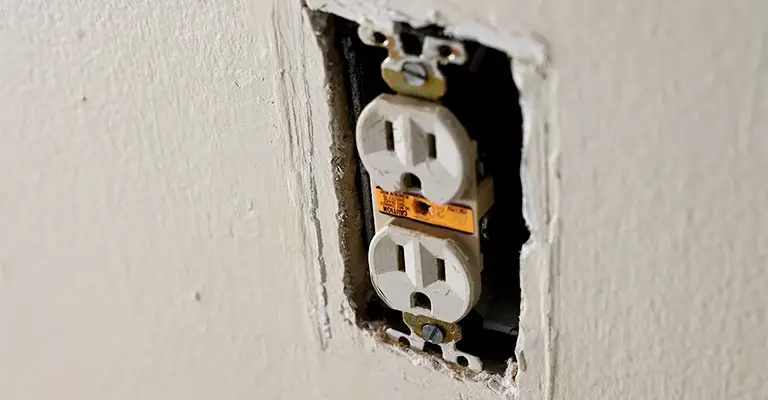
Having an oversized drywall cutout around an electrical box can ruin the appearance of a perfectly executed taping job.
You can fix it with joint tape and drywall compound. The problem is, we have all made the mistake of cutting the electrical box opening too large.
Obviously, you can cover it up with jumbo electrical covers, but that can look pretty ridiculous, especially if there are other boxes around. Rather than glueing the joint compound into the gap (it will always crack), try this solution instead.
Fill With Setting-Type Compound
Bevel the drywall’s edges with a utility knife. After the gap is filled in, apply a fast-setting joint compound.
Mud And Tape

Ensure the compound is applied right up to the edge of the electrical box and embed the tape in the gap and surrounding area.
Allow it to set up for two hours, then apply the final two coats of lightweight compound. Make sure to sand with a sponge that has a medium grit.
Patch A Too-Big Outlet Hole With More Drywall
In case you don’t want to deal with mud, you can patch the hole with more drywall. Make the opening in a scrap of drywall 2 inches larger in all directions than the oversized hole.
Once you have traced the outline, flip the piece upside down and trace a half inch from the edge. A utility knife can be used to score the lines. You can then break off that inch or so of drywall from the perimeter along the line you scored.
Your drywall piece should now have about an inch of paper backing all around it. With a drywall saw, cut out your patch over the hole you mapped with a pencil. Put your patch in place, and then trace the paper backing around it.
You can then peel away the paper by cutting along the line with a utility knife. The patch can now be fastened with the carpenter’s wood glue in the hole. You must glue both the gypsum wallboard and the paper together.
If small gaps persist after the patch dries, fill them with drywall mud or spackle. As a result, your repair will be almost undetectable after painting.
Required Tools for this Project

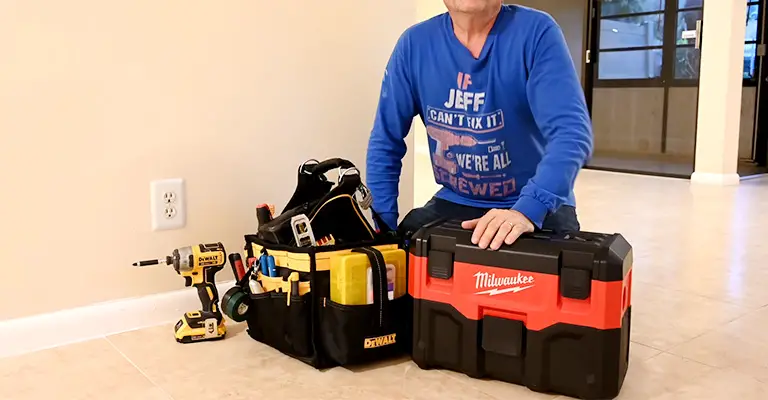
You will save time and frustration if you have the necessary tools ready before you begin this DIY project.
- Dust mask
- Taping knife
- Utility knife
Required Materials for this Project
Prepare your materials in advance to avoid last-minute shopping trips. Check out this list.
- Lightweight joint compound
- Medium grit sanding sponge
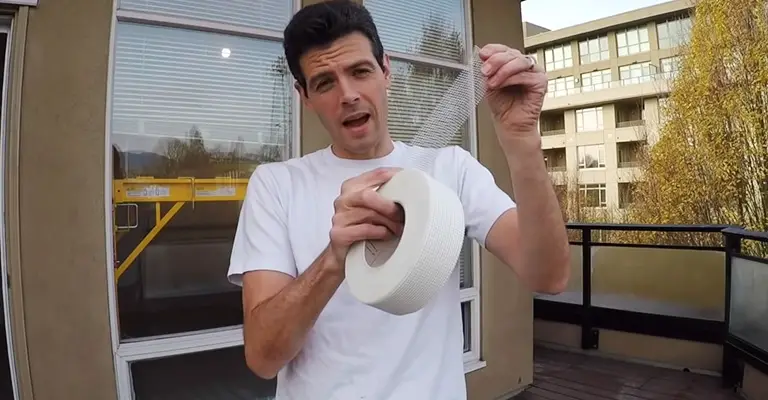
- Paper joint tape
- Setting-type joint compound
My Two Cents

The hole can be sized to accommodate larger outlet covers if it’s close to being the right size. Looks like some nice oversize covers.
In cases where the hole is too large, it will need to be repaired. If the hole isn’t too large, you can fix the hole’s edge with tape and setting-type joint compounds.
The concrete sets hard in minutes and is stronger than pre-mixed mud. In reality, the plaster of Paris might not be sandable due to its rapid setting and hardness.
It may be easier to cut a piece of wallboard that spans between two studs if the hole is too big or in the wrong place.
You’ll need something like 16 by 10 inches, and a new piece about 1/4 inch smaller on both sides will fit that size hole.
Mark your repair piece with chalk or paint on the rim of the electrical box before you start cutting. Using wallboard screws, tape and joint compound, secure the repair piece to the studs.
Final Words
In conclusion, fixing an outlet hole cut too big is a common problem that can be easily solved with the right tools and techniques.
Whether you choose a quick fix like using an oversized cover plate or opt for a more permanent solution like installing an electrical box extender, several options are available.
Remember to take proper safety precautions when working with electricity, and always consult a professional if you’re unsure about any aspect of the repair process.
With a little bit of know-how and some patience, you’ll be able to fix that unsightly and annoying outlet hole in no time, leaving your walls looking as good as new.


