

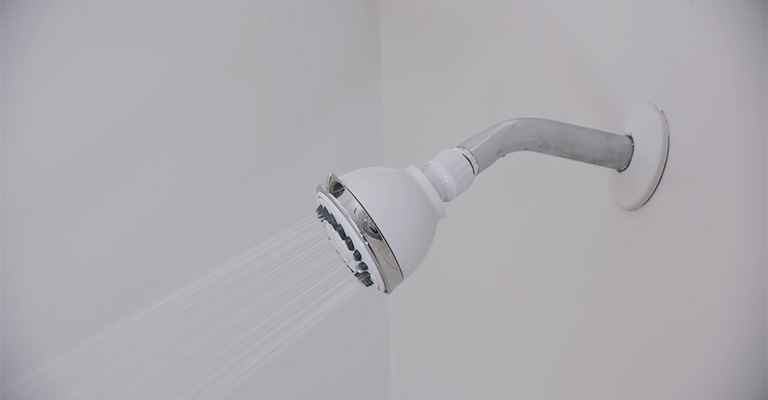
You’re not alone if you struggle with a stubborn showerhead that won’t budge. Sometimes, shower heads are stuck in place due to old glue or sealant, making them challenging to remove.
But fear not; it’s a problem that can be solved with the right approach. In this guide, we’ll show you how to remove a glued-on showerhead in simple steps so you can replace it or clean it without any fuss.
How To Remove A Glued Showerhead?
Getting glue on the showerhead and attaching it to the shower arm is possible. There’s no need to be concerned about not being able to remove this showerhead. Below, you will find a process to guide you.
- Combine hot water, vinegar, and lemon juice in a plastic bag and put it in the fridge
- Using duct tape or rubber bands, secure the plastic bag around the showerhead
- Leave the bag lying for a half hour or more before removing
- You can try to loosen the showerhead with pliers or by hand by rinsing it with cold water
Until the glue breaks down and the fixture loosens, repeat the process until it works.
Simple Steps To Remove A Stuck Shower Head
When removing a showerhead, most people don’t need a plumber. Using a screwdriver, you can easily remove it from the shower pipe.
You’ll need pliers or an adjustable wrench, plumber’s tape (Teflon tape), and a few tools to remove a showerhead.
Depending on the state of the showerhead, you may also need a new showerhead. You will need to gather the following tools before you can proceed:
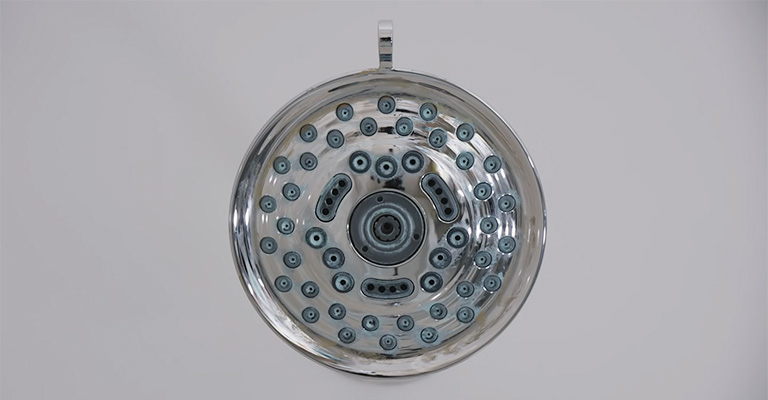
Step 1: Inspect Your Showerhead
If the showerhead is well maintained, you shouldn’t have any trouble unscrewing it. Alternatively, check for calcium buildup or rust if the showerhead gets stubborn and you can’t remove it.
When calcium builds up around the showerhead/shower arm connection, it appears as a whitish ring. In case you see an orange or copper ring at the same connection, you probably have rust.
Is there any rust or mineral deposit if there is none? There is a good chance the showerhead is tightly attached, or the buildup is under the head.
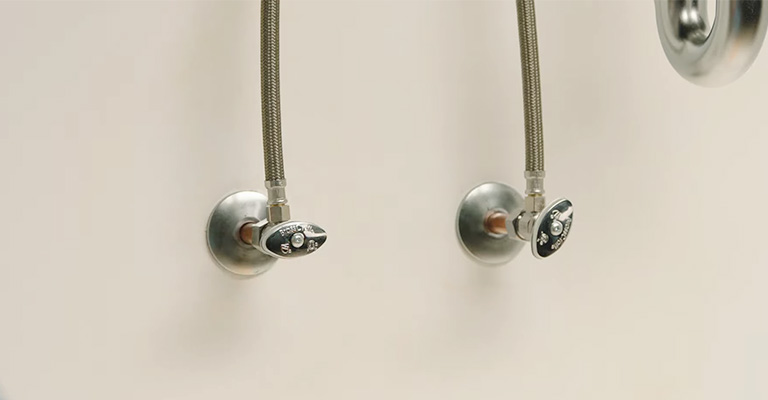
Step 2: Switch Off The Water Valve
Especially if you are not familiar with plumbing, turn off the water before removing the stuck shower head.
If the showerhead or shower arm breaks by accident, cutting off the water supply may prevent leaks. Furthermore, it eliminates the need for unnecessary spraying.
There is usually a water valve beneath the bathtub in the basement of most homes. You can take a look behind the toilet or underneath the bathroom sink if you live in a condominium or apartment.
Your property manager might be able to help you find the turn-off water valve if you can’t locate it. In some cases, the same water valve can be shared by more than one unit.
Step 3: Wrap Your Pliers
The showerhead can be unscrewed with any set of pliers. Using a plumber’s tape to seal up the teeth of your pliers will enhance their effectiveness.
Using pliers to open bolts or nuts without tape is more straightforward than using a cloth to cover them.
Placing your pliers in a cloth prevents your teeth from scratching the shower head connector or plumbing nut, resulting in metal shavings.
Step 4: Set Up Your Workspace
Your bathtub or shower should be protected since you will use various tools and harsh chemicals during the project.
Ensure your bathtub or shower surface is covered with a garbage bag, towel, plastic cloth, or work blanket. As a result, any falling debris, chemicals, or screws are prevented from causing damage.
The cover will also prevent rust shavings and other small particles from entering the drain. If necessary, you can use a washcloth to block the drain opening.
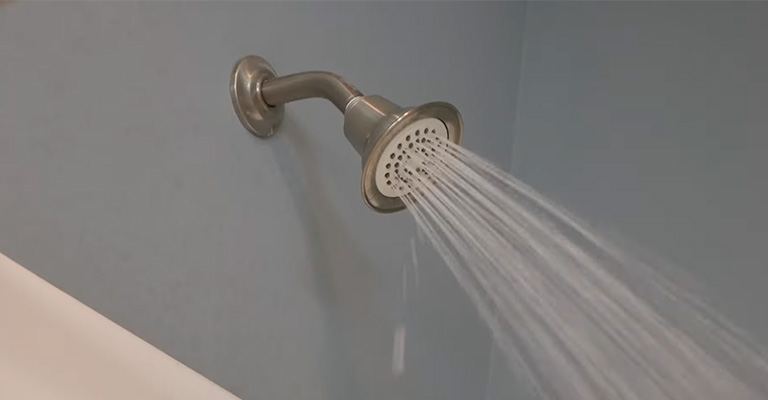
Step 5: Remove The Showerhead
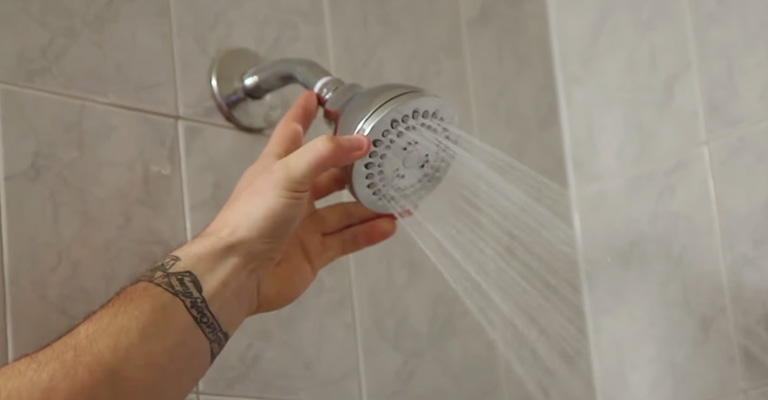
Having accomplished the above, we can tackle the most challenging part: removing the stuck showerhead. Without tools or with tools, you can perform this task.
Using Tools
You will need pliers or an adjustable pipe wrench wrapped with plumber’s tape around its teeth to grasp the fixture’s connector.
Mineral deposits or rust will be released by tightening the pliers or wrench around the connector and turning it clockwise.
The showerhead can now be unscrewed by turning it counterclockwise
To keep the original connector from being stripped, finish unscrewing by hand
Without Using Tools
In the case that your attempt to remove the showerhead was unsuccessful, you might need to try another approach.
Mineral buildup and rust can sometimes make loosening the showerhead difficult. There are some effective methods to address this problem, fortunately.
1. Use vinegar
With its high acidity levels, white vinegar dissolves many substances, including rust and buildup. In addition, it is entirely safe to use around children and pets.
A versatile cleaning product can remove the calcium deposits and rust of your stuck showerhead. Vinegar is an excellent disinfectant for showerheads. By eating away the corrosion, it will disappear.
A bucket or bowl of vinegar should be filled with water if a hanging showerhead is to be cleaned.
You can fill a plastic bag with vinegar and secure it around the connector of a showerhead attached to the wall or ceiling using an elastic hair tie.
The showerhead should soak overnight for the vinegar to work its way through the entire connector.
Then, remove the showerhead from the soaking basin with your hands and try to loosen it. Pipe wrenches can be helpful when it’s really stubborn.
2. Calcium Lime Rust
If the first method fails, you can treat the showerhead with Calcium Lime Rust. Just like vinegar, this chemical has the same effect. It is essential to follow the instructions on the product packaging, however.
The chemical needs to be applied and left on for a set period of time. After that, use a wire brush to clean off the chemical and any mineral particles.
If you wipe the fixture clean, you can uninstall the showerhead from the showerhead pipe.
3. Penetrating Lubricant
Have you had any success yet? If the problem persists, use penetrating lubricants such as Liquid Wrench or WD-40.
Leave the shower head’s connector for two hours after you have coated it with penetrating lubricant
After the lubricant has been spray-sprayed a second time, allow it to sit for two hours before you remove it.
Using a lubricant wiper, try to move the lubricant around and see if it gives way.
With leather or heavy cloth, wrap the socket’s connector and use pliers and wrenches to tighten it.
Remove the showerhead by unscrewing it
Whenever you use penetrating lubricants, make sure to protect your eyes and skin.
Step 6: Clean The Showerhead And The Pipe
The pipe to which the showerhead is attached also needs to be cleaned after successfully removing the showerhead.
To begin with, remove any tape residue from the connector. Remove calcium and rust around the showerhead pipe threads using a wire brush or steel sponge.
It is important to get inside the thread groves. This will prevent corrosion when you re-attach the old showerhead or install a new one.
You can use vinegar to remove stubborn buildups, or you can use calcium lime to remove stubborn lime buildups.
To re-attach the removed showerhead, soak it overnight in vinegar in a small basin; you’ll be able to remove rust and mineral deposits with vinegar.
Run cold water through the showerhead the following morning to remove any vinegar residue. Examine the showerhead for signs of corrosion or calcification.
If you observe any, apply calcium lime rust to the showerhead and leave it for the stipulated period. Use a toothbrush or a wire brush to burst off the product afterwards.
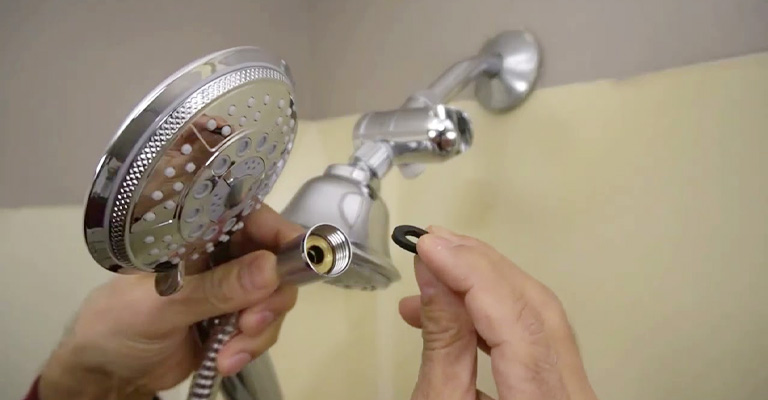
Step 7: Replace Or Re-Attach The Showerhead
As a final step, you must reinstall or install a new showerhead instead of the original one. To accomplish this, follow these steps:
Wrap The Connector Threads With Teflon Tape
Using a plumber’s tape around the connecting shower pipe is recommended to prevent leaks.
Put two to three layers of Teflon tape around the thread of the shower arm in a clockwise direction. It is important to press the tape between the threads’ grooves.
Attach Your Showerhead
Make sure that the old or new showerhead is securely mounted to the showerhead arm by screwing it clockwise until it’s tightened up.
Install a hand-held showerhead by attaching one end of the hose to the base and tightening it manually. Attach the new showerhead to the other end of the hose.
Turn On the Water Supply
Ensure every step has been completed and turn on the water supply to check for leaks. An adjustable wrench or pliers should be used to tighten the fixture’s connector if you observe any leaks.
Put the plumber’s tape on the shower arm if necessary. Protect the showerhead finish when tightening with a heavy cloth as well.
Final Words
In the previous section, we demonstrated that mineral deposits and rust are the major causes of a stuck showerhead. It does not mean that you cannot remove your showerhead, though.
This simply means you will need to put in more effort than usual. The above steps will help you undo your stuck showerhead and easily install a new one.


