
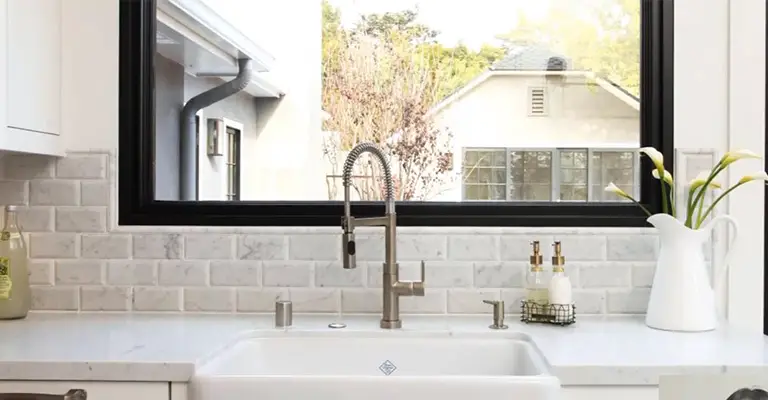
Ventilating a kitchen sink that is located under a window can present a unique set of challenges.
Proper venting is essential to prevent odors, gases, and moisture from accumulating in your kitchen and to ensure that your plumbing system functions effectively.
If you’re wondering how to vent a kitchen sink under a window, you’ve come to the right place.
In this guide, we will explore the methods and considerations involved in venting a kitchen sink in this particular configuration, allowing you to maintain a well-ventilated and odor-free kitchen space.
How To Vent A Kitchen Sink Under A Window?
Kitchen sinks can be vented under windows relatively easily. We’ve put together a guide on how to vent a kitchen sink under a window.
Vents allow air to enter drain pipes, allowing water to flow through them. There is little difference between vented drains and unvented drains in general.
It is better to use vented drains in order to remove odors and ensure proper drainage. An exhaust hose can be run horizontally beneath a window to connect with the main supply line before venting a kitchen sink under a window.
It only takes a few hours to install most vents. It is always necessary to tilt the pipe upwards.
You will need the following tools:
- Screwdriver
- Hammer
- PVC Cement
- Tape measures
- Chalk line
- Hack saw
- Drill
Step 1: Determine The Distance To The Main Vent
You probably have a central vent in your house. It might be a good idea to let this out in the attic. Vents can also be built into walls.
Most kitchens have a primary vent near them. This won’t be the case if you’ve relocated your kitchen. Roof vents are most often used, however.
There is a maximum distance of 3.5 feet between your sanitary tee and the P-Trap. This distance may be the beginning point of your vent pipe, or you may choose a different distance.
It is best to locate the sanitary T near the sink, but close enough to allow for easy pipe routing under the window. Once you’ve identified your P-trap, measure the distance between it and the main vent.
Check it again to make sure it is accurate. Venting a kitchen sink around a window can also be done using this method.
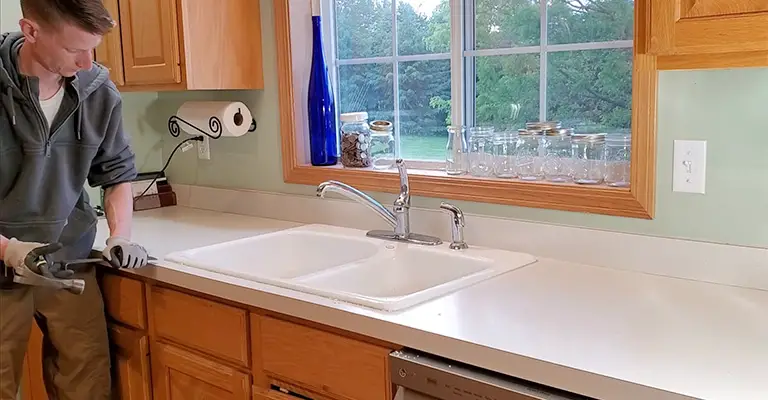
Step 2: Attach The Sanitary Tee
During this step, a sanitary tee is inserted into the sink drain. As a result, the installation will take place inside your kitchen’s hollow wall, where the drain line originates.
In order to connect 2-inch waste lines, it is recommended to use PVC sanitary tees that measure 2 x 2 inches.
To determine the distance from the bottom of the P-trap, use a tape measure to measure 3 to 12 feet. It cannot go further away from the P-trap than this distance, so it should be done now.
Install the tee on the sink pipe with the port facing up. Using adhesive, firmly attach the tee to the drain and the continuation of the drain.
Step 3: Insert A PVC Pipe
Using a tape measure up to 2 inches long, measure the PVC pipe’s length.
A hacksaw can be used to cut the pipe to size once it has been measured. A kitchen sink center must be vented under a window by following this step.
With the help of the PVC cement, attach the 1.5-inch PVC cement to the port of the sanitary tee.
The sweep elbow should then be inserted into the pipe and secured. After gluing it into place, make sure it faces the wall.
Step 4: Extend The Additional Line Beyond The Window
In order to find the pipe, look up and you should be able to see it going vertically past the glass. You need to take a chalk line and snap it at that exact point.
It is acceptable to have a slope of at least 14 inches per foot uphill. A line that climbs no less than 12 inches should be maintained if your elbows are two feet apart.
Step 5: Hole Drilling
You will need to drill a hole in every stud between the elbow and the point where the vent will rise of 1 5/8 inches. Ensure that each hole is aligned. It is also a good idea to use a hole saw.
Step 6: Make A Cut In The Pipe
A 1-1/8-inch-long pipe for venting should be cut with a hacksaw from the elbow point to the mounting point.
After that, secure it in place with some tape by threading it through the holes you bored in the previous step. Once the elbow is attached to the pipe, use the PVC cement to seal it.
Next, attach a second elbow to the opposite side of the pipe. It is recommended to have the outlet facing upward.
Step 7: Drill A Hole
You will need to drill a hole into the upper plate of the wall in order to install the kitchen sink plumbing.
The vent can be extended to the attic by using the opening in the wall. To reach the major vent, it should be run horizontally. Install a stack fitting reducing sanitary tee between the new vent and the central vent stack.
Note:
The materials used to construct the vents that are currently in place should be examined. The ABS pipes you used to make your central vent can be used to make your kitchen sink vent as well.
This task should not be performed with PVC glue. The slope should be no less than 1/4-inch per foot if your new vent is going to be routed through the attic.
What You Need To Know About Venting A Kitchen Sink Under A Window

As per the international plumbing code, sink vents are required on all kitchen sinks.
By ventilating properly, trap seals and materials are prevented from deteriorating and flow is retarded.
When a trap seal is lost on a fixture, the P-trap or the S-trap doesn’t seal properly. The following factors contribute to trap seal loss:
- Siphonage
- Back pressure
- Evaporation
- Capillary attraction
- Wind effect
Especially when hot temperatures and high pressure are encountered in plumbing, corrosion occurs naturally over time.
The airflow in your plumbing helps dry out your pipes properly, which can also prevent material deterioration due to corrosion. Drinking water can also be contaminated by corrosion.
There are many reasons why water flow is retarded, and it can cause sewer line clogs or allow sewer gas to enter your home.
Here’s How Plumbing Ventilation Works
A vent pipe or vent stack connects your plumbing system’s ventilation system to your home’s main ventilation system, through which air is ventilated through your pipes and out the roof.
There is no flow of water through the plumbing vent. An upward slope encourages proper airflow.
Air Admittance Valve
The air admittance valve, also known as the air admittance valve (AAV), is an alternative method of ventilation that doesn’t require connections to your home’s main ventilation system.
Most municipal plumbing codes accept air admission valves, but they do not offer the same level of effectiveness.
How To Fix A Kitchen Sink Vent For Adequate Drainage
It is possible for your plumbing drain system to have clogged vents which lead to sluggish or no water flow.
You can compare it to covering the end of a full drinking straw with your finger when all vents are closed completely.
1. Remove Any Obstructions In The Drain
Sinks with slow drainage should be avoided. Identifying obstructions in the drain is the first step in narrowing the problem down to an issue with the vent since slow drainage is an indication of a blocked vent.
2. Pay Attention To Background Noise
You should listen for gurgling noises coming from the first drain when opening a second drain. When you empty your sink, you might hear gurgling sounds coming from it.
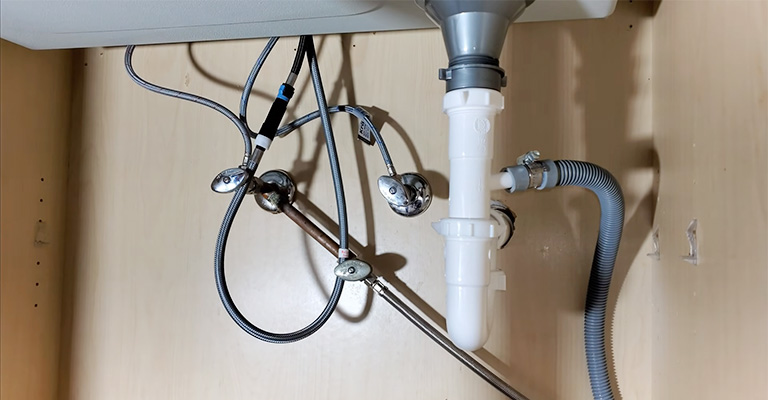
3. Take Out The P-Trap
If you can easily reach the P-trap, you can remove it from the fixture where the kitchen sink gurgles.
To unscrew the trap’s compression nuts, use adjustable pliers or hand tools. Water that may leak out of the trap should be collected in a bucket before it is removed.
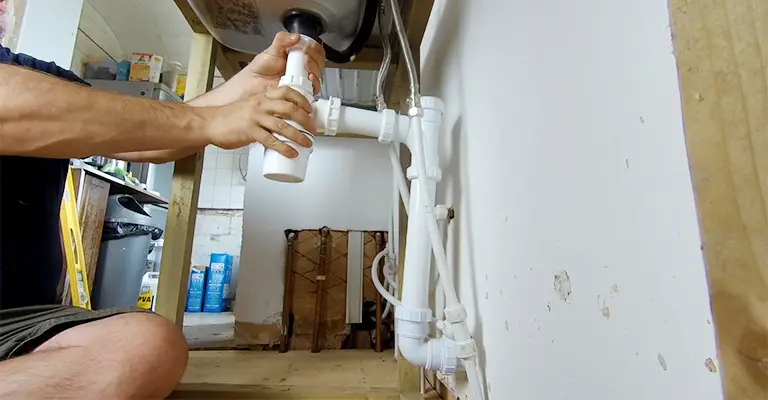
4. Spray Water
A garden hose can be used to spray water into the main roof vent.
The main vent can become clogged, resulting in a backflow of water into the system. This means you need to clean the vent pipe with a plumbing auger.
FAQs
1. How far does a vent need to be from a window?
It should be possible to have the vent wrap around the window at a horizontal slope of ¼” per foot.
2. How do you vent under a sink?
Venting is done by connecting ventilation piping around the window of your vent stack to the vent stack under the sink.
3. Should a kitchen sink be under the window?
When you’re cleaning up after dinner, you can look out a window above the kitchen sink, letting in natural light.
4. Does a kitchen sink drain need to be vented?
In 49 states, you are required to vent your kitchen sink drain in accordance with the building code.
Final Words
The best way to prevent your kitchen sink from clogging is to ensure that it is properly vented. In addition, it helps prevent dangerous gases from entering your house.
In a house with a kitchen sink vent that is linked to the main vent, the gas is not allowed to enter. The roof vents blow them out of the building and into the sky.


