
As the summer breeze beckons, there’s nothing quite like transforming your outdoor space into a tranquil oasis where you can unwind and entertain.
A pergola, with its elegant structure and ability to provide shade and open-air charm, is an excellent addition to any backyard or patio.
But what if your house has gutters? How can you securely attach a pergola to your home without compromising the functionality of your gutter system?
It is possible to attach a pergola to your house in several ways but attaching it to your gutters is arguably the most secure solution. In this way, you can ensure that the pergola stays firmly attached to the house and will not shift over time.
Pergolas need to be attached to gutters very carefully to ensure that they stay connected. Connecting them to other parts of the house may be more difficult.
What Is An Attached Pergola?
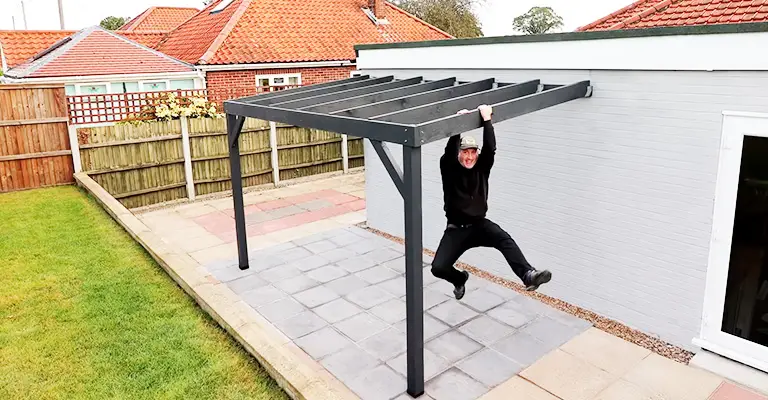
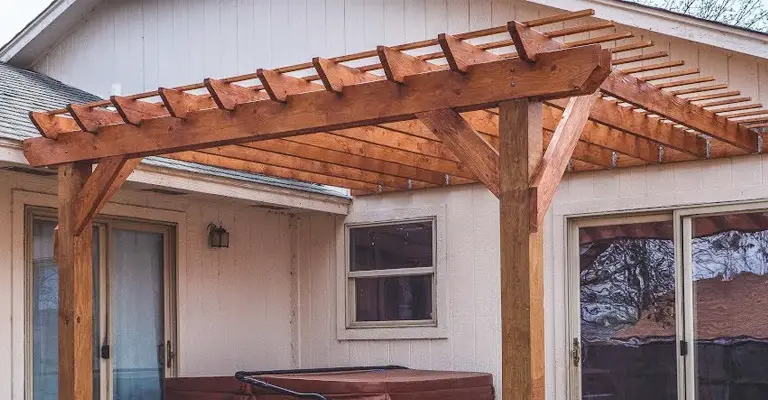
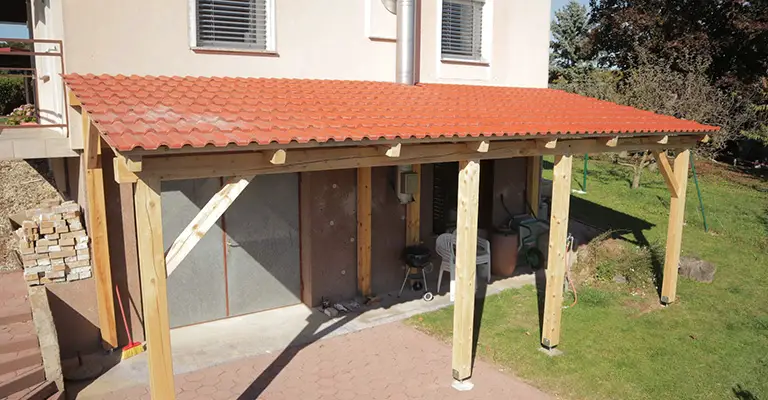
Having an attached pergola means having it attached to your home. This structure is composed of a frame for the roof and at least two columns at the corners and is sometimes called a wall-mounted pergola.
It is adjacent to the house on the inner corners. The process of attaching a pergola to a vertical wall without a roof is pretty straightforward. There is no water runoff or drainage concern.
Installing the ledger beam lag into the wall is usually performed by screwing a lag into the wall. The ledger beam is attached to the rafters. Decks, patios, railings, or patio posts can be used to anchor the vertical posts on the outer corners.
Attach a Pergola to a House with Gutters | Step-By-Step Guide
Taking the necessary steps to properly secure your pergola will be important if you use it on the house with gutters.
You will need several tools, including a ladder and drill, a 1/4-inch drill bit, a 3/8-inch drill bit, a 1-inch hole saw, gutter screws and a 1 1/2-inch wood screw.
Alternatively, a cordless drill and impact driver can be used. If you are using an impact driver, you will also need a socket wrench. In addition, you’ll need a tape measure and a pencil or marker to mark the screw hole locations.
Things You Will Need:
- Ladder
- Drill
- 1/4-inch drill bit
- 3/8-inch drill bit
- 1-inch hole saw
- Gutter screws
- 1 1/2-inch wood screws
- Cordless impact driver (optional)
- Cordless drill (optional)
- Socket wrench (optional)
- Tape measure
- Pencil or marker
Step 1: Preparing the Area
When attaching a pergola to your house, you must take precautions to ensure that the structure is securely attached.
First, you must ensure that the area where you plan to attach the pergola is clear of obstructions.
As a result, you will need to remove any gutters, downspouts, or other objects that might block the pergola’s attachment points.
In order to determine where the pergola would best fit, you will need to measure the distance between the house and the proposed location.
Based on this measurement, the pergola’s footings will be measured and positioned. It is now possible to start attaching the pergola to your house once the footings are in place.
Step 2: Installing the Brackets
Following the installation of your pergola posts, it’s time to install the brackets to support your beams. You will require a bracket based on the type of gutters you have.
The L-brackets or the T-brackets can be used if you have standard open gutters. There are J-brackets required for half-round gutters.
Installing brackets requires measuring and marking the desired locations. You must then screw the brackets into place using screws that are appropriate for the material of your house (usually around 3″ or 4″ long).
You should countersink the screws so that they sit flush with the brackets. You will be able to ensure that all of your beams sit level and don’t wobble by doing this.
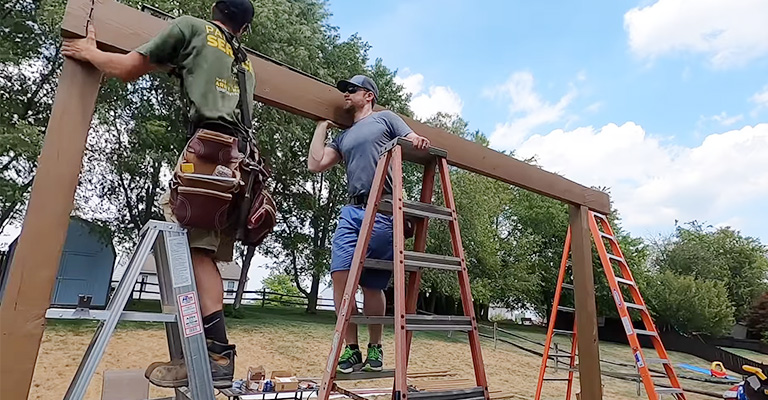
Step 3: Assembling the Pergola
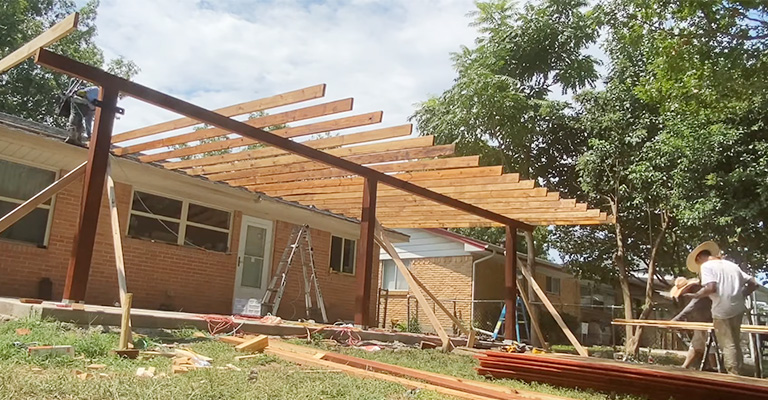
You can now start assembling your pergola after collecting all your materials.
- To begin, use galvanized wood screws to attach the two outer rafters to the crossbeam.
- Use galvanized wood screws again to attach the two inner rafters to the crossbeam.
- You must attach four corner braces to each rafter with galvanized wood screws at the ends.
- Attach the top beam using galvanized wood screws, then attach the pergola’s apex.
Step 4: Attaching The Pergola To The House
You will need to take special care to prevent damaging gutters if you are attaching your pergola to a house with gutters. Lag bolts are a simple alternative to nails or screws for this purpose.
First, drill pilot holes through the pergola’s support beam and into the house. It is important not to drill into the gutter itself! In the meantime, install lag bolts into the holes and tighten them until they are securely attached to the pergola.
Lastly, ensure your pergola is level and plumb before adding cross beams. Having your new outdoor space ready to go is just a matter of putting everything together!
How Tall Should Your Pergola Be?
You can use the bracket method if the pergola’s roof is at the same level as the gutters. Freestanding pergolas provide more height flexibility.
The pergola should, therefore, be lower than the gutters when such an occasion arises. When building a pergola for an existing house, it should not exceed half the height of the wall.
Unless you have specific architectural details that require gutters, you won’t need to worry about them. It usually is possible to mount a ledger on a wall or construct a pergola on its other side.
Where Is an Attached Pergola Used?
The addition of pergolas close to the home can add visual interest and functionality. There are several situations in which wall-mounted pergolas are ideal:
- On a large deck, create smaller areas
- Place a cabana near your pool house on the poolside
- You can boost curb appeal by adding a front porch
- Make a carport
- A back patio can be covered without a sunroom or patio umbrella’s instability.
Pros and Cons of an Attached Pergola
As with everything, mounting a pergola to your home has advantages and disadvantages. When you read over the pros and cons, you’ll know whether or not a pergola with gutters is worth your investment.
Pros:
- There is less space required for this pergola than a four-column one
- It is more secure when anchored to a wall when there are high winds
- Shade and drainage are unaffected by an open roof design
- All housing materials can be attached, including masonry
- As fewer columns are needed, wood costs are lower
Cons:
- If not installed properly, they can interfere with your gutters
- Installing this product correctly requires expertise
- A structure with a non-traditional foundation may be damaged by the weight of the structure
- It may require permits or increase your tax costs more than a free-standing pergola
Considerations When Building a Pergola With Gutters
There is a growing trend among homeowners to utilize pergolas as garden spaces. It’s possible for vines growing on the roof to get tangled in gutters and shingles. When the pergola is lower than the eaves, it doesn’t shed leaves and clog the gutters.
However, it must be checked regularly to ensure it doesn’t impede water flow. A pergola may interfere with runoff from your roof if it has a flat or steep roof.
To prevent erosion of your landscape, leaks, and damage to your foundation, you must ensure that your gutters and downspouts are installed correctly. If you want, you can even add gutters to your pergola.
The performance of invisible gutters is that they divert water away from your home without adding bulk to the silhouette of the building. If you want, you could even set up a rainwater collection system.
Final Words
In conclusion, installing a pergola with gutters on your house can provide some extra protection from the elements, as well as provides a beautiful addition. Follow the steps in this article to attach a pergola to your home quickly and easily.
Nevertheless, you must install the shingles properly to avoid costly roof repairs. Consult a professional roofer or contractor to Ensure your pergola is protected from moisture and rot.


