
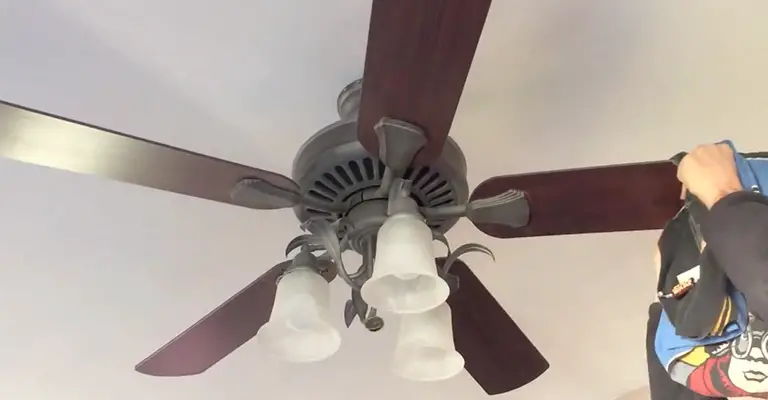
Ceiling fans are a popular and practical addition to many homes, providing comfort, energy efficiency, and improved air circulation.
One of the most valuable features of a ceiling fan is its ability to change the direction of the airflow, allowing you to optimize the fan’s performance for different seasons and preferences.
Typically, this direction change is achieved through a dedicated switch on the fan or a wall switch. However, there may be instances where you find yourself without a switch to control the direction of your ceiling fan.
Whether you’re faced with a missing switch, a non-functional switch, or a ceiling fan without any switch options, fear not!
Alternative methods allow you to change the direction of your ceiling fan without relying on a switch.
By utilizing simple techniques and a bit of ingenuity, you can regain control over the airflow and enjoy the benefits of your ceiling fan as desired.
Does Your Ceiling Fan Reverse?
As a result, changing the direction of your ceiling fan at the beginning of summer and winter months will give you better heating and cooling circulation and reduce your energy costs.
The thing is, it’s harder said than done. Older ceiling fans without reverse functions are still sold on the market today.
We have compiled a guide that can help you locate the switch on the ceiling fan motor (if there is one) and ensure the blades rotate correctly.
For more information about reversing your ceiling fan and changing your ceiling fan direction, follow the step-by-step guide below:
Ceiling Fan Switch Direction – Up or Down?
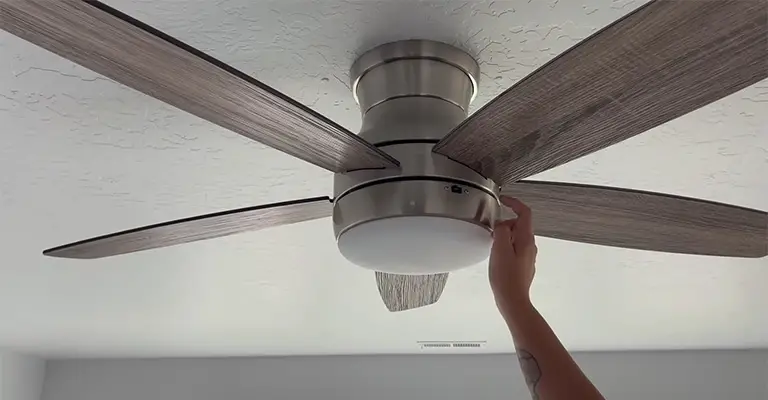
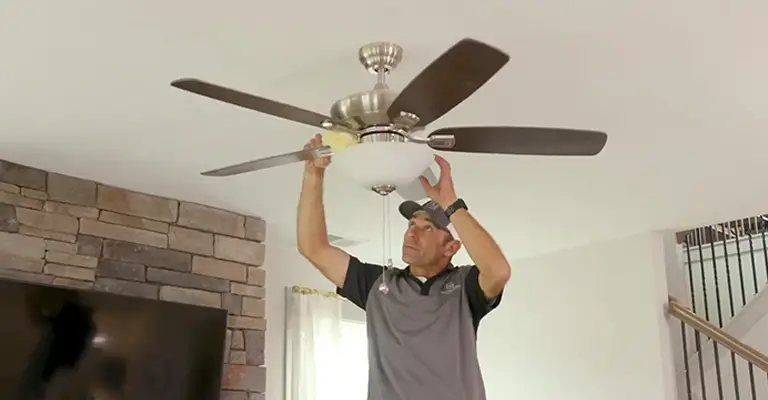
Identify the direction switch on the motor housing (in some cases, the direction switch is located inside the switch housing or switch cup) and flip it in the opposite direction.
There are two ways to move directional controls: vertically (up and down) or horizontally (left to right).
You can flip the switch down for downward airflow or up for upward airflow with vertical direction switches.
If the switch is horizontal, you can flip the switch left for downward airflow or right for upward airflow.
If you want to change the direction of your ceiling fan, follow these steps:
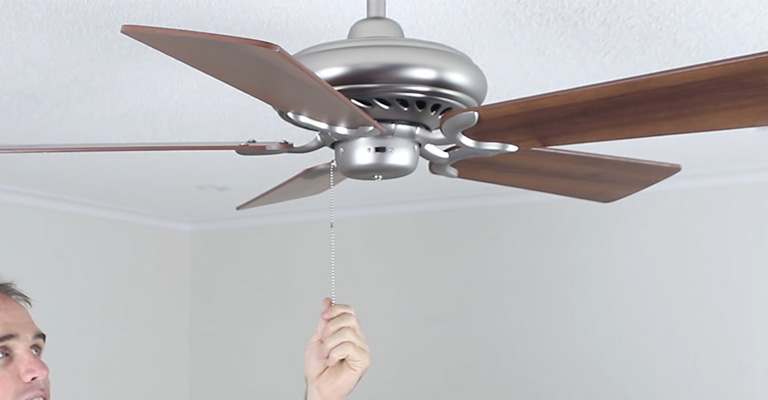
- Let the blades stop entirely before turning the ceiling fan off
- The direction switch can be located by using a ladder or step stool to reach the motor housing
- By flipping the switch in the opposite direction, you will
- You need to step down and reopen the ceiling fan
- Make sure the ceiling fan’s blades are moving properly
What If Your Fan Does Not Reverse?
Changing the blade pitch could reverse the airflow of an older ceiling fan without a reversible motor. To force air downward:
- Adjust the blade pitch to the right.
- Ensure the blade pitch is set to the left to pull the air up.
- Upgrade to a remote control ceiling fan if you want to reverse it!
How To Change The Ceiling Fan Blade Pitch?
If you have an irreversible motor, the only way to reverse the flow of air is to change the pitch of the blades.
- When the summer season comes, you must turn the blade pitch right to push air downwards.
- The blade pitch needs to be changed to the left to pull air upwards during winter.
There is a lack of efficiency and effectiveness with this method. These fans usually have irreversible motors that come from very old ceiling fans. There are few fans today equipped with irreversible motors like these.
How To Change The Ceiling Fan Direction With A Wall Switch?
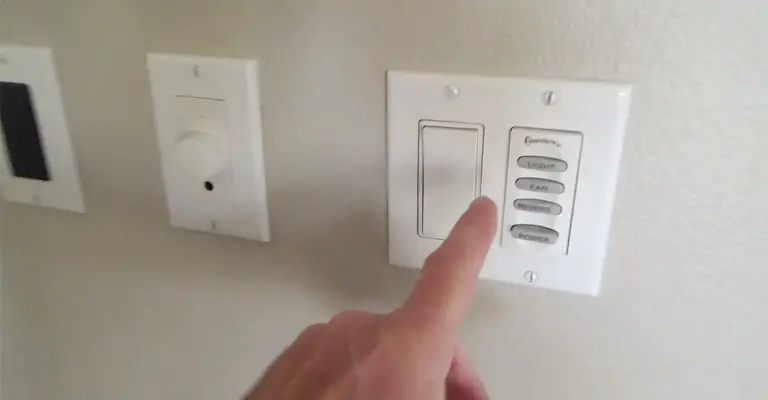
By following a certain sequence, you can change the direction of your ceiling fan without using the remote.
- Turn on the ceiling fan.
- Ensure that your ceiling fan is set to the highest setting.
- Make sure your ceiling fan is running twice in a row after turning it off.
- Getting it to work accurately may require some playing with timing.
- When you’ve performed the sequence correctly, you should hear a series of beeps, and your fan should slow down completely before turning the other way.
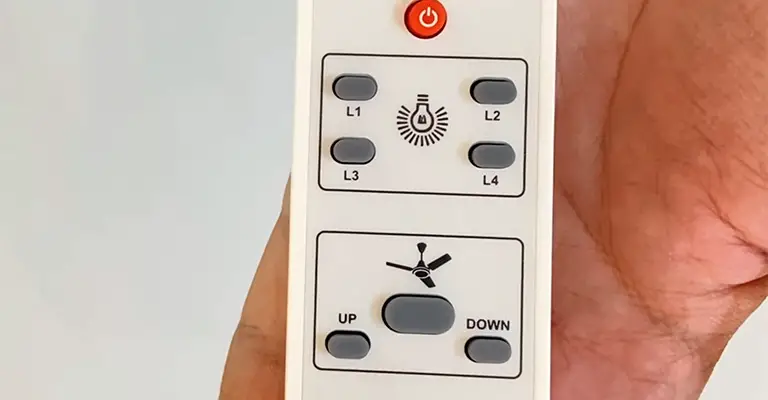
How To Change The Ceiling Fan Direction With A Remote?
If you don’t have access to a switch, you’ll typically have to use a remote control, which usually has reverse buttons, or simply follow a sequence.
Method 1: If Your Remote Has A Reverse Button
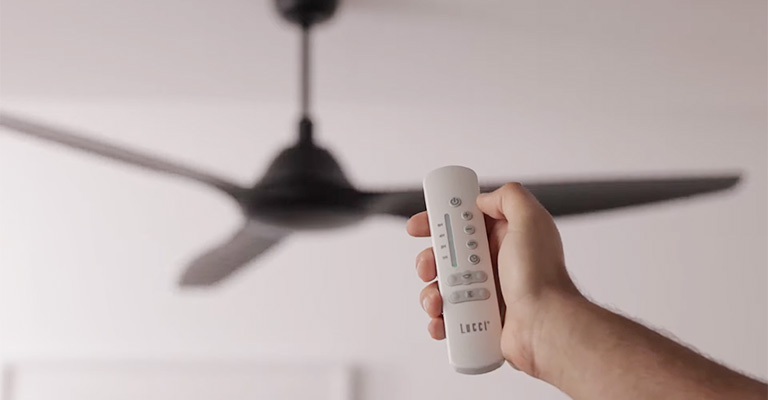
- If using a remote control, either hit the “auto” button or the “low,” med,” or “high” button to turn on the fan.
- The reverse or ” for/rev” buttons on the remote control can be used to reverse the fan direction.
Method 2: If Your Remote Has One Dedicated Button For Turning The Fan On/Off
- Put your fan on the lowest setting.
- Press the reverse button until the remote light blinks or the fan spins the other way.
Method 3: If Your Remote Has Separate On And Off Buttons For The Fan
- Press “On.” on your remote control. ” Make sure you hold the button.
- Using the wall switch, switch the fan off and on quickly.
- Press the remote button and let go.
- Repeat the “On” button and press the remote control.
How Do I Determine the Direction of My Ceiling Fan?
It is easy to determine which direction the fan blades are spinning before we change the ceiling fan direction. To do this, simply watch the fan blades.
Do you know how to determine which direction your ceiling fan will face? Now let’s see what we have.
- Utilize the remote control, toggle switch, or regulator to change the ceiling speed to the lowest setting. Connecting the fan regulator to the switchboard is pretty straightforward if your fan does not have a regulator.
- Make sure that you stand directly under the ceiling fan.
- You currently have your fan spinning counterclockwise if the blades move from top to bottom left.
- Your fan is currently rotating clockwise if its blades are moving from top to bottom right.
- A counterclockwise directional setting results in the air pushing down on you.
In your head, you might be asking yourself, “How do I know which way to set my ceiling fan?”. Season ultimately determines the answer. In summer, you’ll want to turn your ceiling fan in a different direction than in winter.
Both clockwise and counterclockwise fan directions affect your system differently, and they have several differences.
Tips for Maintaining Your Ceiling Fan
Taking care of a ceiling fan is essential to keeping it in top working condition for many years to come. To ensure your fan lasts long, follow these tips:
Check the Balancing:
Wobbling fans may indicate an out-of-balance motor. Adding a balancing kit or adjusting the blade positioning will help you balance the fan. Having a balanced fan will make it run smoothly and quietly.
Replace Worn Out Parts:
Any worn-out fan parts, such as the blades or motor, must be replaced. By doing so, you can ensure the fan is functioning efficiently and that it does not pose any safety risks.
Tighten Loose Screws:
The stability of the fan can be compromised when screws become loose over time. Any loose screws should be tightened. It is possible to tighten the screws using a screwdriver.
Lubricate the Motor:
You must lubricate your ceiling fan’s motor to keep it running smoothly. The motor should be lubricated once a year with a few drops of oil. Before you lubricate the fan, turn it off and let it cool down.
Clean Regularly:
The blades and motor of a fan can become dusty and dirty, affecting their performance.
Regularly dust or clean the blades and motor with a soft cloth. An attachment for your vacuum cleaner with a soft brush is also an option.
Final Words
Your ceiling fan should be adjusted to distribute warm air on a cool or hot day, depending on the season.
Changing a switch or pulling a cable can significantly reduce heating and air conditioning bills. You want to keep the blades of your fan clean so that it will keep working efficiently!


