
Cedar is a popular choice for various woodworking projects and outdoor structures due to its natural beauty, durability, and resistance to decay.
When working with Cedar, one important consideration is how to protect and seal it without altering its natural color.
While sealing Cedar is crucial to extend its lifespan and enhance its resistance to weathering, many people prefer to maintain the Cedar’s original appearance.
In this guide, we will explore effective methods and techniques to seal Cedar while preserving its natural color.
Whether you’re looking to seal cedar furniture, decks, siding, or other cedar structures, these tips will help you achieve the desired protection without compromising its distinctive charm.
By following these guidelines, you can ensure that your cedar projects remain vibrant and beautiful for years to come.
How To Seal Cedar Without Changing Color?
To seal Cedar without changing its color, you can follow these steps:
1. Clean The Cedar
Before applying any sealer:
- Ensure that the cedar surface is clean and free from dust, dirt, and any previous coatings.
- Use a soft brush or a damp cloth to gently clean the wood.
- Allow it to dry completely.
2. Select A Clear Sealer
Look for a clear sealer specifically designed for Cedar or wood. Make sure the sealer explicitly mentions that it won’t alter the color of the wood. Read product descriptions, labels, or consult with a salesperson to find the right sealer.
3. Test The Sealer
Before applying the sealer to the entire surface, it’s advisable to test it on a small, inconspicuous area of the Cedar to ensure it doesn’t change the color.
Apply a thin coat of sealer and allow it to dry according to the manufacturer’s instructions. Evaluate the color change, if any, to ensure it meets your expectations.
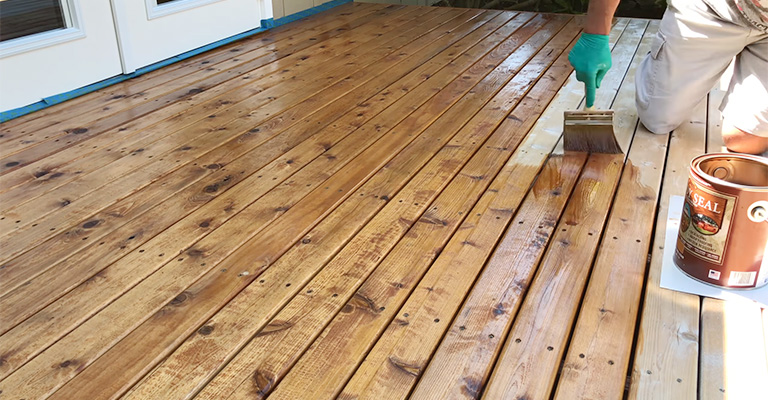
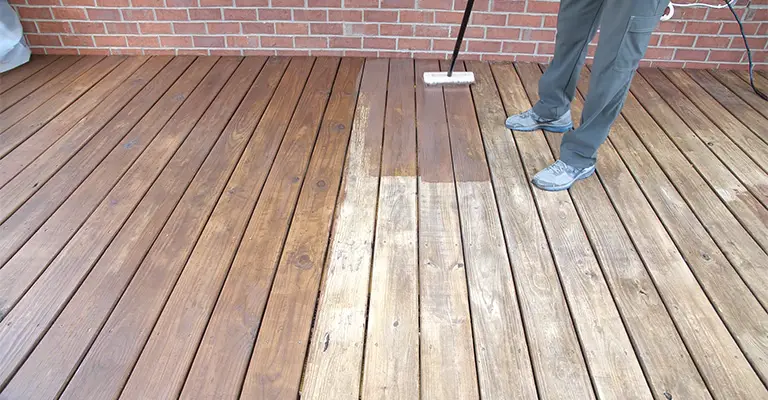
4. Apply The Sealer
Once you’re satisfied with the test patch, you can proceed with sealing the entire cedar surface.
Follow the instructions on the sealer product for application techniques and tools. Generally, you’ll need a brush, roller, or sprayer. Apply a thin and even coat of the sealer, working with the grain of the wood.
5. Allow Drying Time
After applying the sealer:
- Give it sufficient time to dry completely.
- Follow the manufacturer’s instructions regarding the recommended drying time.
- Avoid touching or placing objects on the sealed surface until it’s fully dry.
6. Optional Additional Coats
Depending on the specific sealer and its instructions, you may need to apply additional coats for better protection.
Allow the previous coat to dry before applying subsequent coats and follow the recommended drying time between each application.
Maintain The Sealed Cedar
Regularly clean the sealed Cedar using a mild detergent and water solution. Avoid using harsh chemicals or abrasive cleaners that can damage the sealer.
Additionally, periodically check the condition of the seal and reapply the sealer as needed, following the manufacturer’s recommendations.
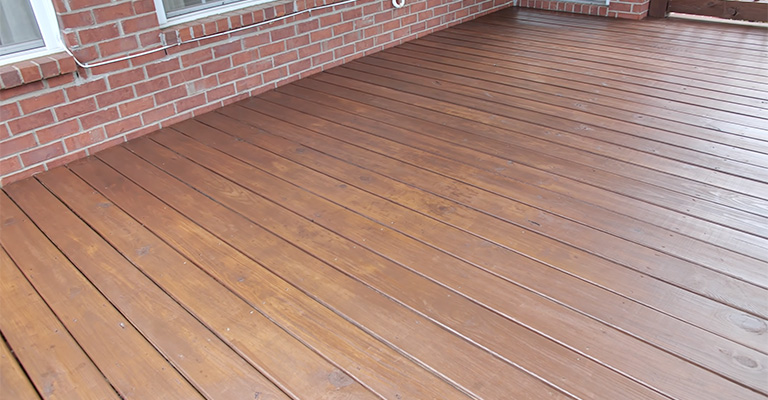
Remember, despite using a clear sealer, there may be a slight difference in the appearance of the Cedar due to the natural enhancement or sheen provided by the sealer.
However, it should be minimal compared to sealers that significantly alter the color of the wood.
Does Cedar Need To Be Sealed?
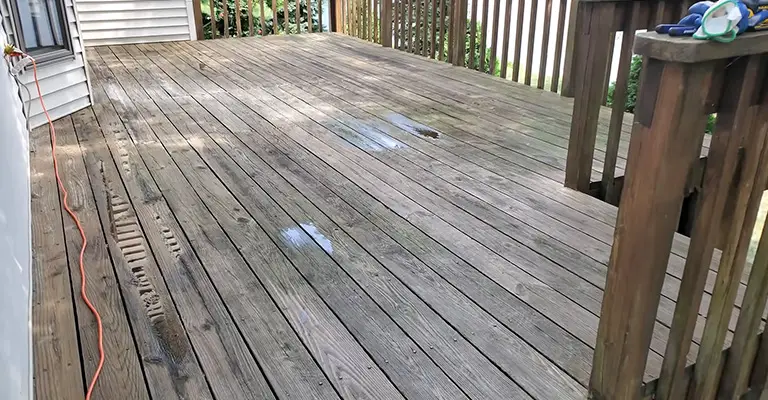
The natural weathering of Cedar will result in a silvery grey color if it is not treated.
The use of this material is especially recommended in coastal areas where a “beachy” look is desired or by those concerned with the application of finishes.
In spite of its unique inherent properties, Cedar will remain functional for many years if properly installed and maintained.
It is important to apply a finish as soon as possible after milling Cedar to preserve its natural color.
It is ideal to do this before installation. Mold and mildew are prevented from growing on the wood this way as well as moisture absorption, UV degradation, and dirt pick-up from the job site.
A solvent-borne penetrating stain with transparent or semi-transparent colors is recommended to preserve the Cedar’s natural color and appearance.
The composition of transparent stains is similar to that of semi-transparent stains, but they contain fewer pigments that provide color. Stains provide more ultraviolet light protection when they contain more pigment.
Don’t forget “you get what you pay for” when selecting a product. Cedar should be protected from mold and mildew with quality stains that include fungicides, as well as UV protectors.
You will need to refinish them if you use a transparent or semi-transparent stain. The intensity of sunlight, moisture, and the texture of the surface that the stain was applied to will all influence the service life of any stain.
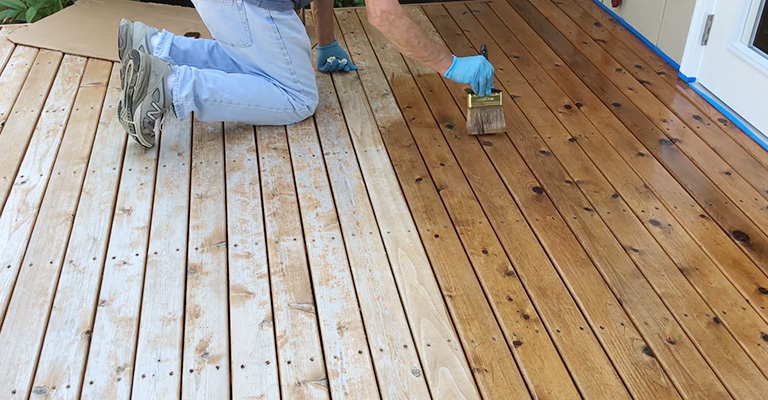
To Seal Cedar Wood
In order to seal Cedar, there are a few different methods, and the best method will depend on the wood and the finish desired. The following tips will help you seal cedar wood.
Give Cedar a light seal coat if you plan to work with it outdoors. This will protect it from moisture and sunlight. The natural color of Cedar is only retained for a short time in direct sunlight.
Durability and its ability to accept penetrating oils, such as tung oil and linseed oil, are Cedar’s best qualities.
The smoothing of Cedar can be made easier with a thin coat of thinned varnish or lacquer sanding sealer applied to a tabletop or window ledge. Before applying a second coat, let the coating completely dry.
Polyurethane On Rough Cedar
Using polyurethane on rough Cedar will compromise the sealer’s ability to adhere properly. It is possible to seal rough Cedar against wear and water-based rot by applying a semi-transparent oil-based stain.
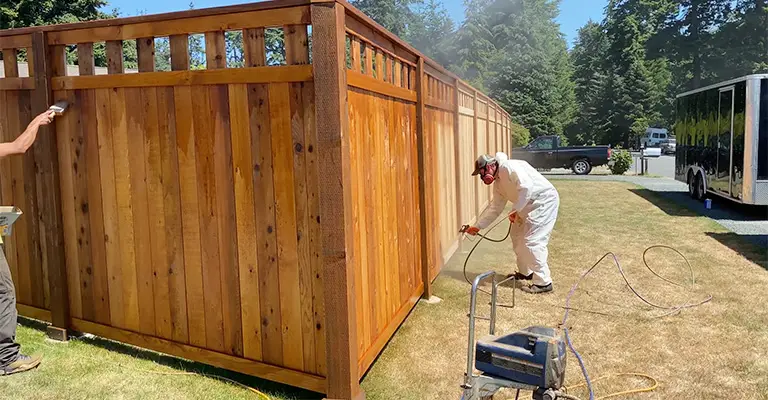
From the bottom up, brush the sealant onto the Cedar, avoiding visible drips. It is recommended that the layer be as thin as possible according to the manufacturer’s instructions. Cover the wood surfaces with sealant after trimming them.
Use a deck stripper if you need to remove any coating, whether solid or painted. In this way, redwood and cedar decks can be restored to a natural color, allowing them to breathe. Water can be used to remove dirt from wood. Seal the post if it soaks in.
The posts don’t have to be sealed since water beads up on their surface. If Cedar is exposed to a protectant too early, it will be less effective, whereas if it is exposed too late, it will deteriorate prematurely.
Tips On Sealing Cedar Without Changing Color
To preserve the natural color and appearance of the Cedar, use solvent-borne penetrating stains that are transparent or semi-transparent.
There are fewer pigments in transparent stains compared to semi-transparent stains, which are similar in composition.
Water-based polyurethane finishes won’t change the color of the wood. In order to maintain its color, a white water sealer is as colorless as possible.
The only exception is walnut wood, which should not be finished with oil. You will most likely end up with a chalky finish if you use high-gloss wood.
You should squeeze as much polyurethane brush as possible when applying water-based polyurethane.
When this type of sealer is stirred too vigorously before application, a bubble may form, and your project will fail.
A less delicate effect can be achieved with acrylic lacquer since it dries more quickly. Although there are fewer bubbles on the surface, it dries faster and lasts longer.
Will Cedar Turn Grey If Sealed?
Cedar is known for its natural ability to weather and turn grey over time when exposed to the elements. However, when properly sealed, Cedar can maintain its original color for a longer period and delay the greying process.
Sealing the wood creates a protective barrier that helps to prevent moisture penetration and UV damage, which are the primary causes of cedar greying.
By using a clear sealer specifically designed for Cedar and following proper application techniques, you can minimize the greying effect and preserve the wood’s natural color.
However, it’s important to note that over an extended period, even with sealing, Cedar may still gradually change color due to natural aging and exposure to sunlight.
Conclusion
To summarize, here are the steps to seal Cedar without changing its color:
- Clean the cedar surface to remove dust and dirt.
- Choose a clear sealer specifically designed for Cedar that explicitly states it won’t alter the wood’s color.
- Test the sealer on a small, inconspicuous area to ensure it doesn’t change the color.
- Apply a thin and even coat of the sealer using a brush, roller, or sprayer, following the wood’s grain.
- Allow the sealer to dry completely according to the manufacturer’s instructions.
- Optionally, apply additional coats for enhanced protection, following recommended drying times between each coat.
- Regularly clean the sealed Cedar with a mild detergent and water solution and reapply the sealer as needed.
While the sealer will help maintain the wood’s color, it’s important to note that Cedar may still undergo natural aging and gradual color change over time due to exposure to sunlight and other environmental factors.


