
Have you ever found yourself in a situation where you’re ready to add the finishing touch of trim around a newly installed door, only to realize there isn’t enough room to do so?
This can be a frustrating dilemma, but fortunately, there are several solutions available to help you achieve a polished look for your door without sacrificing your desired trim style.
In this thread, we’ll explore some practical tips and tricks to help you overcome this challenge and confidently finish your door project.
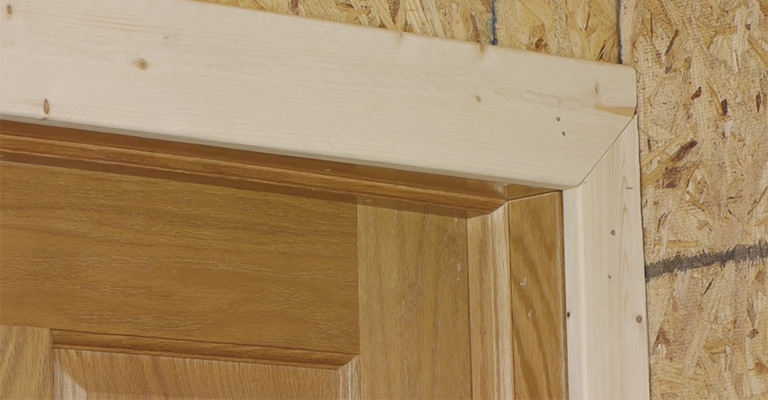
When framing a door, it’s easy to overlook the fact that there may not be enough room for trim/casing on one or both sides of the door. This creates a problem when it’s time to install the trim/casing.
Dealing with this issue becomes even more challenging with doors because there are two sides to consider.
The solution depends on your specific situation. If there isn’t enough room for trim on one side, narrowing the door frame is a possible fix. However, this can impact the trim on the other side of the door and may violate building codes.
The simplest solution is to narrow down the trim, but this can be difficult to do if there are obstacles like cabinetry that stick out on one side and are flush with the door frame. In such cases, scribing may be necessary to achieve a proper fit.
What To Do If There Is Not Enough Room For Trim Around The Door?
Making significant changes to the size of a door is typically not recommended due to building codes and regulations. These restrictions are in place for a reason and should be followed.
In cases where the door frame is too close to the wall, this can pose challenges when it comes to adding trim.
Addressing this issue may involve narrowing the trim, but this can be difficult if there are cabinets or other obstacles nearby. It may also require scribing to ensure a proper fit.
Materials Needed to Reduce Trim Width
To reduce trim width, you will need the following materials and tools:
- Carpenter’s pencil: to mark the trim where you need to cut it.
- Trim gun: to attach the trim to the wall and door frame.
- Air compressor: to power the trim gun.
- Table saw: to make straight cuts on the trim.
- Compound saw: to make angled cuts on the trim.
Trim is delicate, so it’s important to handle it carefully when making cuts. It’s also important to mark and measure the trim on the front side, so that the cut edge will be flush with the wall, not the door frame.
If you don’t have the necessary tools, many hardware stores will make the cuts for you. Just make sure you have the correct measurements before you go.
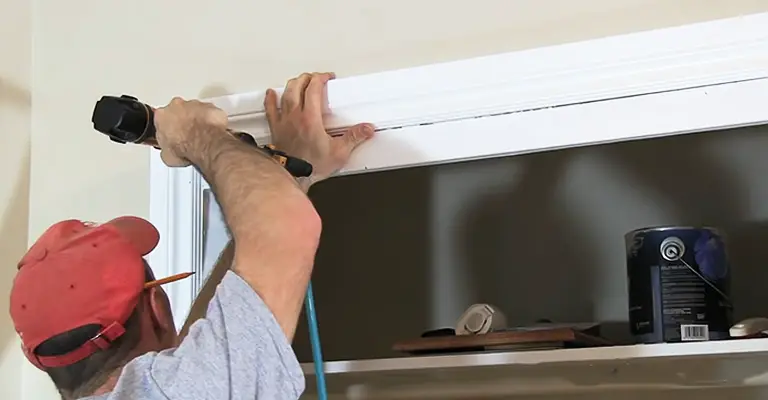
Measure and Mark Your Trim
Position the trim in its usual location on the door, with its edge touching the wall. Invert the trim so that its rear side faces you and its normal visible side faces the door frame.
Push the edge firmly against the wall but maintain some space between the trim and the door frame. Using your carpenter’s pencil, draw a straight line down the front of the trim.
To do this, you can either reach through the gap and use the door frame as a guide, or you can measure the distance between the wall and the door frame and mark it at intervals on the trim.
Another method for marking the trim is to place it on a flat surface, with its back facing up. Then, take the measurements from the wall to the door frame and transfer them to the trim, marking them at equal intervals.
Once the markings are in place, align the trim with the door frame and adjust it until the markings are visible through the gap. Finally, press the trim against the wall and nail it in place.
To ensure a neat finish, you can use a hand saw or a miter saw to cut the corners of the trim at a 45-degree angle. This will allow the trim to fit snugly against the adjoining piece of trim.
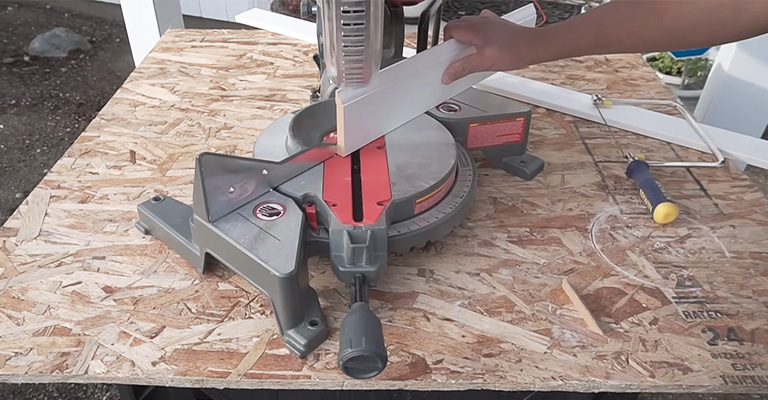
Start Making Your Cuts
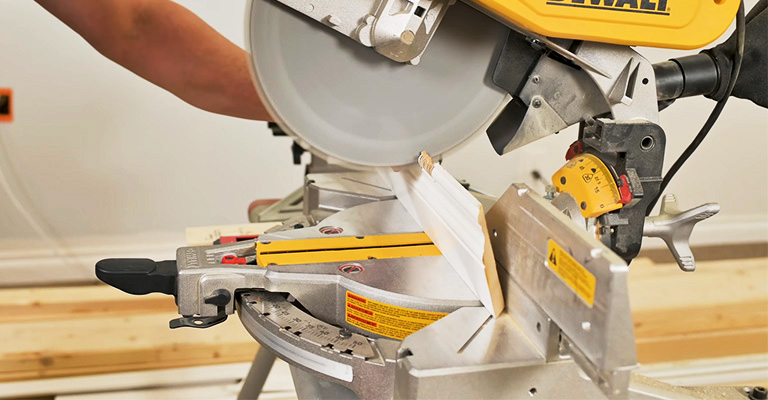
When you are prepared to cut, return and draw your line. Measure the height of the door jamb to determine where you should make the miter cut. Cut the trim in half down the center to make it slimmer.
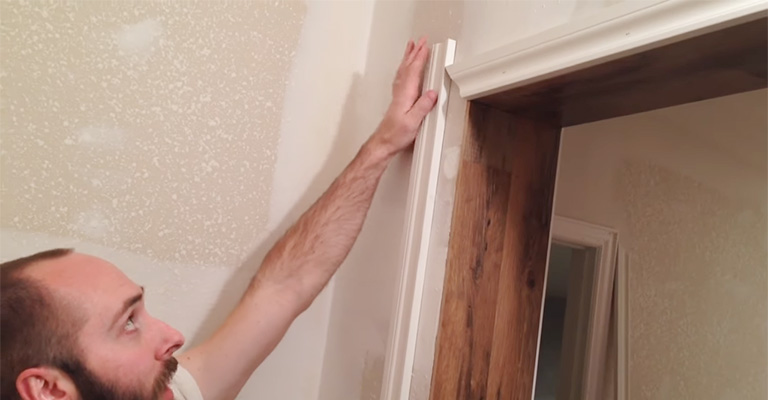
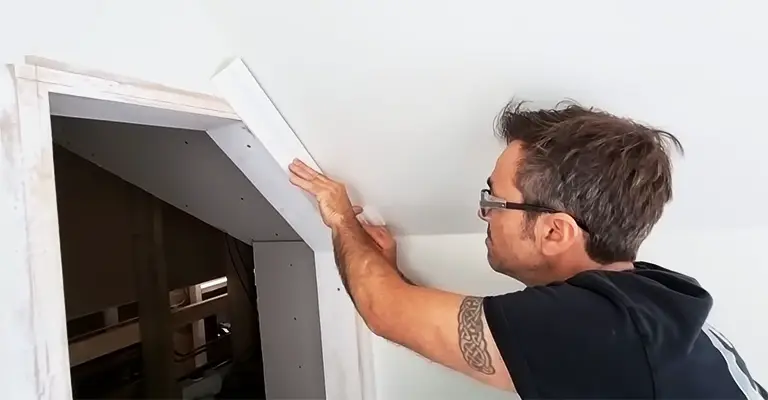
Before you fasten the trim, place it upright against the wall and align the top trim piece with the side trim that you just cut.
You’ll notice that the broader top trim has a longer 45-degree angle. Draw a straight line from the point where the narrow trim’s 45-degree angle intersects with the top trim’s 45-degree angle. Cut it flush with the top angle.
Now, begin nailing your trim in, starting with the narrow cut section. This way, you can compare the remainder of the trim to it as you progress.
Use or Scribe an Architrave
An architrave is a narrow trim piece that may not match your current trim, but it can be a useful option in a pinch. However, if the architrave is still too wide for your needs, you can easily scribe it down to a narrower size.
To mark the architrave, you’ll need a scribe tool. Whenever you install architrave, you will need to measure the width of the 45-degree angle in which the peak of the architrave sits flush against its horizontal trim.
If the architrave will be flush against additional crown molding, a profile gauge can help you match it up. Use the scribe tool to mark a line down the entire length of the architrave, and then cut it with a jigsaw.
To finish the job, use a sanding block to smooth out the cut end or a belt sander, but be cautious with the latter to avoid overdoing it and accidentally eating too far into the architrave.
Alternative
Reducing the height of your door frame can be a tricky proposition, and it’s important to check your local builder’s codes before attempting any changes. This is particularly important if the door frame is located in a load-bearing wall.
However, if you simply need to make room for cabinetry or a similar object that is sticking out, you may be able to use a belt sander to scribe the cabinet down to the necessary size and accommodate a small piece of trim.
If the amount of space needed is significant, such as 3 inches or more, attempting to scribe the cabinet is likely to be messy and ineffective, and alternative solutions should be considered.
Final Words
In conclusion, if you find that there is not enough room for trim around a door, there are a few solutions you can consider. One option is to use a thinner trim or molding that will fit in the available space.
Another option is to remove some of the drywall or plaster around the door frame to create more space for the trim. You could also consider using a different type of door frame or adjusting the placement of the door.
Ultimately, the best solution will depend on your specific situation and the resources available to you.


