
If you’ve ever tried to change a fluorescent light bulb or retrofit an old fixture with new LED tubes, you’ve likely encountered the dreaded ballast cover.
These covers can be tricky to remove, leaving many people scratching their heads and wondering where to begin.
But fear not because, in this article, we’ll walk you through the step-by-step process of removing a ballast cover from a fluorescent light fixture, so you can get back to illuminating your space in no time.
So, whether you’re a seasoned DIYer or a first-time fixer-upper, read on to learn how to conquer this pesky problem once and for all!
Lighting fixtures with fluorescent bulbs are more energy-efficient than fixtures with incandescent bulbs.
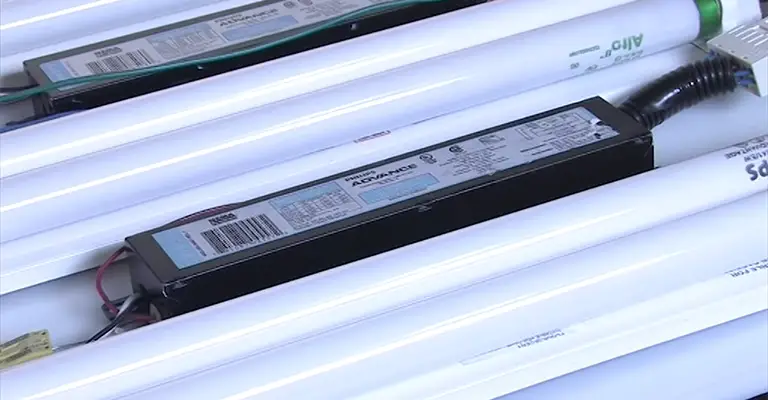
Sometimes, a ballast, a special transformer inside the fixture, is needed to be replaced. Light fixtures‘ ballasts can vary depending on their age.
Steps For Changing The Ballast On A Fluorescent Light Fixture
There is a possibility that old fluorescent fixtures use magnetic ballasts that could malfunction. The magnetic ballasts tend to make noise when the lights are on, and when they malfunction, they can drip a black, sticky substance into the fixture.
If your lights flicker or go out-and you are confident they aren’t caused by bad tubes or sockets-it’s time to replace the ballasts.
Modern fixtures or fixtures that have been updated typically have electronic ballasts. This type has greater energy efficiency and is quieter than traditional magnetic ballasts.
In addition, electronic ballasts are less likely to malfunction than gas ballasts. If you replace the ballast, be sure the voltage rating and wiring configuration match the originals. Whenever possible, use electronic ballasts.
Also, compare the cost of the ballast with that of a completely new fixture; sometimes, it is more economical to replace the entire fixture rather than the ballast.
Before You Begin
The power to the circuit containing the light fixture in your home should be turned off by switching off the appropriate breaker in the service panel (breaker box). You can unplug the fixture if it has a cord and plugs.
Putting off the light switch controlling the fixture will not cut off the fixture’s power. Whenever you are going to power on a light fixture, you need to turn off the circuit breaker controlling the circuit.
Things You’ll Need
- Replacement ballast
- Wire connectors (wire nuts)
- Nut driver or socket wrench
- Wire strippers
- Smartphone or digital camera (optional)
- Wire cutter
- Non-contact voltage tester
1. Remove the Cover
Be sure to remove the diffuser cover from the fixture before you remove the lens. Several fixtures have a clear plastic lens around the outside.
You will need to grab the cover by the outer edge and lift it away from the fixture and down. Check if locking clasps allow the lens to swing down if the fixture has a lens within a framed lid.
2. Remove the Fluorescent Tubes
Make sure the fluorescent tubes (light bulbs) are removed. Hold the bulb in one hand and twist it 90 degrees until you see the metal contacts on both ends.
The contacts will slide out of the socket by gently pulling one end down. Ensure that the bulb is taken out of the fixture. Once all tubes have been processed, repeat the same process for the remaining tubes.
Now is a good time to inspect the sockets at each end of the light fixture that holds the tubes. In the event that they are loose or broken, it is important to tighten or replace them.
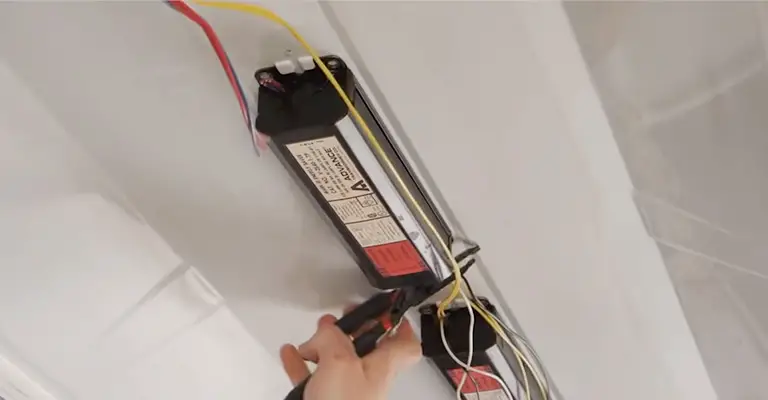
3. Remove the Cover Plate
Fixtures typically have a wiring cover plate located in the center. Tabs on either side of the cover are designed to catch in slots on the fixture.
Squeeze the sides of the cover inward to slide the tabs out and pull it down. By doing so, the wiring and ballast will be exposed.
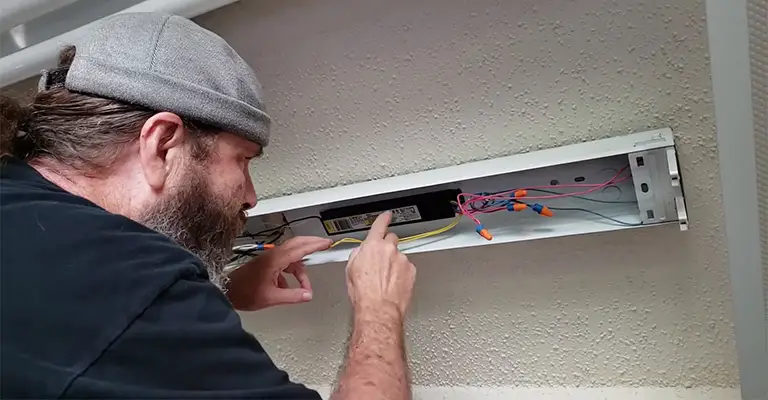
4. Disconnect the Ballast Wires
Find the black wire and white wire that connect to the ballast. There are wires connected to the power source. Check each wire for voltage using a non-contact voltage tester before touching any wires or wire connections.
Test results should indicate that wires do not contain voltage. Additionally, four or more wires may connect the ballast to the fixture’s bulb sockets.
For reference, snap a photo of the ballast and wiring when installing the new ballast.
Using a wire cutter, remove the wire connectors on all ballast wires and separate them, or, if necessary, cut the wires very close to the ballast.
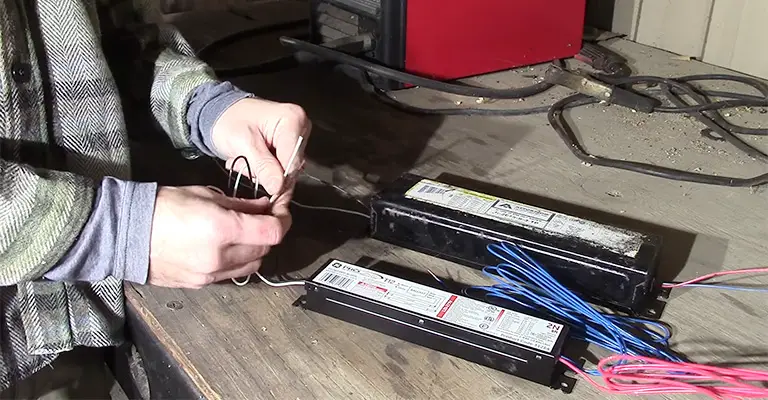
5. Remove the Ballast
You can remove the mounting nuts or bolts of the ballast with a nut driver or socket wrench by holding it with one hand (to prevent it from falling).
You will need to remove the ballast from the fixture. Find a suitable replacement ballast in the hardware store if you already have one.
6. Prepare the Wires
Wire strippers can strip insulation from the ends of each fixture wire if you had to cut the wires earlier or if the wires are damaged.
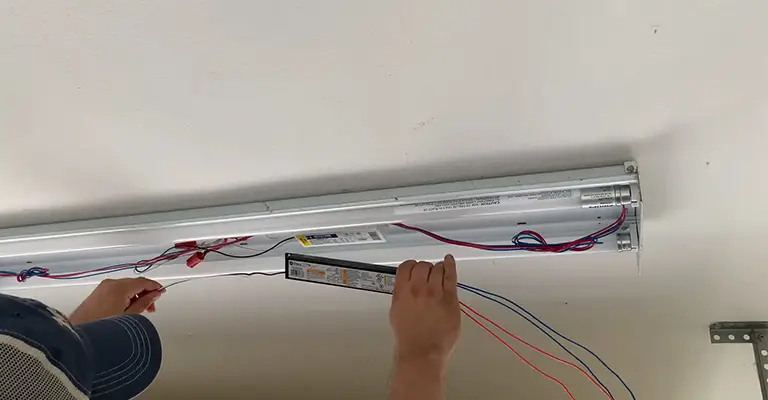
7. Mount the New Ballast
Attach the ballast to the fixture with the mounting nuts or bolts provided. Using wire connectors, connect the ballast wire to the fixture wires so they match the original wiring.
Reinstalling the wiring cover plate, the light bulbs and the fixture lens is important. Restore power by switching on the circuit breaker, and ensuring the fixture operates properly.
8. Dispose of the Old Ballast
As per local authority recommendations, properly dispose of old ballast.
Old fluorescent light ballasts (made before 1979) likely contain polychlorinated biphenyls (PCBs), a substance classified by the EPA as hazardous to the environment.
These ballasts should be disposed of carefully as hazardous waste if they leak. It is recommended not to come into contact with the tar-like substance inside ballasts.
For safe disposal of old ballasts, take them to your nearest hazardous waste facility or contact the local authority.
What Is a Ballast?
Typically, ballast is a small, enclosed device that regulates the amount of current flowing through the light and provides enough voltage to start it.
A ballast converts electricity into electricity used to regulate the current in the light bulb, stabilizing its output. To put it differently, this is what maintains the light’s illumination.
It is necessary to have a ballast for a fluorescent light to work, as, without it, the current will increase as it passes through, causing damage to the lamp.
A typical ballast lasts about 20 years, so you won’t have to worry about replacing them very often.
It is possible, however, for ballast lifespans to decrease dramatically because of cold environments and faulty bulbs.
Different ballasts are available; their specifications will tell you how many lamps they can control at once and what kind of lamp they work with.
Buying A New Ballast
Make sure you bring the old ballast with you to the store. Be sure to compare the wiring diagrams, voltage, and current of the new and old ballasts before installing the new one.
Tips
- It’s a good idea to clean the fixtures now.
- Give the light at least a minute to come on.
- A lamp that doesn’t mean completely light usually indicates cold lamps or low ambient temperatures, defective lamps, or starters, a reverse-connected 120V ballast, bad lamp holders, or defective ballasts.
- Grounding is also important for some fixtures.
Final Words
Congratulations, you’ve now learned how to remove a ballast cover from a fluorescent light fixture!
By following the steps outlined in this article, you’ll be able to successfully remove the cover and access the ballast.
Whether you’re looking to replace a light bulb, install new LED tubes, or make other modifications to your lighting setup, these steps should be enough to get started.
Remember to always take proper safety precautions when working with electrical components, and if you’re unsure about any aspect of the process, don’t hesitate to seek the advice of a professional.
With a little bit of know-how and the right tools, you’ll be able to tackle any lighting project with confidence and ease.


