
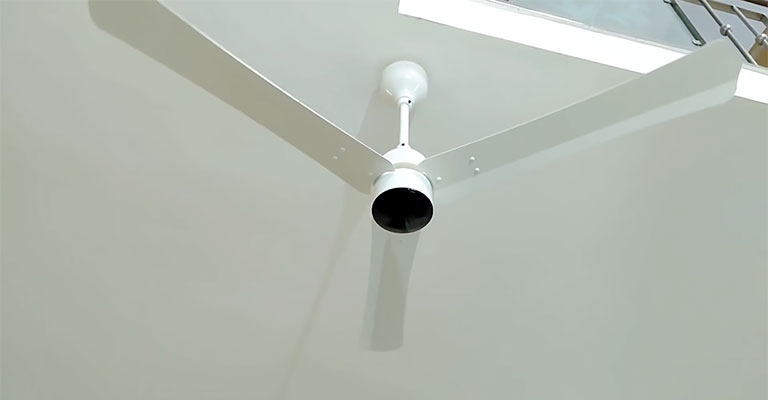
By allowing better control of temperature and air circulation, ceiling fans can make a room much more comfortable and convenient.
Traditionally, ceiling fans were controlled by pull chains or wall switches, which can be annoying.
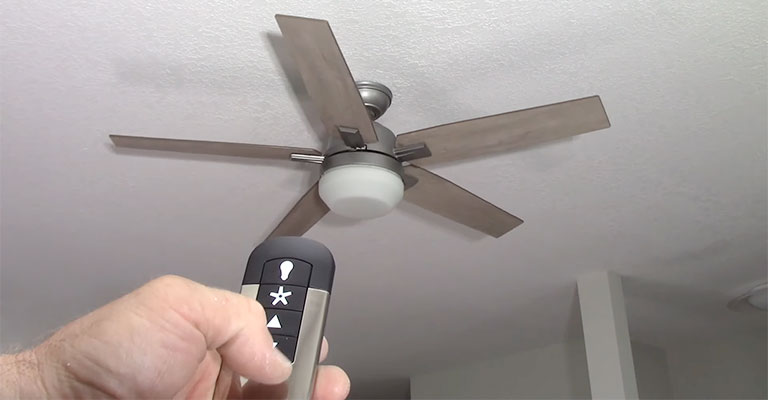
Using a ceiling fan remote control will make operating your fan easier, and you won’t need to get up from your couch or bed.
Remote Ceiling Fan Basics
The operation of a ceiling fan can be controlled remotely via a remote control that bypasses one of the wall switches. Instead, remote controls are built into the fan’s inner workings, which are controlled by a remote.
Ceiling fans can be controlled by a remote with functions like speed control and reverse. It is even possible to dim the lights with some.
How Does A Remote Ceiling Fan Work?
An electrically operated ceiling fan makes use of the canopy’s free space to operate the fan. One of the wall switches is bypassed for remote access, and remote control is installed inside the fan.
This fan functions through the use of remote control, which can be operated remotely using one of the switches within the working of the fan.
How To A Ceiling Fan With Two Wall Switches And Remote?
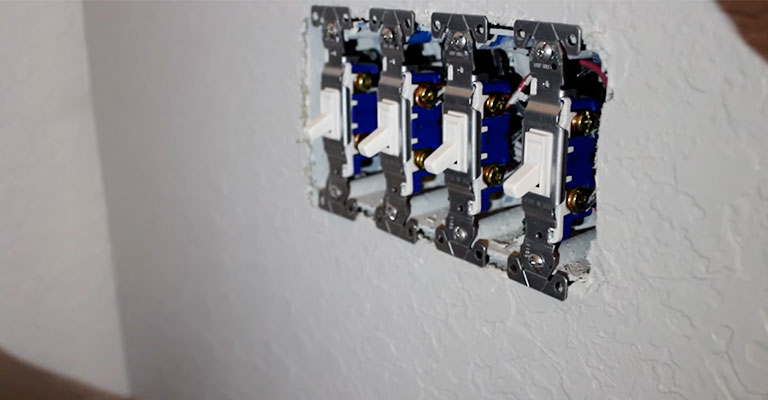
To control the ceiling fan, I need a remote with two switches. How do I wire it? There is a very simple solution to this very common question. Here is how to do it.
- Use a non-contact voltage tester to verify the power has been turned off at the breaker.
- Glue the grounding conductors together, regardless of whether they are bare or green.
- Taking the white wire from the ceiling and connecting it to the white wire on the remote receiver module, you’re good to go.
- A black wire drawn from the ceiling should be connected to a black wire on the input side of the remote receiver module.
- Connect the remote receiver module’s output wire to the fan’s blue wire.
- Make sure the black wire in the fan is connected to the red wire from the ceiling.
- Connect the remote receiver module to the power source, and then disconnect the black and white wires from the output end.
- Lights will now be controlled by the remote when one switch is on. On and off are controlled by the other switch.
Preparing The Receiver And Remote
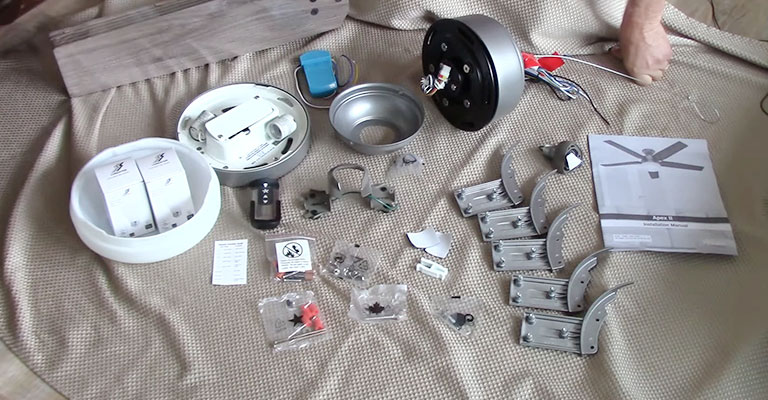
Prepare the remote and receiver according to the instructions. It is common for these two components to communicate with each other through code switches.
These switches on each component should be set according to the instructions that came with your fan.
Making The Electrical Connections
The wires below should be secured together using plastic wire nuts. The strands and connections should not be loose.
From The Fan To The Receiver
Then you will attach the wires as usual to the receiver grouped wire after cutting the light wire. Connect your wires according to the notes below if your fan does not come with grouped wires:
- The Black Wire connects to the Black Wire on the receiver.
- Attach the white wire to the receiver’s white wire.
From Receiver To Outlet Box
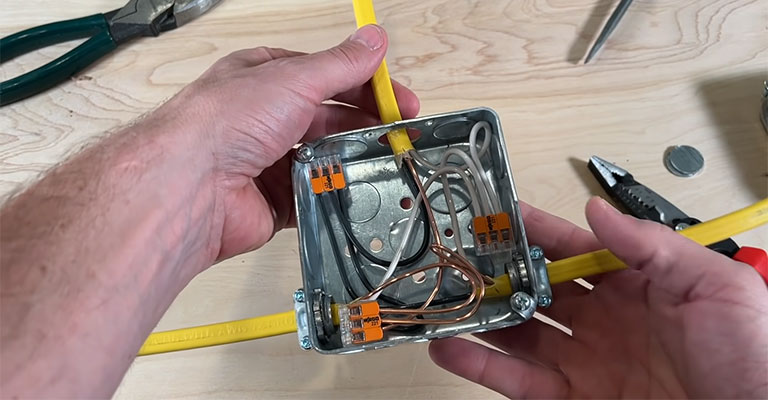
AC in L is connected to the Hot Wire in the outlet box, which is connected to the switch you wish to control the fan. Red or black is most commonly used for this wire. Black is my color.
The Neutral Wire in the outlet box attaches to the White Wire “AC in N,” which is already connected to the White Wire from the fan. A plastic wire nut is placed on the blue wire of the receiver.
From Fan To Outlet Box
In the outlet box, the blue wire (Light) connects to the other hot wire connected to the switch (mine is red). You want to control the light.
The Ground wire (Green or Bare Wire) in the outlet box is attached to the green wires (both from the receiver and the download).
As it turned out, the neutral wire (white) from the receiver and the outlet box was already attached to the white wire from the fan.
The remote will now control the light when one switch is on. When the switch is turned ON, the remote controls the fan speed, schedule, etc. When the switch is turned OFF, the fan will turn on and off.
Now Test Fan with Remote

Ensure all connections are working by resetting the power and testing remotes and switches. You should check the wire connections if the light or fan doesn’t work.
If you have any issues with the fan function or remote, you can find troubleshooting instructions in the instruction manual.
Final Words
You’ll need to complete the canopy installation for ceiling fans with downloads first. When installing a low-profile ceiling fan, ensure the motor housing is completed.
Getting your ceiling fan connected to two wall switches must be a fantastic feeling. It feels even better when this isn’t your first time installing a fan in your home. This is especially good if it’s your third attempt to install a fan.


